That’s right, you don’t need any fancy stamps or expensive supplies. With just a sponge, some paint, and a little creativity, you can create beautiful, textured roses that look like they were printed right from an art studio. Even better, this technique is kid-friendly and a lot fun. So grab your supplies, and let’s get stamping!
Helpful Tips:
What sponges do I need to make rose stamp cards?
For the roses a soft, absorbent cellulose sponge cloth is ideal. And it works best straight out of the package. Once washed, it becomes rigid and won’t roll as easily. If you’ve already washed your sponge cloth, you can wet it slightly to regain flexibility, but keep in mind that dampness may affect the way the paint transfers. For the leaves, a soft cellulose kitchen sponge works perfectly! It holds paint well and creates crisp leaf shapes.
How do I apply paint to the sponge rose stamps?
Dipping the sponge stamp into paint is a fun and easy method that works well. But be sure to blot off excess paint on scrap paper before stamping to avoid a thick, messy print. You can also use a paintbrush to apply paint to the stamp. It gives you more control over how much paint is added, and is a great option if you want to create multi-coloured roses (for example, blending red and pink for a soft gradient effect).
What paint works best for making sponge printed rose cards?
We like to use acrylic craft paint for most of our art projects. It’s inexpensive, vibrant, and widely available. But tempera paint is also a great choice (especially for younger kids) since it’s washable and easy to clean up.
How can I keep sponge painting low-mess?
Crafting with paint can get messy, but there are a few easy ways to keep things under control: Get ready to brighten someone’s day with a sponge printed rose card! You can mix and match colours to make each card unique. Try classic red roses on white cardstock for a timeless look, soft pink roses on pastel paper for a sweet and delicate touch, or even bold purples and blues for a fun modern twist! And don’t forget to personalize your DIY card with a handwritten message inside. After all, it’s the little details that make it extra special! Whether you’re making a card for Mom, your Valentine, or just to spread some love, this simple sponge stamping technique creates a beautiful keepsake that’s sure to be cherished.
Here’s even more Mother’s Day craft ideas:
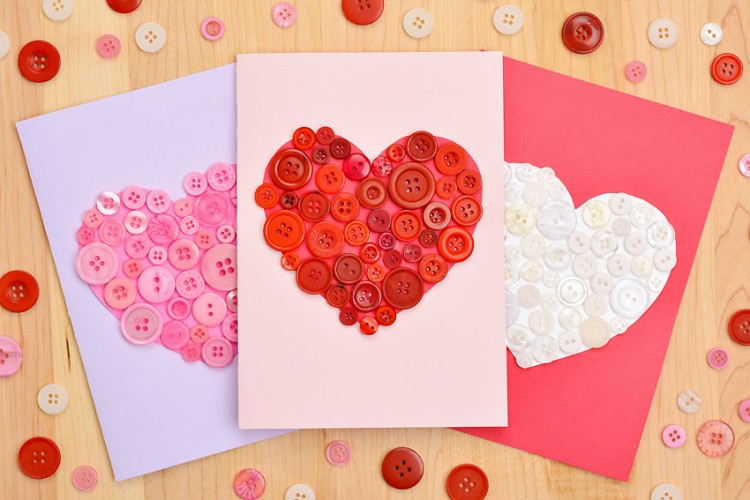
Perler Bead Picture Frame Flower Pretzels Button Art Heart Cards
Where to buy:


