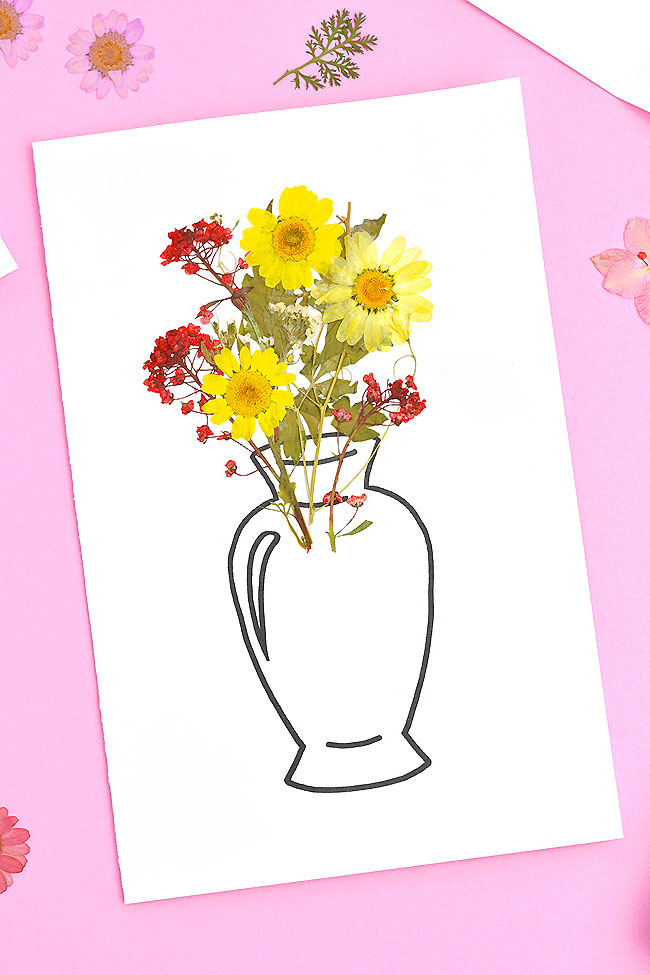
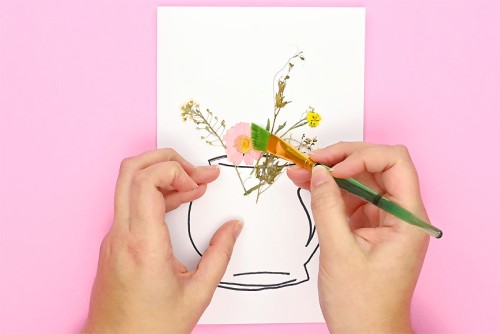
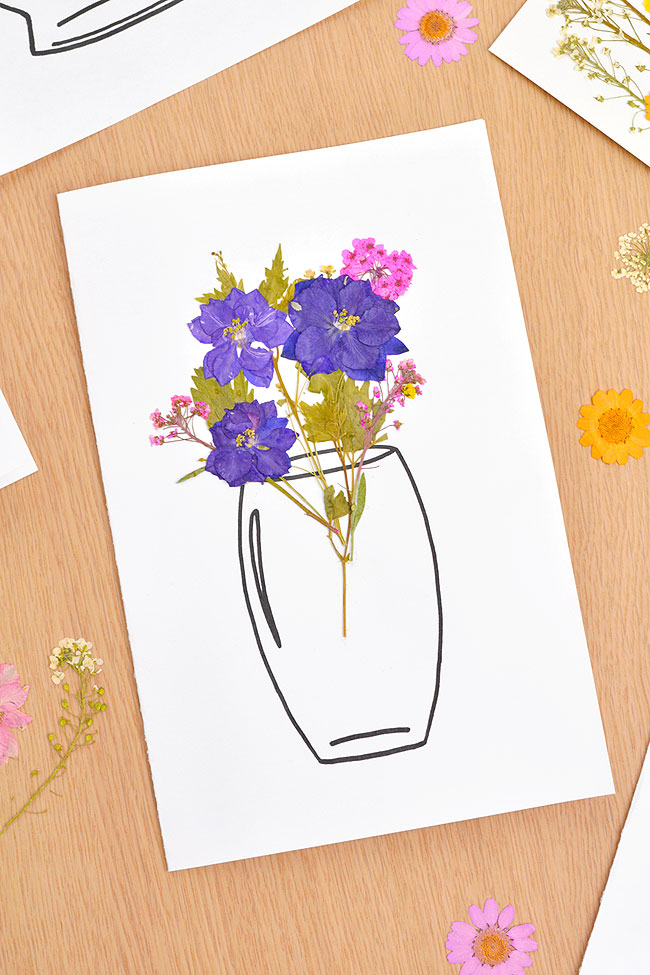
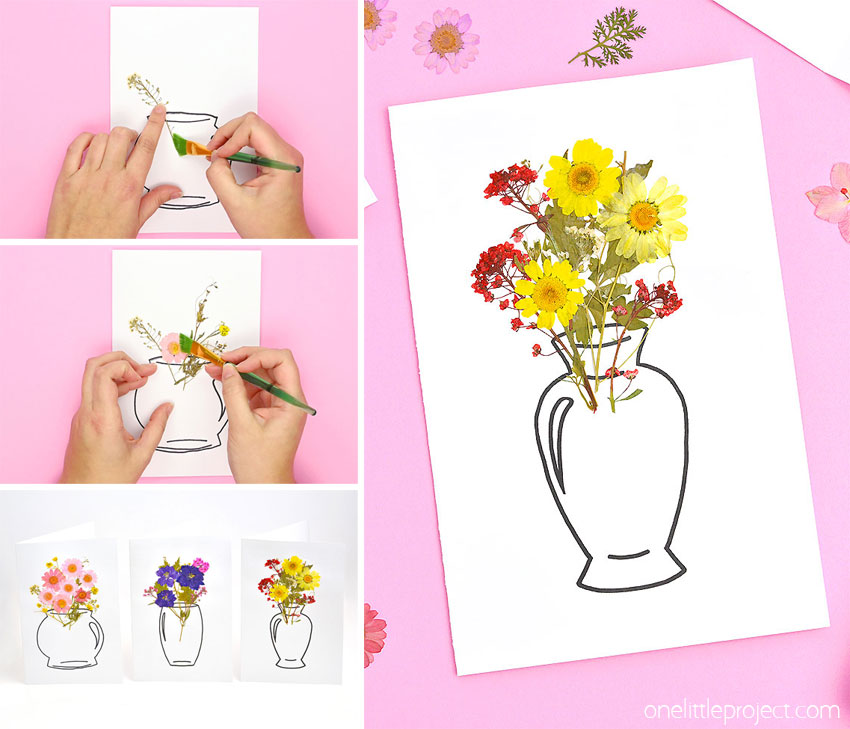
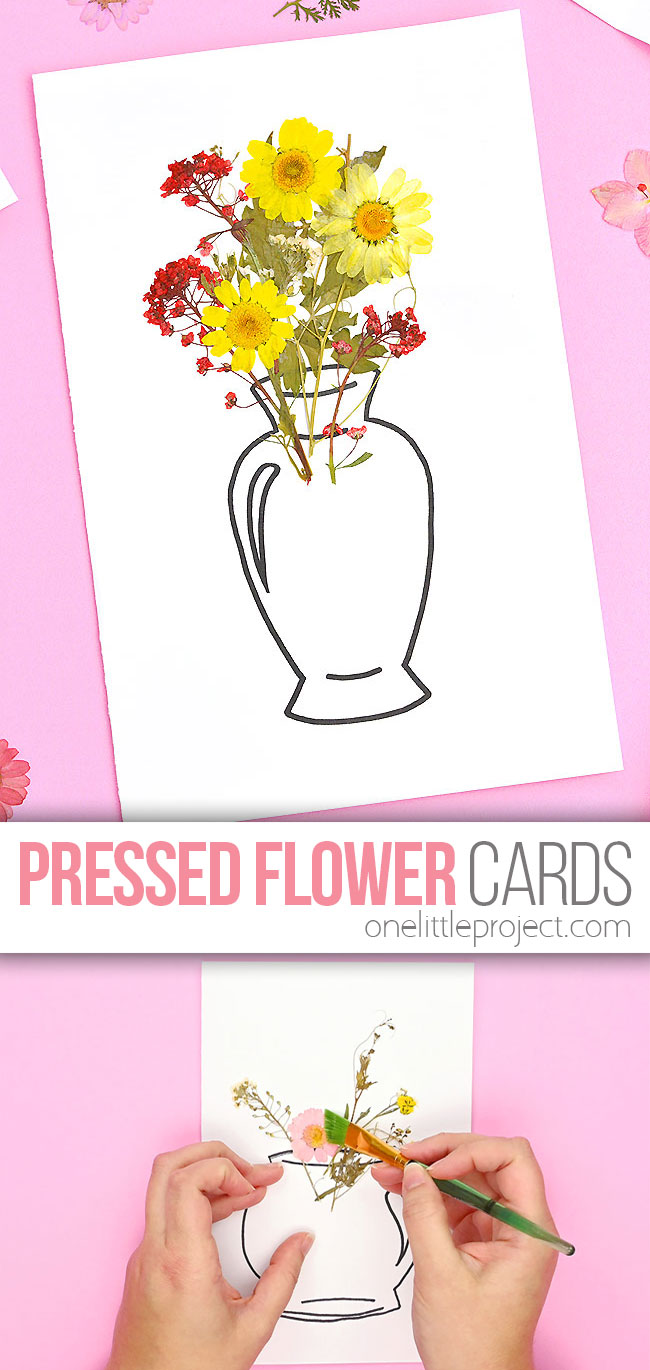
Choose one colour of flowers to add to the front of your card, or create a multi-coloured bouquet. This flower craft is fun and easy to make, especially when you download our free printable vase templates. (See below!)
This post contains affiliate links. If you use these links to buy something we may earn a small commission which helps us run this website.
Helpful Tips:
Download our free flower vase templates:
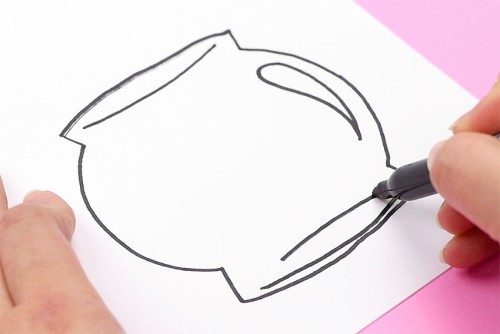
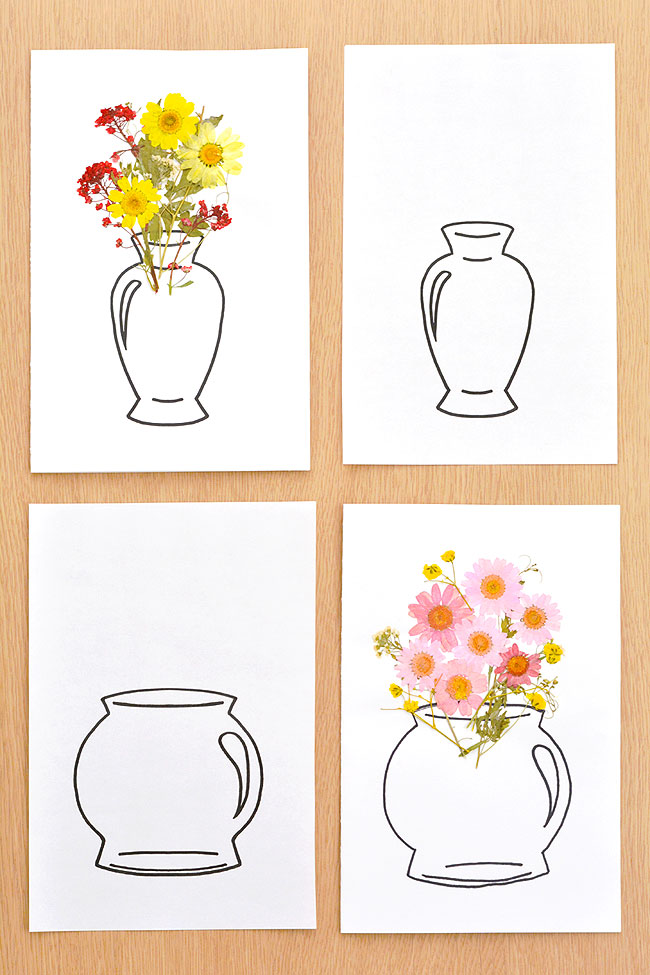
Click on the links below to download our free, printable vase templates! The PDF file will open in a new window. Then simply print the flower vase template on 8.5 x 11 (letter size) cardstock. (Or print on regular paper and trace the vase onto cardstock or a blank card.)
»> Classic Vase (Vase #1) «<
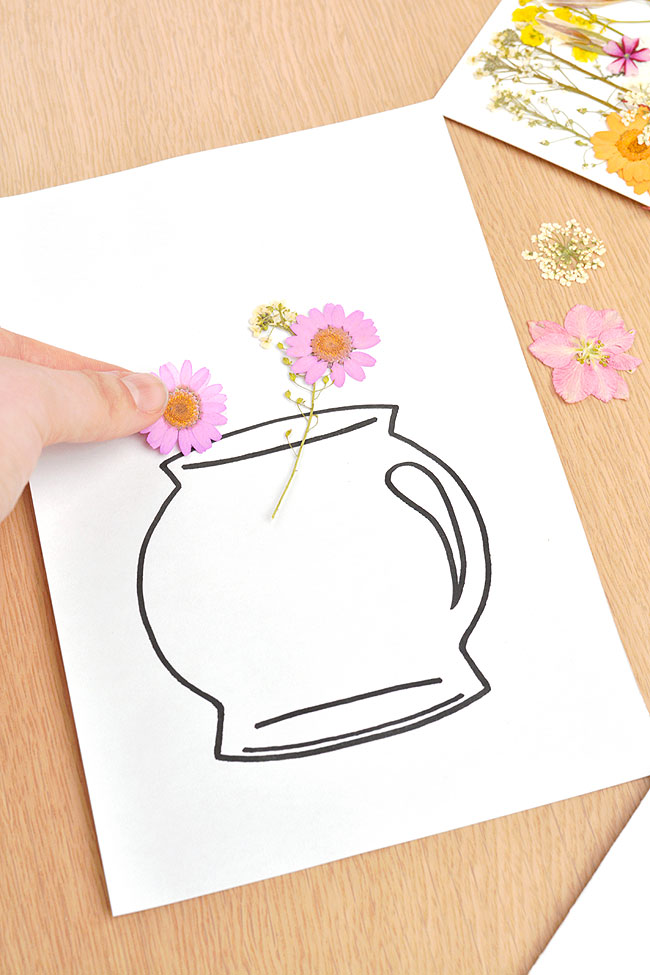
»> Round Pitcher Vase (Vase #2) «<
»> Open Top Vase (Vase #3) «<
What is the best paper to display pressed flowers on?
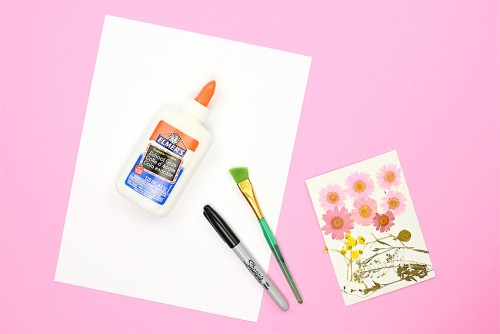
You need to use a thicker paper that can stand up like a regular card and will absorb the glue without warping too much. We used 65 lb white cardstock, but you could definitely use a heavier cardstock as well! For other options, try watercolour paper or a textured linen scrapbook paper.
What glue is best for making pressed flower cards?
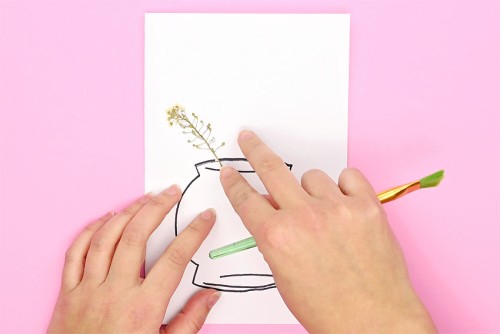
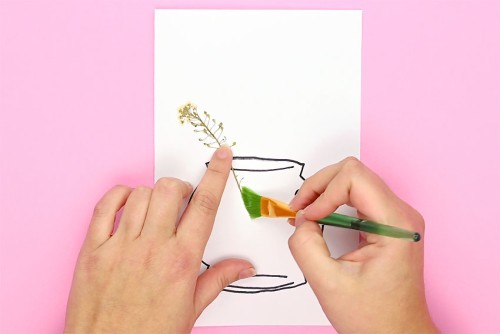
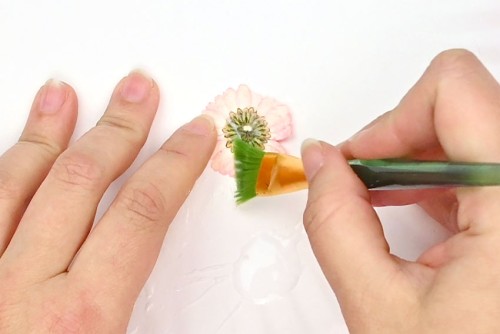
We found regular white Elmer’s school glue to be the best glue for attaching the pressed flowers to the card. It holds the flowers well, allows them to slide around a bit to get them into place, dries clear, and doesn’t leave any residue behind. We first tried using matte Mod Podge, and “painting” over top of the flowers and the card stock. But it left a visible film behind wherever it was applied, so we wouldn’t recommend it for this craft.
Where can I get pressed flowers?
The easiest flowers to press are naturally flat, with a single layer of petals. Try using flowers like violets, pansies, daisies, and baby’s breath. To press your own flowers, sandwich the fresh blooms between newsprint or parchment paper. Then place the package between the pages of a heavy, hardcover book. Finally, add more weight on top of the book (several more heavy books, for example) and leave the blooms for 2 – 6 weeks until the moisture is removed and the petals are tissue paper thin. Read our how to press flowers post for even more information!
What should I write inside my pressed flower card?
There are lots of fun flower themed messages you can write inside your card, whether you’re giving it to Mom, Grandma, or a friend. Here are a few examples:
Thanks for helping me grow You’re blooming amazing Plant memories, grow love You’re my best bud Hope your day is full of sunshine and flowers If friends were flowers, I’d pick you
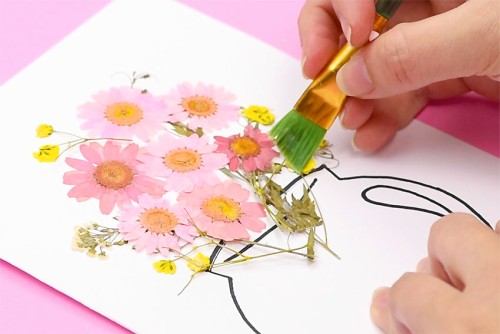
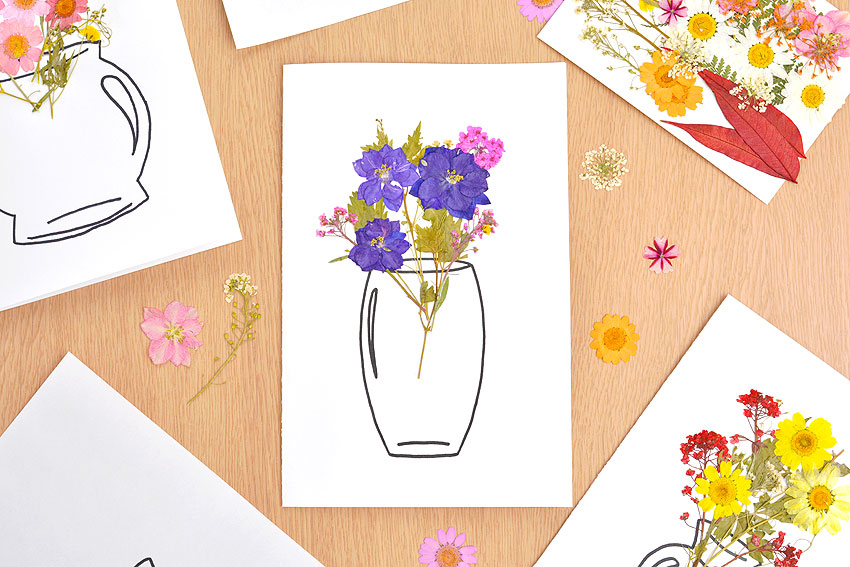
We love how beautiful these pressed flower cards turned out! For a different look, try spelling out ‘MOM’ or ‘LOVE’ with small flowers and stems. Wrap your homemade card in tissue paper to protect the flowers, and then tie a piece of twine or ribbon around it. Or preserve the memories even more by framing your pressed flower card!
Here’s even more pressed flower craft ideas:
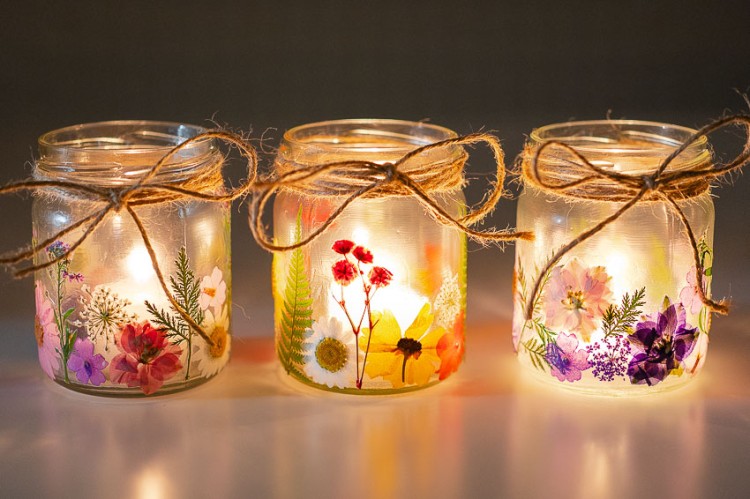
Pressed Flower Lanterns
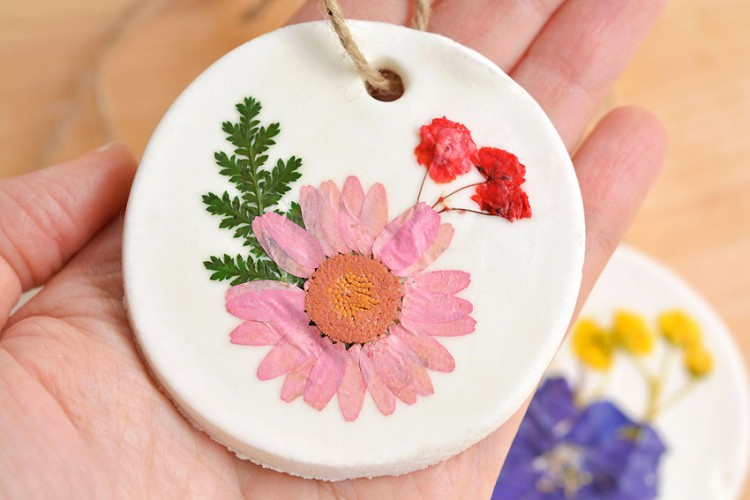
Dried Flower Ornaments
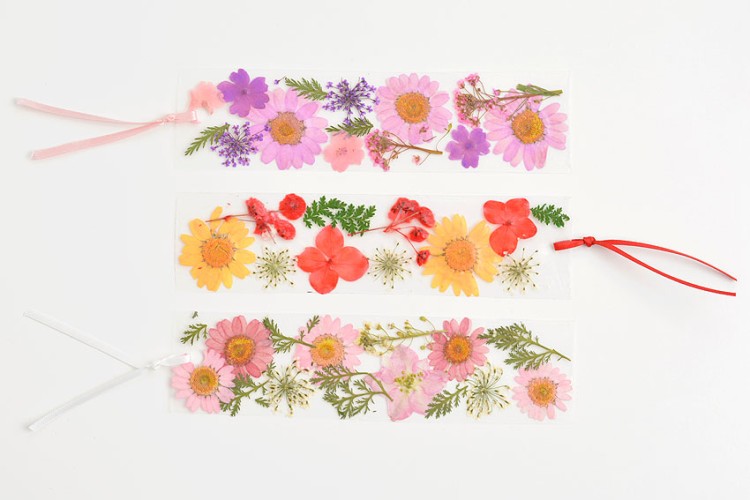
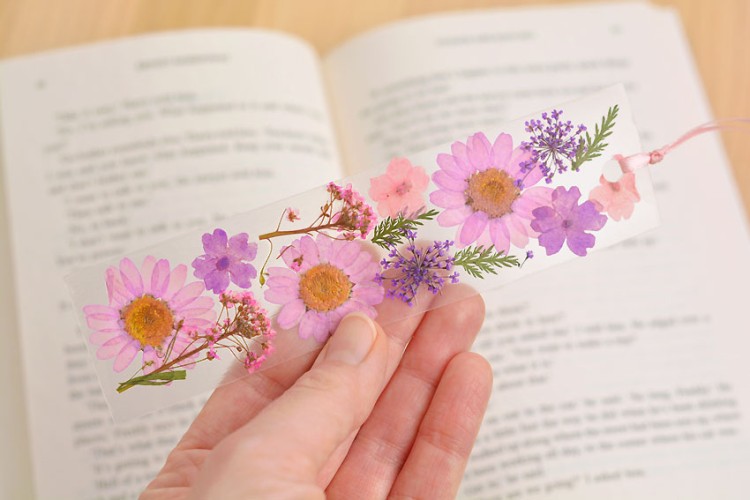
Pressed Flower Bookmark
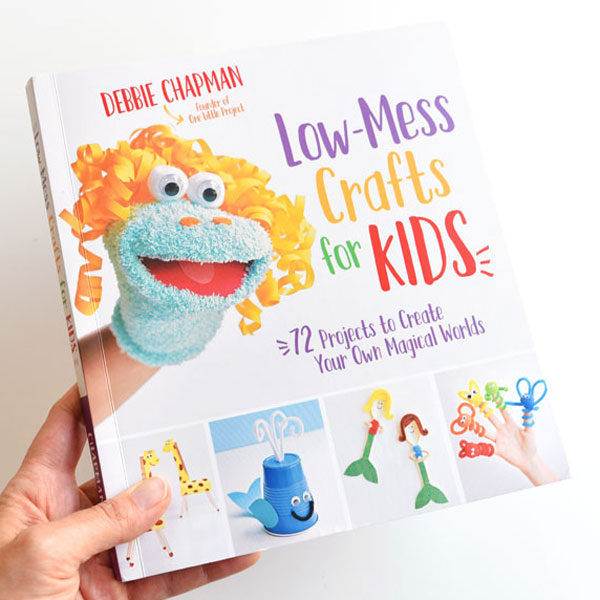
Our book Low-Mess Crafts for Kids is loaded with 72 fun and simple craft ideas for kids! The projects are fun, easy and most importantly low-mess, so the clean up is simple!
Where to buy: