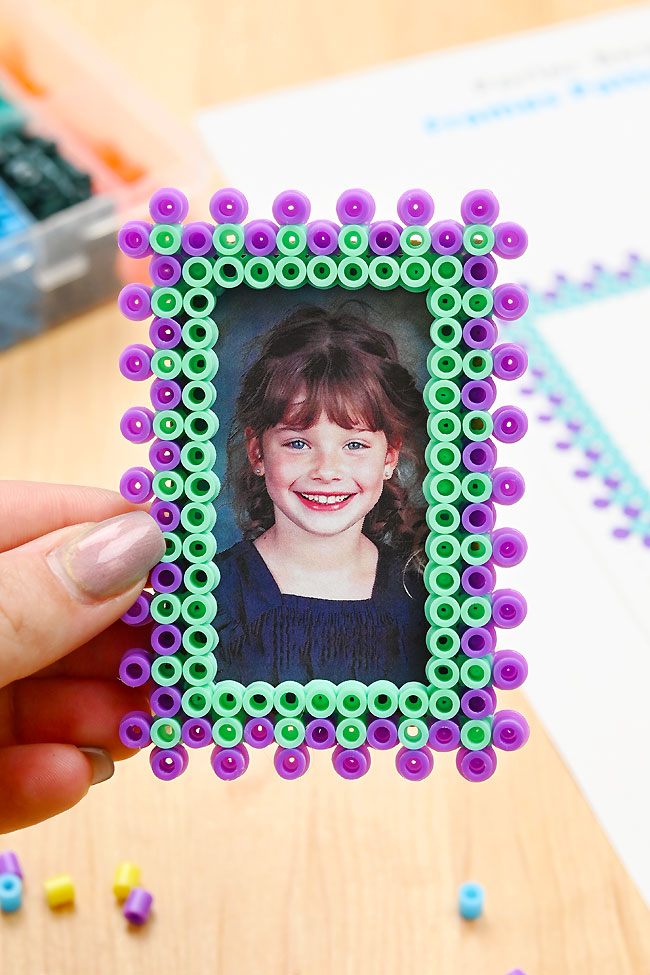
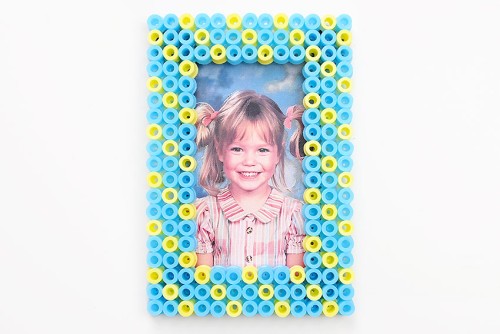
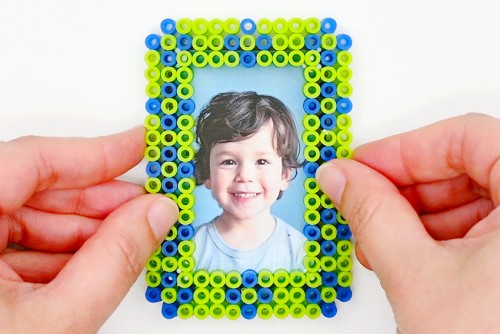
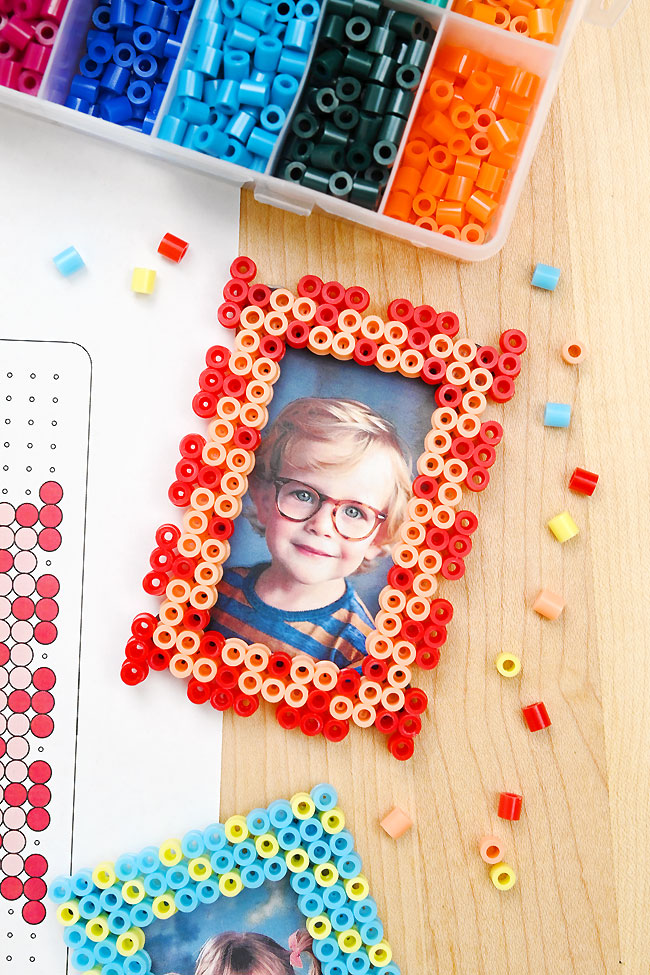
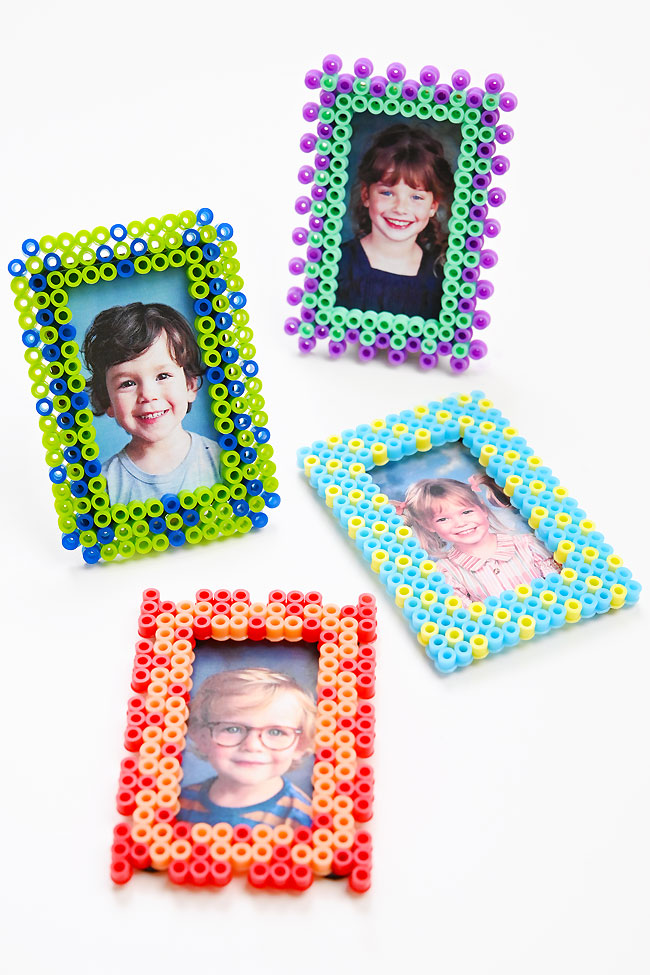
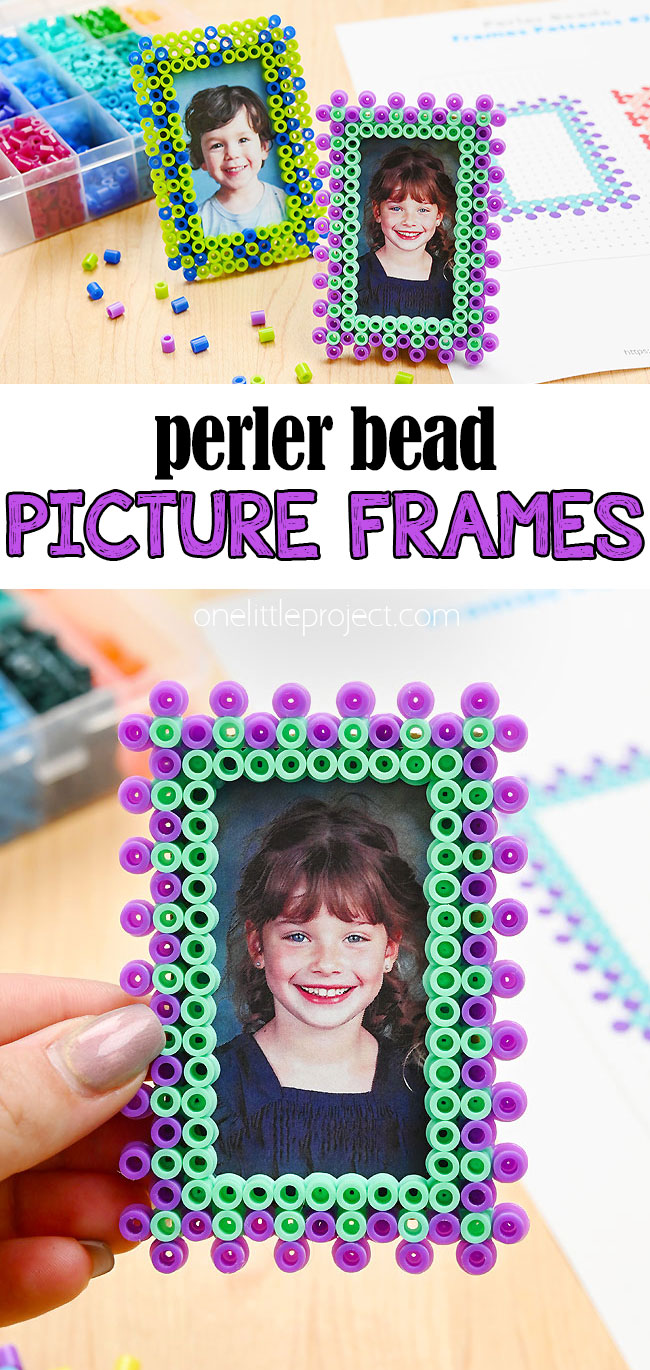
Use these fun DIY frames to display a school picture or a favourite photo of your pet. These Perler bead frames make a great homemade gift for Mother’s Day, Father’s Day, Grandparent’s Day, or any other special occasion!
This post contains affiliate links. If you use these links to buy something we may earn a small commission which helps us run this website.
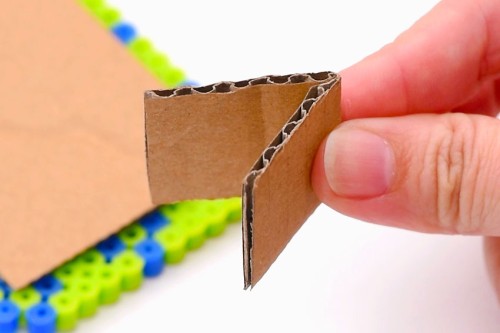
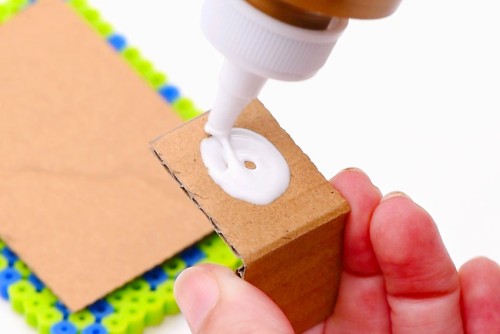
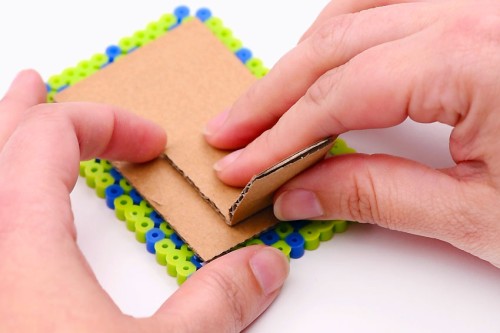
Helpful Tips:
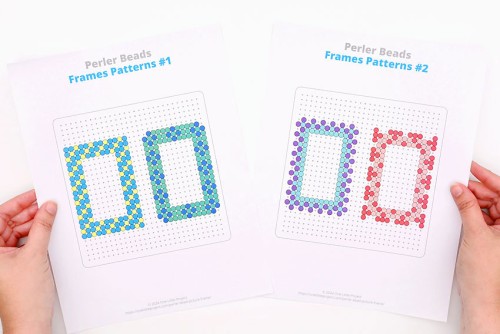
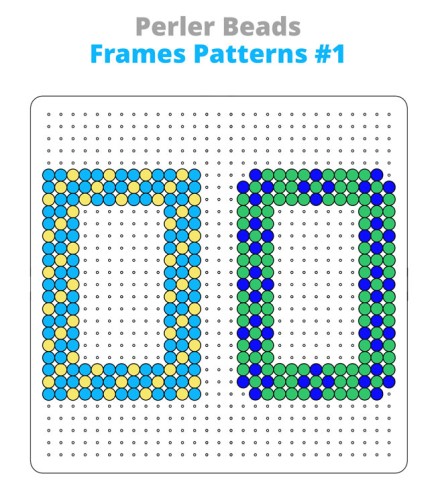
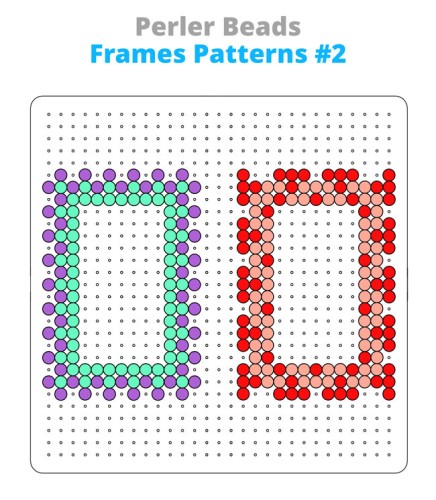
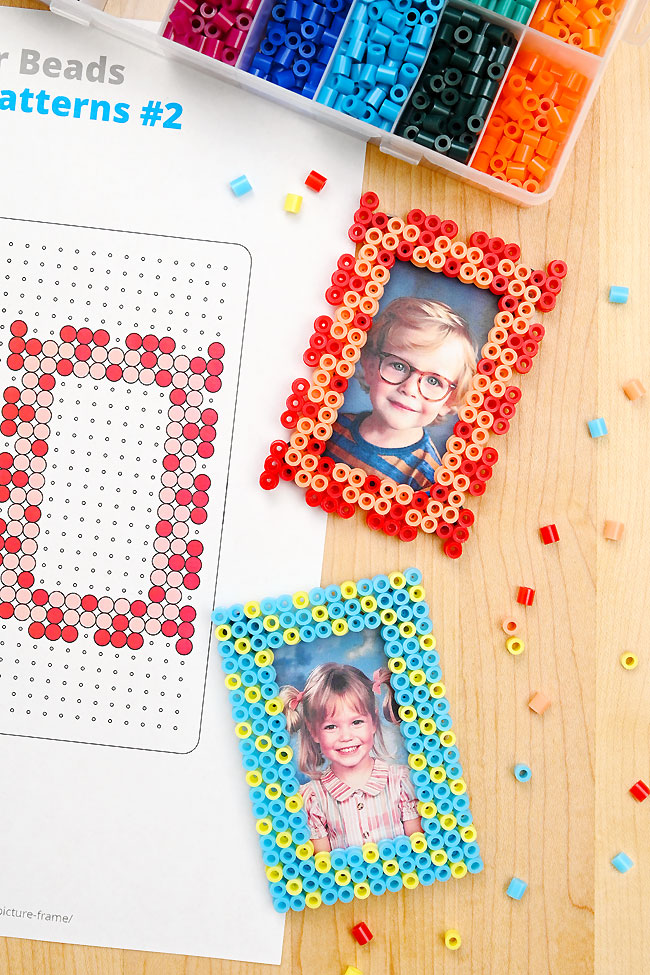
Get our free printable Perler bead picture frame patterns:
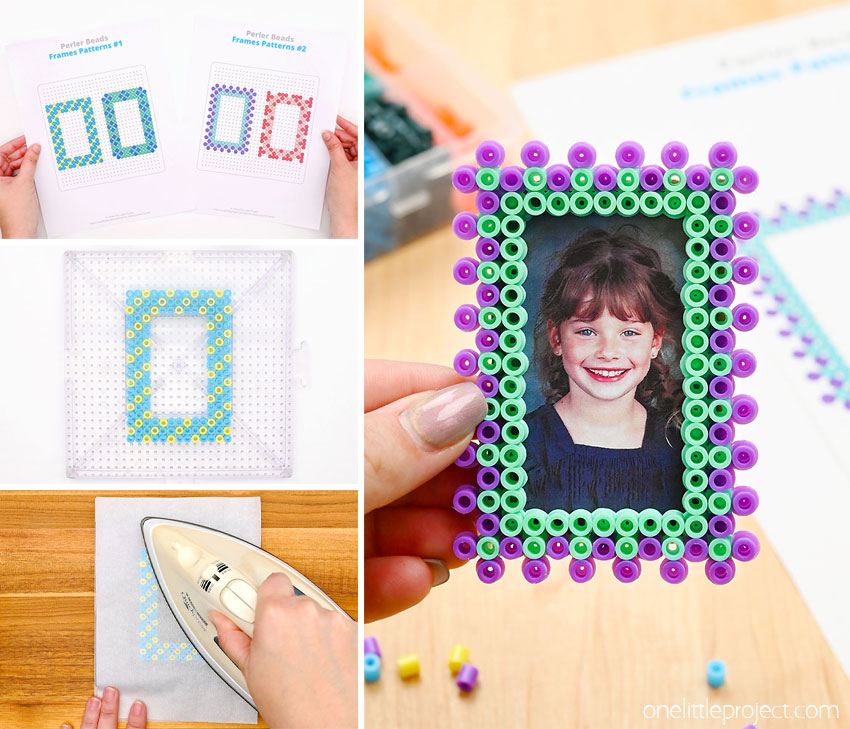
The links or pictures below will take you to our free, printable Perler bead picture frame templates! The PDF files will open in a new window. Then simply follow along with the pattern on your device’s screen, or print the patterns in colour on 8.5 x 11 (letter size) printer paper.
»> Perler Bead Frame Patterns #1 «<
»> Perler Bead Frame Patterns #2 «<
What size picture does this Perler bead picture frame hold?
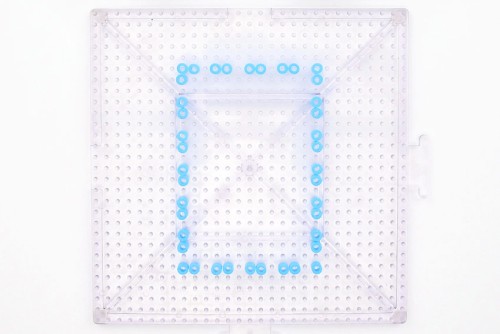
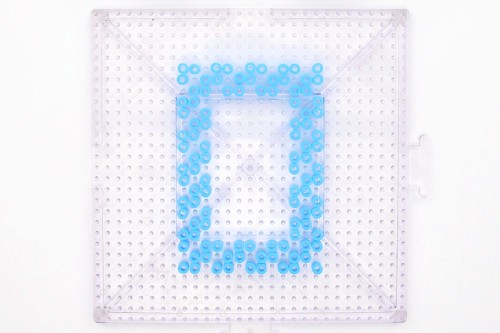
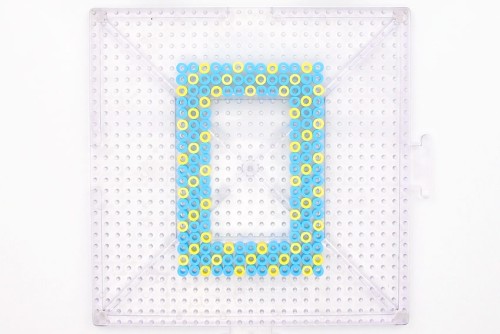
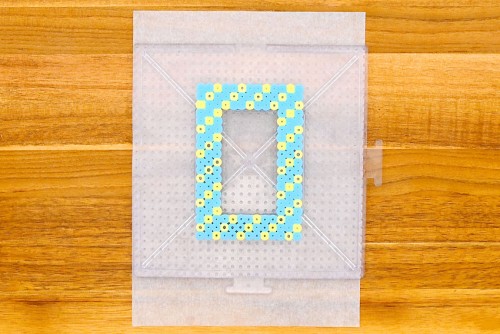
These Perler bead frames are made to hold a standard wallet size photo (2 x 3 inches).
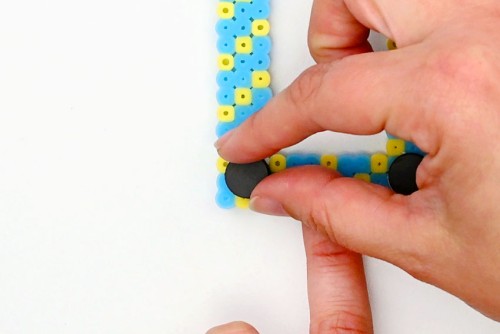
Can I iron both sides of this Perler bead picture frame?
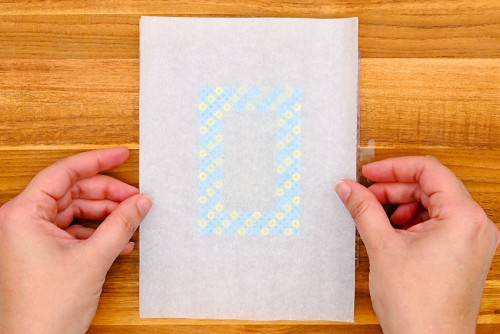
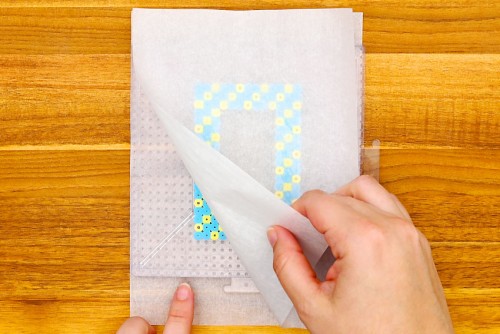
We like the look of the open beads on the front, but you can definitely iron both sides of your Perler frame if you’d like. This will change the look of the frame, but will also give it more stability. Let the picture frame cool once you’ve ironed one side of it and then remove it from the pegboard. Flip it over and set parchment back on top before ironing the second side.
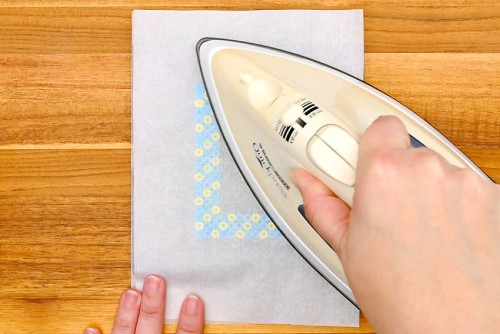
How do you melt Perler beads perfectly?
How long you need to iron your beads will depend on the temperature of your iron. Our Perler beads package suggests ironing for 10 to 20 seconds on medium temperature, but we don’t find that to be enough time. We iron our beads for about 30 to 45 seconds. Some areas of the iron can be hotter than others, so use gentle, circular motions as you press the iron down. Don’t be afraid to lift the iron off and check under the parchment to see how your beads are progressing. The Perler beads will be ready when the parchment paper sticks to them, but you can experiment with ironing for longer. We like to iron our beads until they’re just fused together, but you can create a completely different look by continuing to iron until the beads are closed.
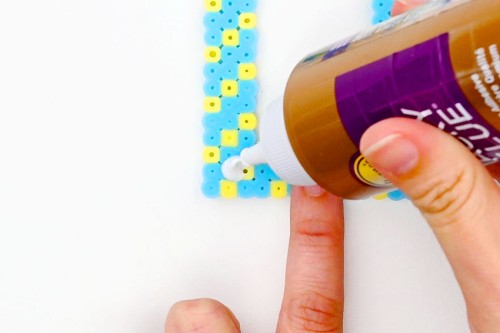
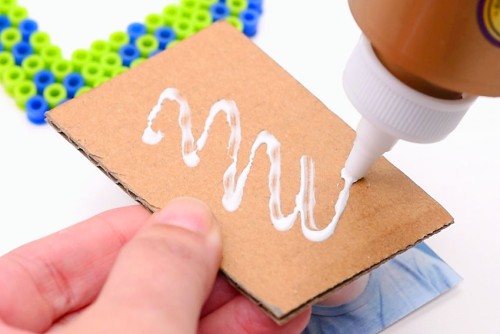
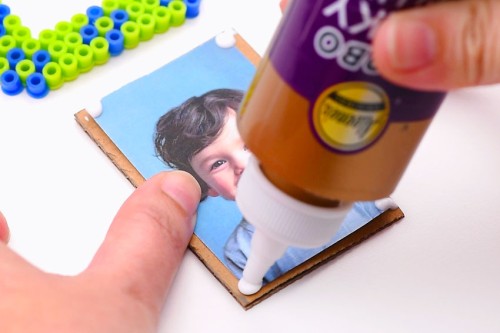
Choose your favourite colours of melty beads and make a Perler bead picture frame! It’s an awesome low cost, low mess craft. You can place the magnet frames on the fridge, a filing cabinet, or in your locker at school. And the cardboard stands make adorable photo frames for Mom or Dad’s desk!
Here’s even more Perler bead craft ideas:
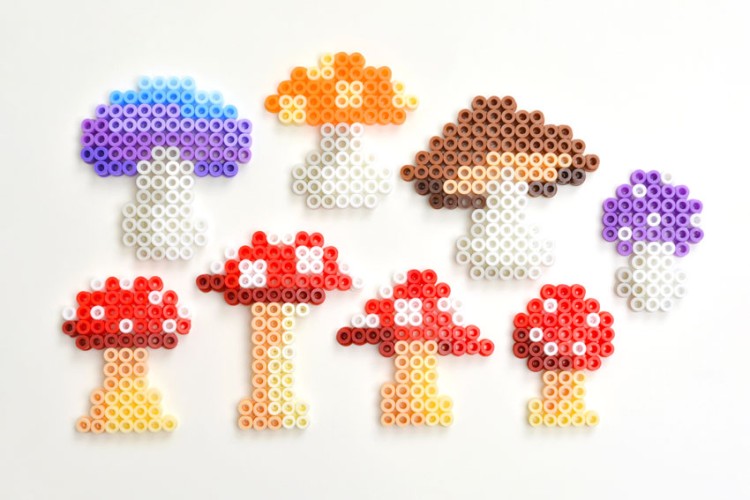
Mushroom Perler Beads
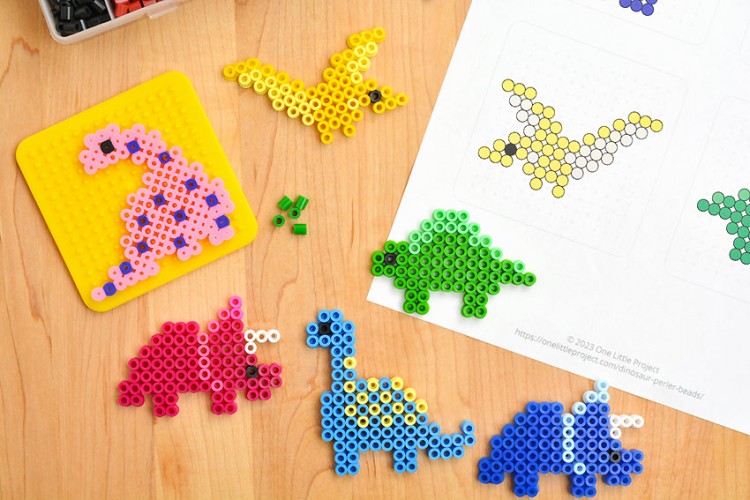
Dinosaur Perler Beads
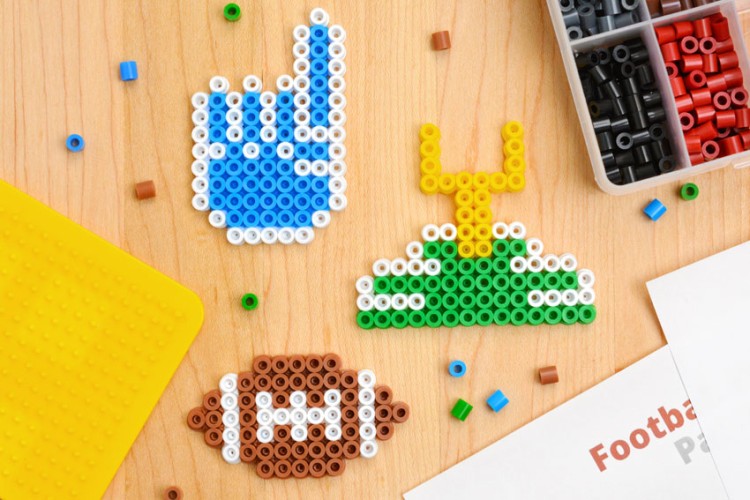
Football Perler Beads
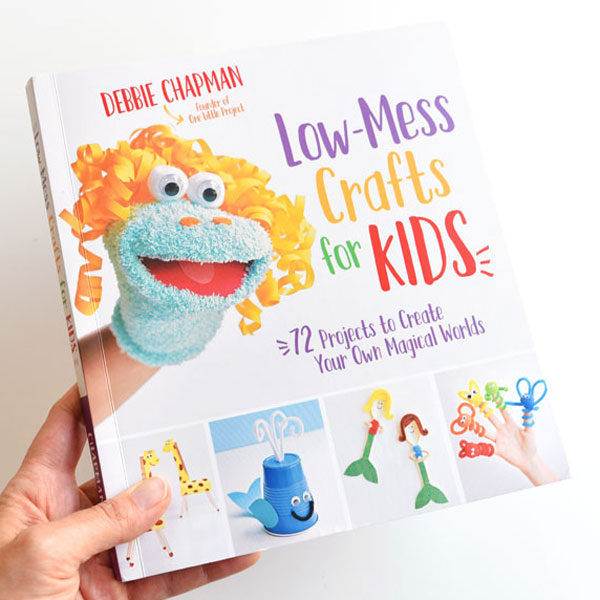
Our book Low-Mess Crafts for Kids is loaded with 72 fun and simple craft ideas for kids! The projects are fun, easy and most importantly low-mess, so the clean up is simple!
Where to buy: