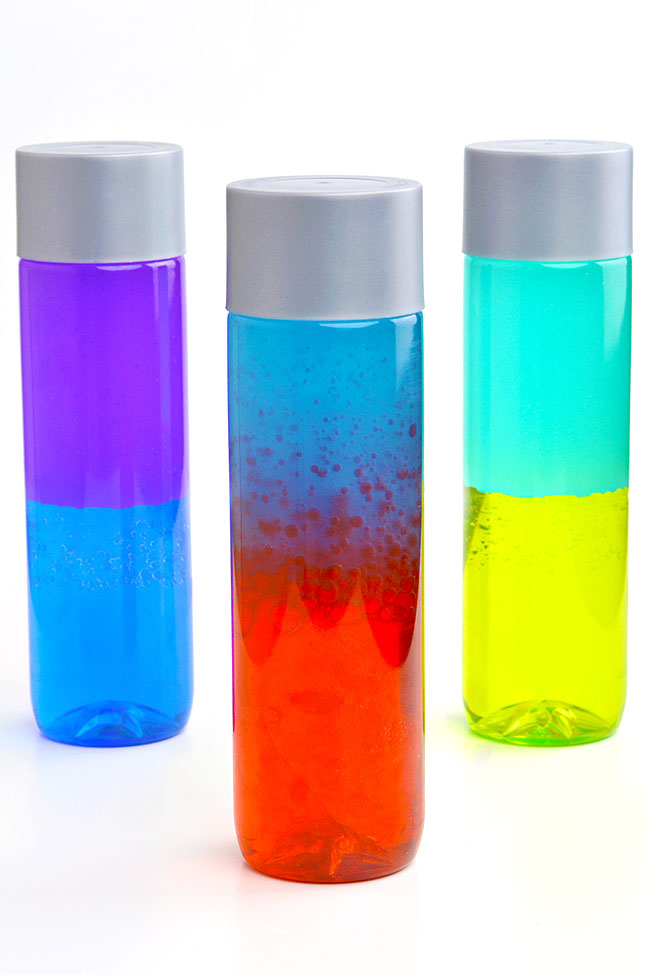
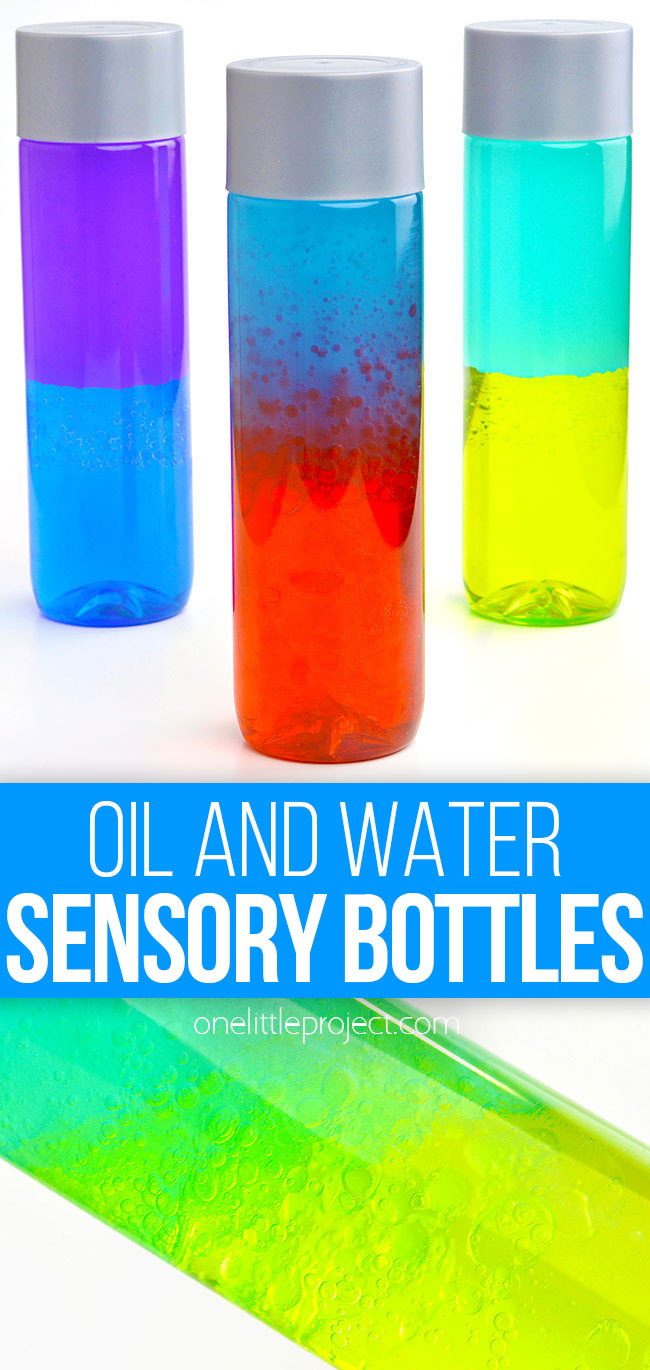
Sensory bottles are great for soothing and calming. But this color changing sensory bottle is also perfect for play and exploration. It’s a fun science experiment, and a mesmerizing fidget toy!
This post contains affiliate links. If you use these links to buy something we may earn a small commission which helps us run this website.
Helpful Tips:
Do the colors separate again?
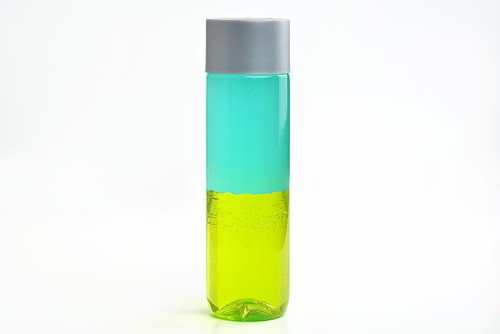
Yes, the two colors in your sensory bottle will separate after the bubbles settle. Since oil and water don’t mix, the water will always fall to the bottom and the oil will always float to the top.
How do these oil and water sensory bottles work?
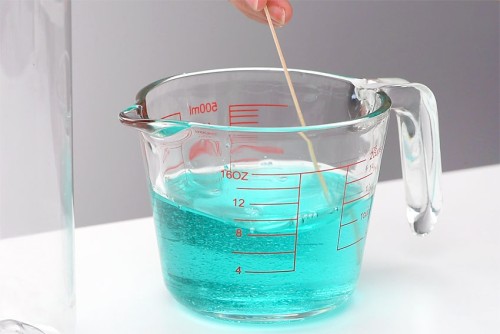
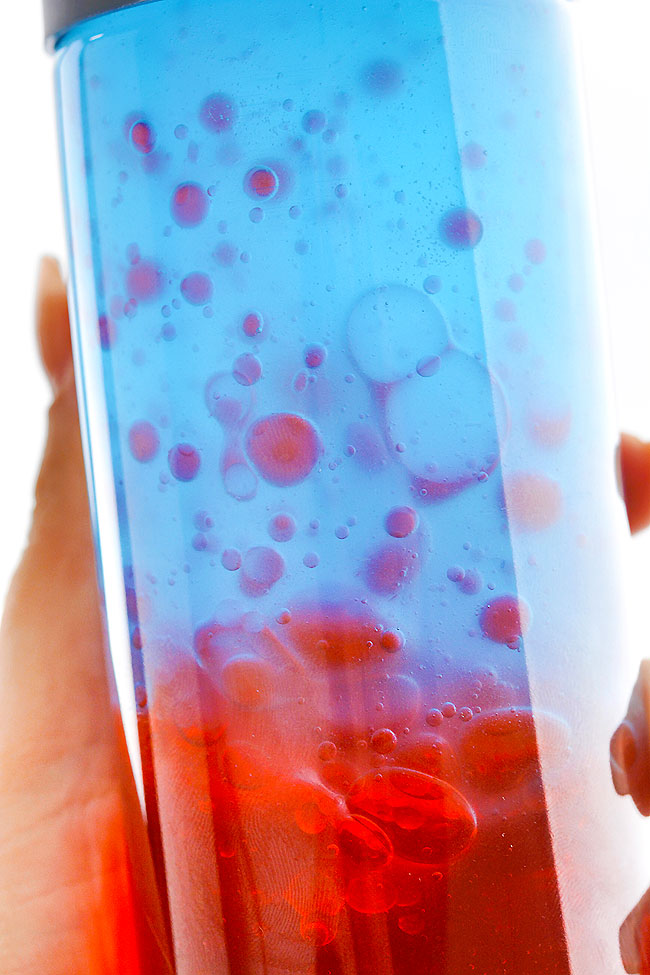
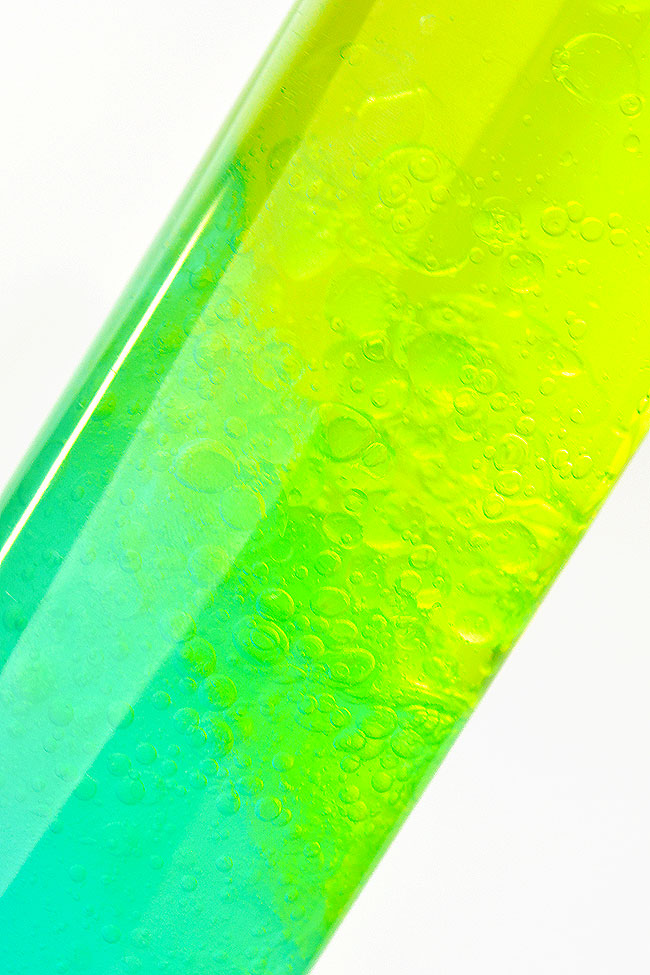
The colored water sinks to the bottom because it’s heavier (and has a higher density) than the oil. When you shake the bottles you make tiny bubbles of both oil and water which make it look like they’ve mixed together – and they’ll even create a new color! But since oil is actually hydrophobic – literally meaning “fearing water” – the oil molecules push away (repel) the water molecules so they never actually mix. The water bubbles will always sink to the bottom, causing the oil and water to separate.
What color combinations look best?
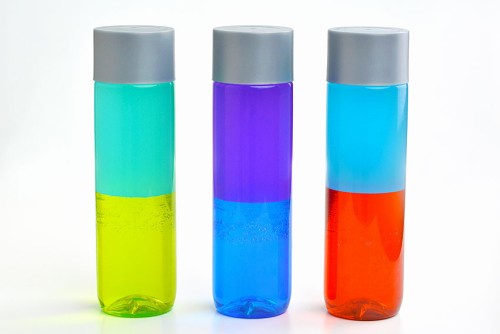
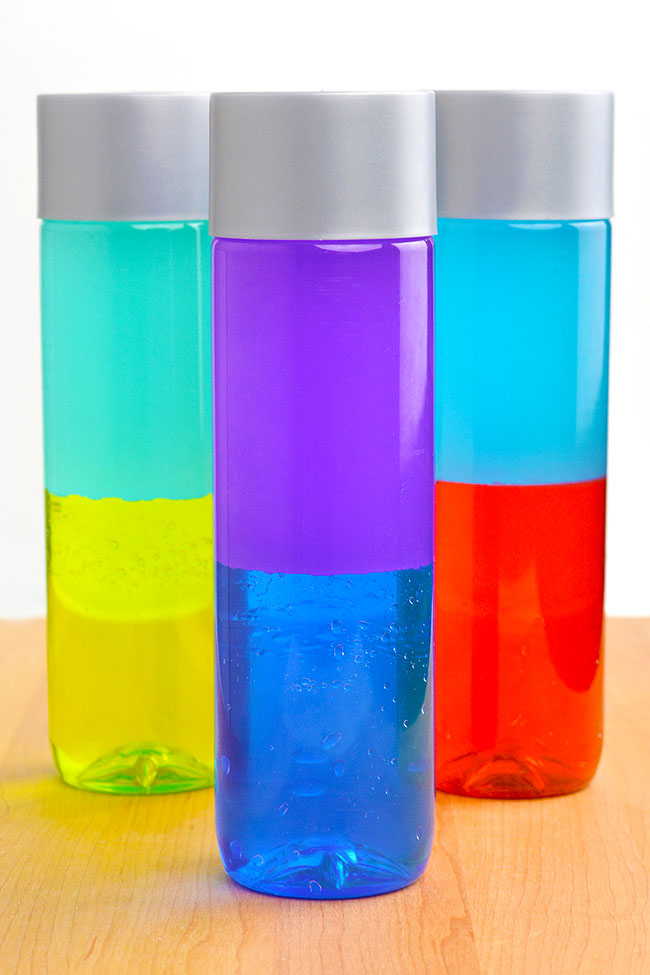
Try to avoid colors that make the color brown when mixed together. In other words, make sure you don’t have all of the primary colors (red, yellow and blue) in the same bottle. For example, green is made of blue and yellow. So if you have green on the bottom and red on the top, you’ll have blue + yellow + red which might look brown when you shake it up.
How long do these sensory bottles last?
The sensory bottles will last for weeks or even months – and the oil and water will never combine. However, the colors look best on the first day. Our oil based food coloring must have still been somewhat water soluble because after one day, it started to separate from the oil and mix into our water. We were shocked to find that after 2 weeks the purple oil turned nearly clear in our purple and blue bottle!
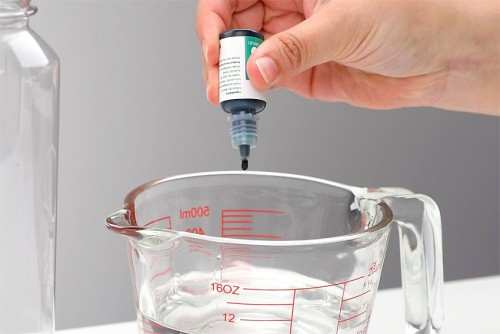
Do I really need two types of food coloring?
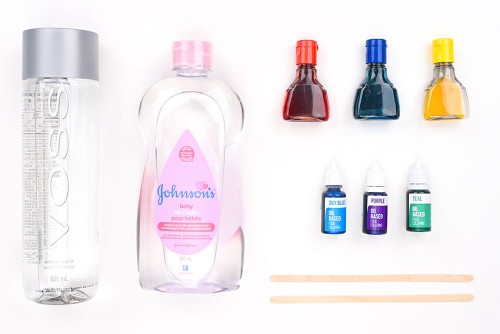
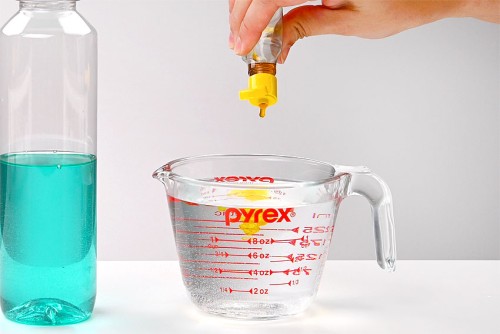
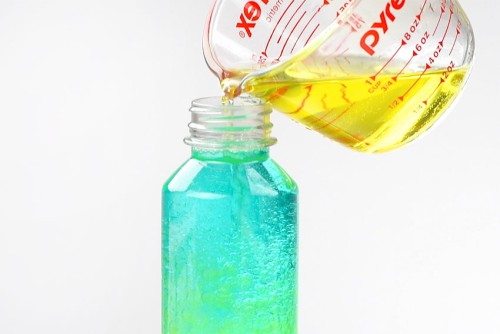
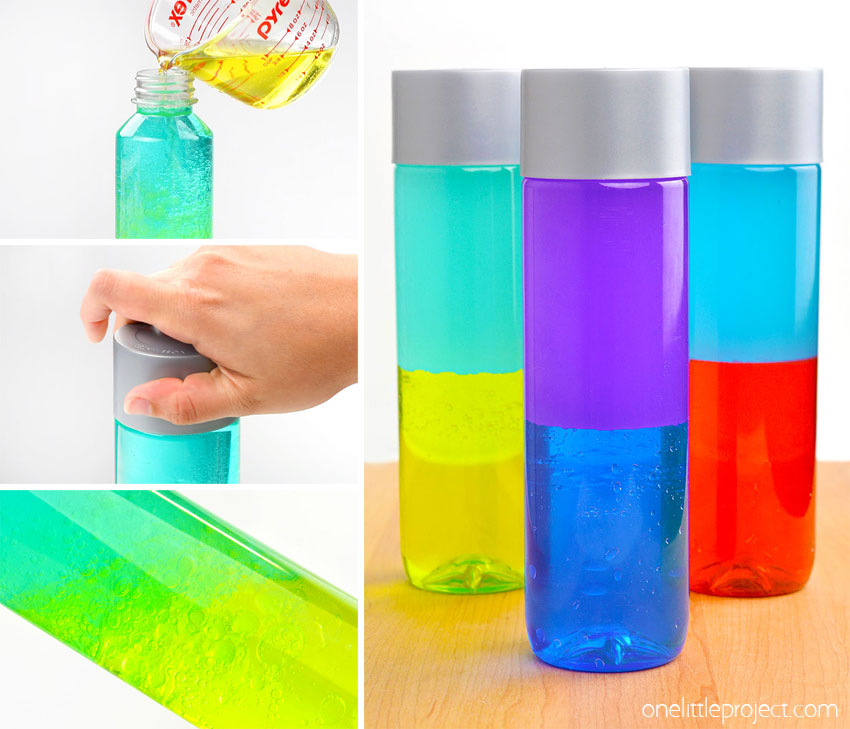
Yes, you need to use two different types of coloring to make these DIY sensory bottles. The water can be colored with regular food coloring or even liquid watercolor paint. But to color the baby oil you need to use an oil based food coloring, like a candy or chocolate dye. Regular food coloring is water based, so it won’t mix with the oil. If you don’t want to buy special dyes, use vegetable oil (which is yellow) instead of baby oil. You’ll be limited on your color combinations, but it still creates a fun sensory bottle!
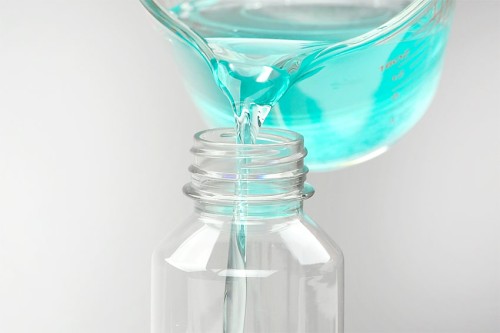
What water bottles are best for making DIY sensory bottles?
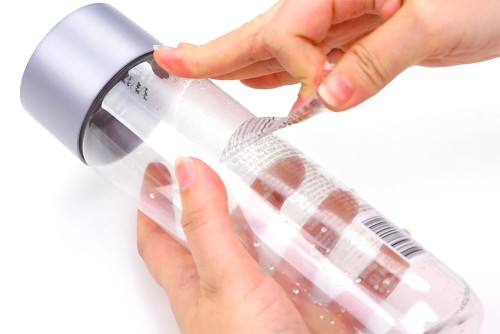
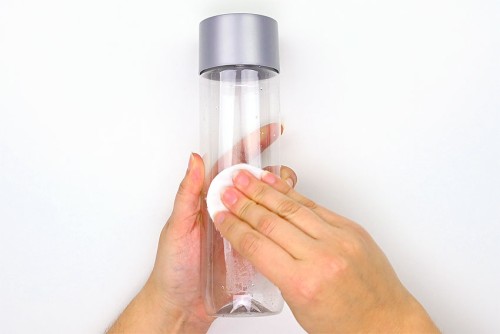
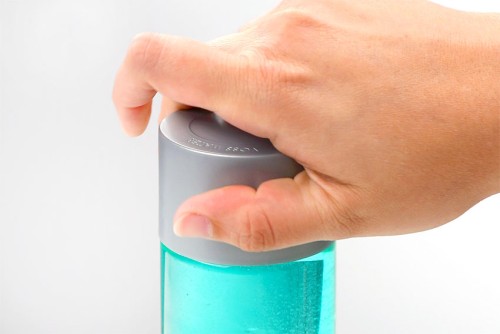
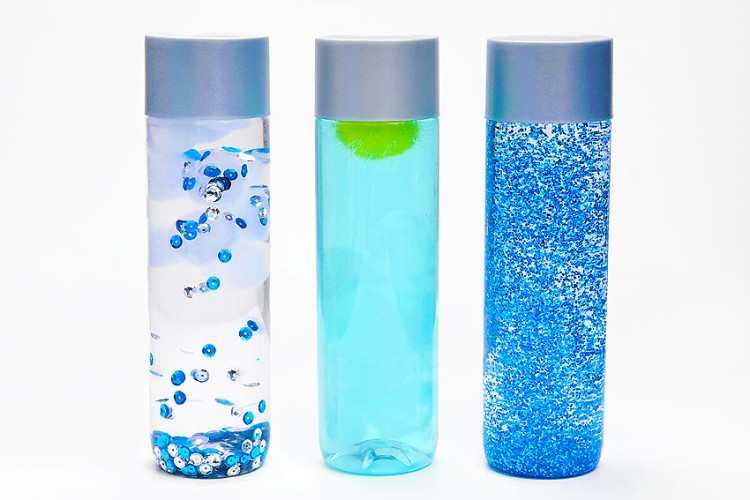
You can use any type of bottle (check your recycling first!), but for the best looking sensory bottle try to find a water bottle that has non-ridged sides. It makes it much easier to see the color mixing! VOSS water bottles are the most popular choice for sensory bottles, and it’s easy to see why. The 500 mL bottles have a wide opening, making them easy to pour into. The bottles also have a flat bottom, and a nice flat silver cap. They make the sensory bottles look like something you could buy in a store! Sparkling ICE bottles are another good option for a flat-sided bottle, although the opening is quite narrow, and the bottom of the bottle isn’t flat. If you don’t want to use such a big bottle, check the dollar store for travel sized shampoo bottles. You can even use baby food jars to make a mini calm jar. Any container with a lid works, as long as you can see through it!
It’s so cool to watch the colors swirl and mix on these color mixing sensory bottles. They look SO PRETTY shining in the sun – they even cast shadows that are colorful!
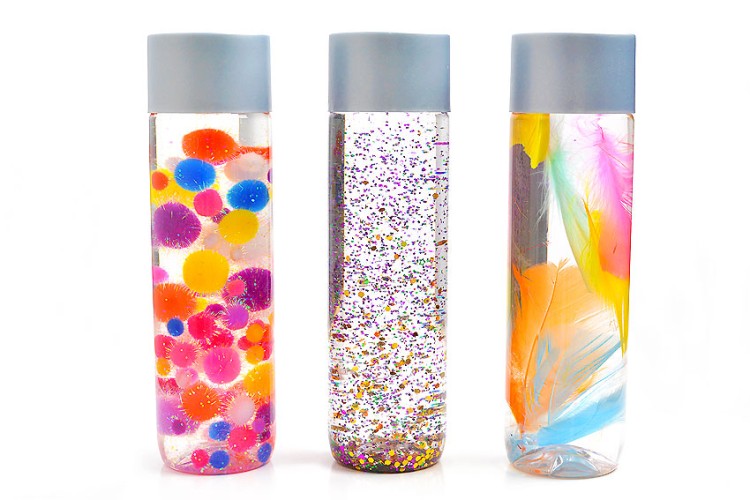
Here’s even more sensory play ideas:
DIY Sensory Bottles
Anti-Gravity Galaxy in a Bottle
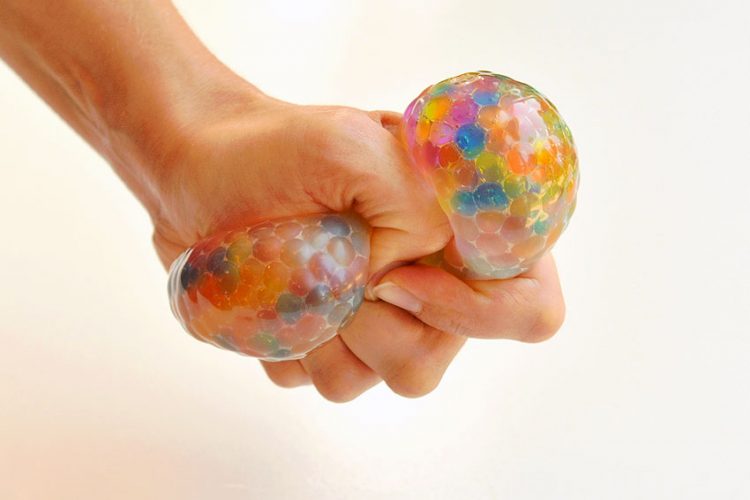
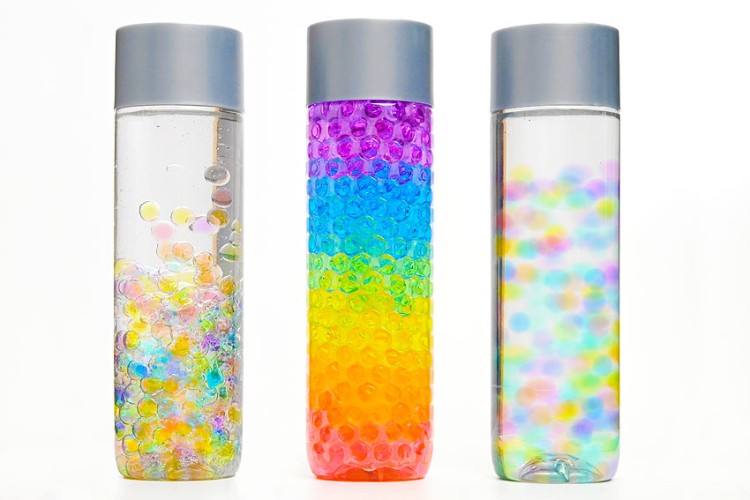
Orbeez Stress Ball
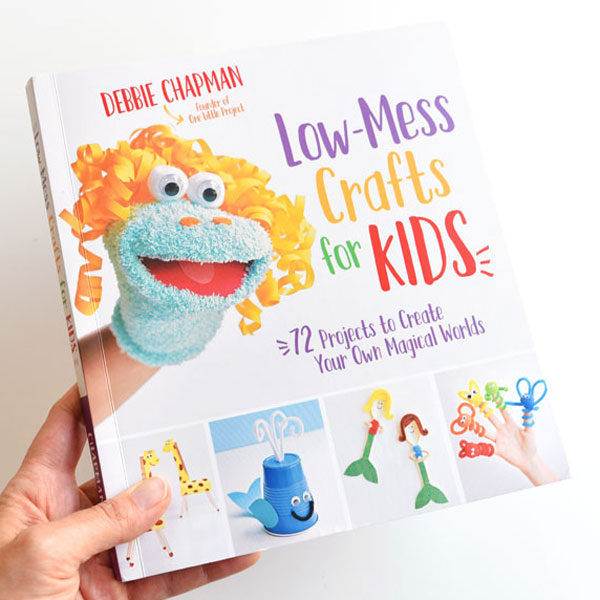
Our book Low-Mess Crafts for Kids is loaded with 72 fun and simple craft ideas for kids! The projects are fun, easy and most importantly low-mess, so the clean up is simple!
Where to buy: