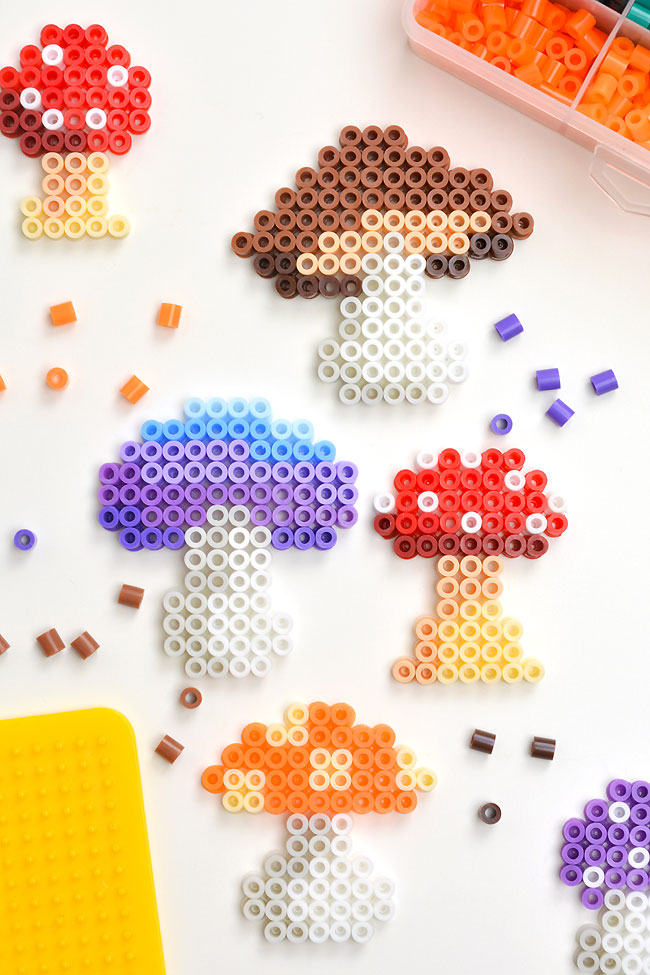
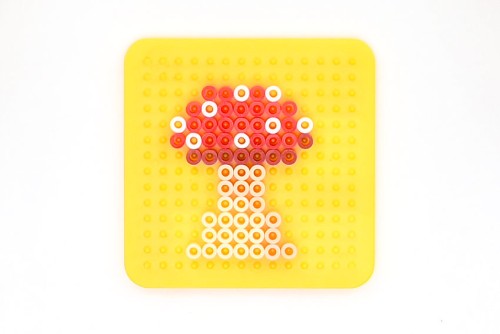
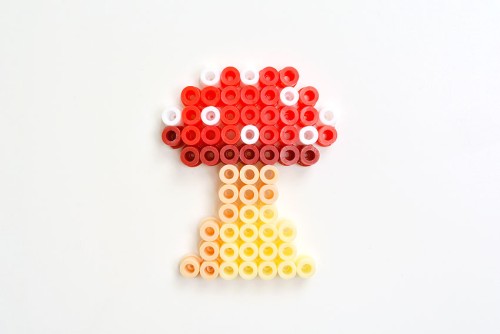
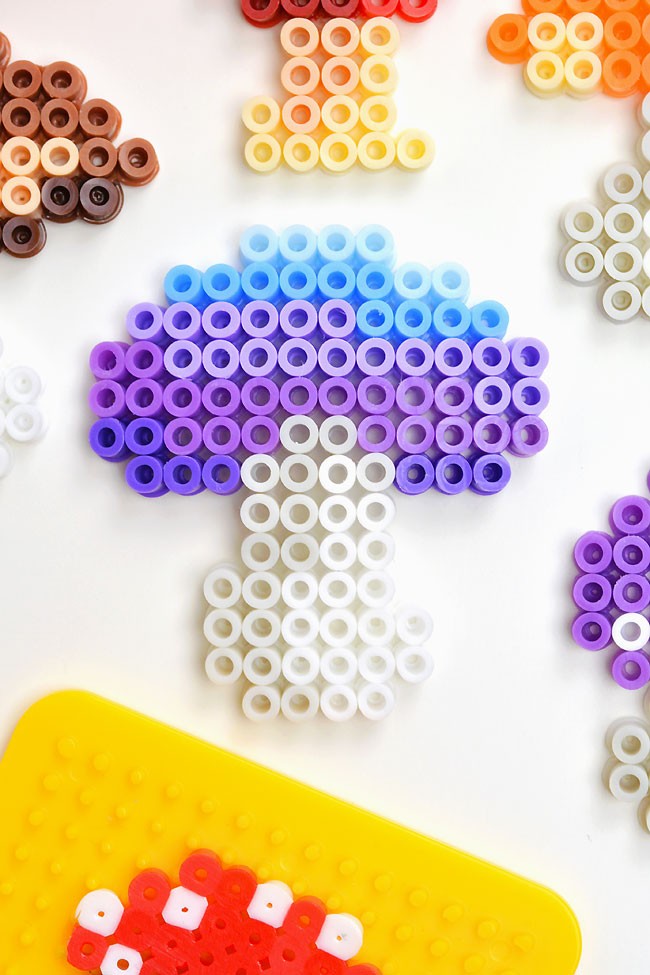
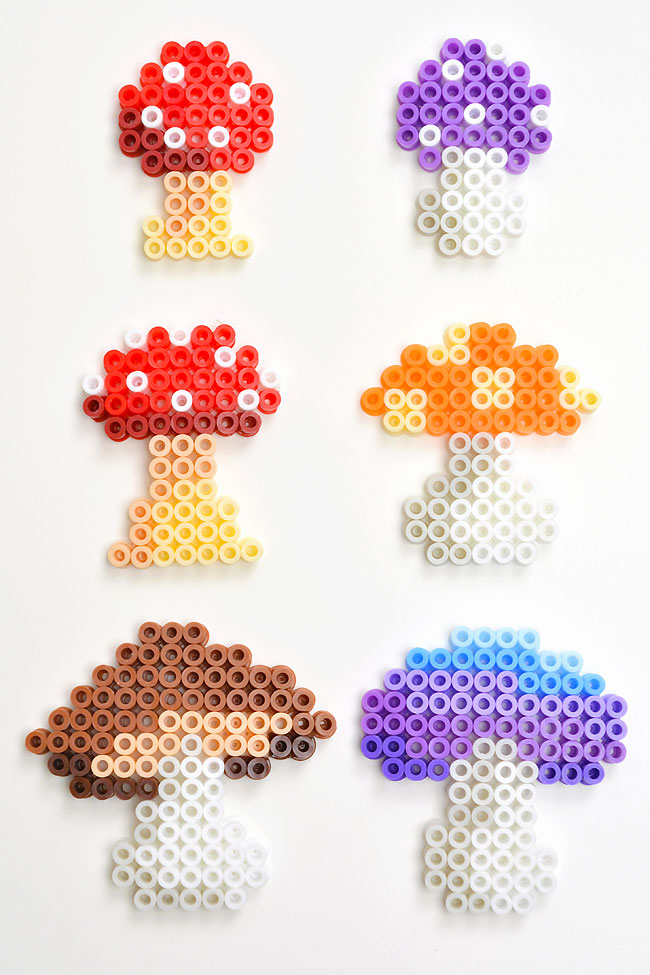
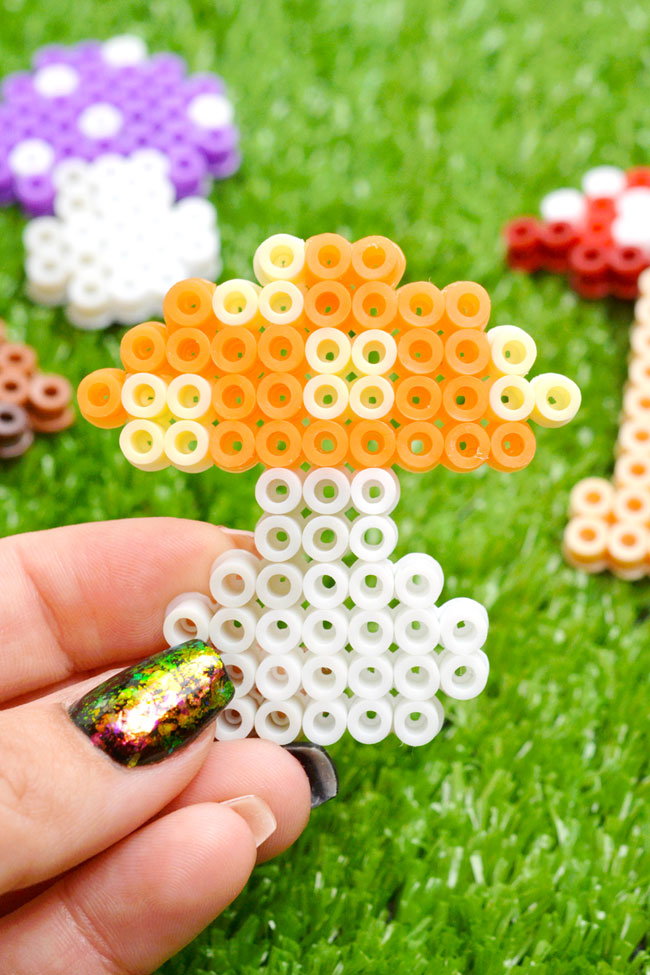
We used our clay mushrooms as inspiration when designing these mushroom Perler bead patterns, and we love how they turned out! These colourful mushrooms are whimsical, magical, and super easy to make using our free printable templates!
This post contains affiliate links. If you use these links to buy something we may earn a small commission which helps us run this website.
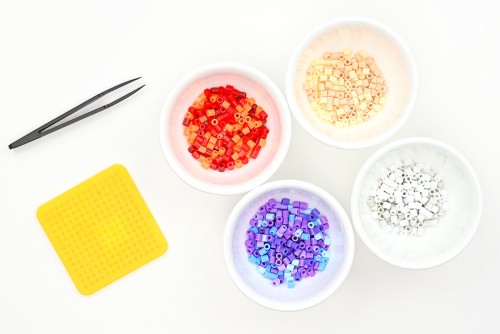
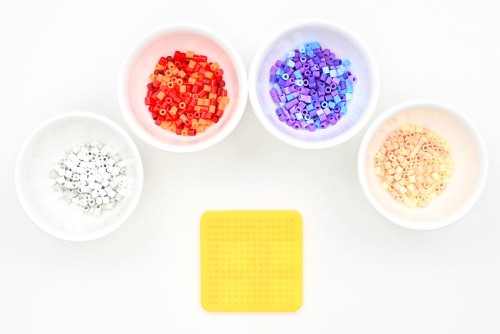
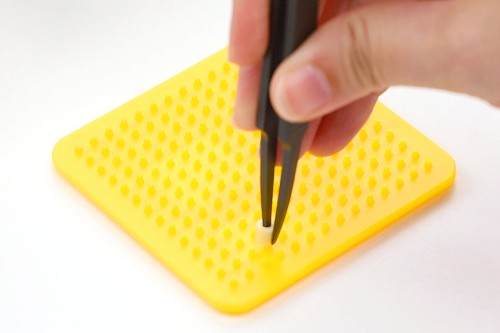
Helpful Tips:
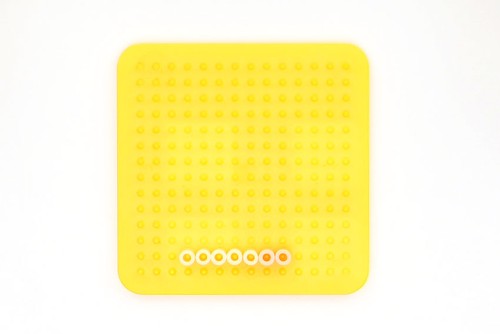
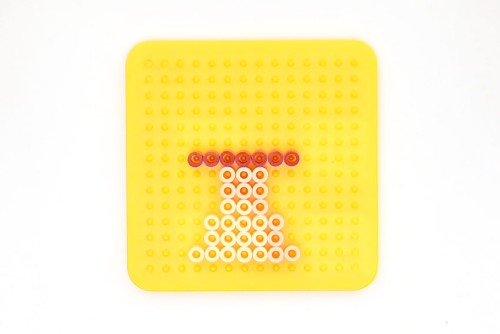
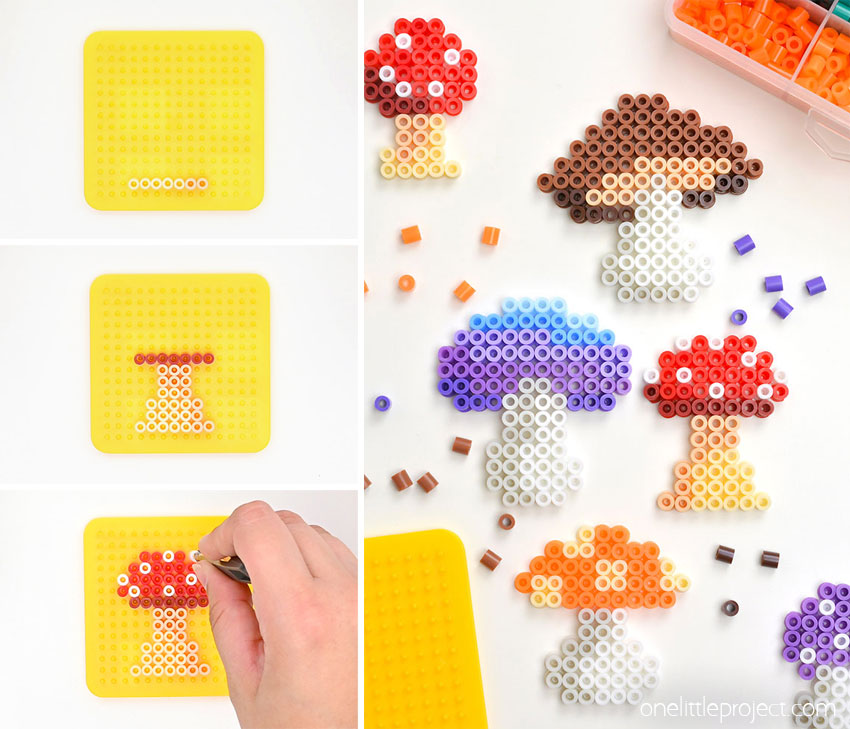
Download our free mushroom Perler beads templates:
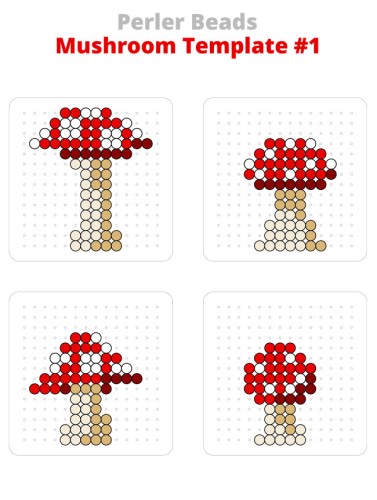
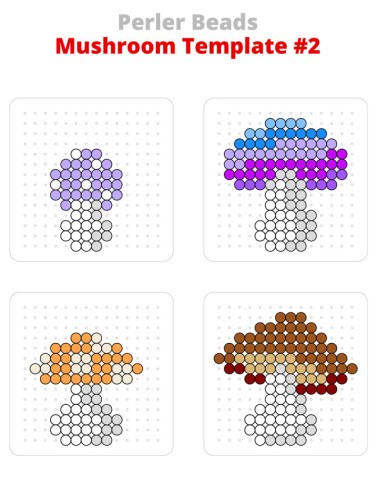
Click on the links below to download our free, printable Perler bead mushroom templates! The PDF files will open in a new window. Then simply follow along with the pattern on your device’s screen, or print the templates in colour on 8.5 x 11 (letter size) printer paper.
»> Mushroom Perler Beads Template #1 «<
»> Mushroom Perler Beads Template #2 «<
Where’s the best place to buy beads to make mushroom Perler beads designs?
Or go straight to the source and check out the Perler beads website for every possible colour of bead and accessories!
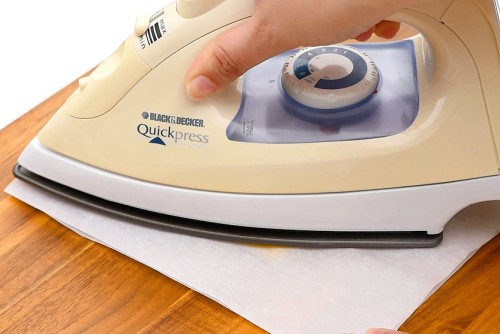
Should I melt both sides of my Perler bead mushroom?
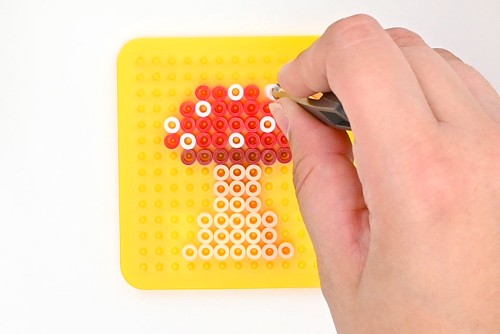
It’s really up to you if you iron both sides of your mushroom or not. We prefer the classic Perler bead look of ironing only the one side. When you iron both sides it changes the look of the mushroom, but it does give it more stability. It’s fun to experiment with different looks for your melty beads to see what you like best! You can iron only one side or iron the second side just enough so the beads are fused together. Or, keep ironing until the beads are totally closed and melted together! To iron the second side, remove the fused mushroom from the pegboard. Then flip it over and cover it with parchment paper again before ironing the back.
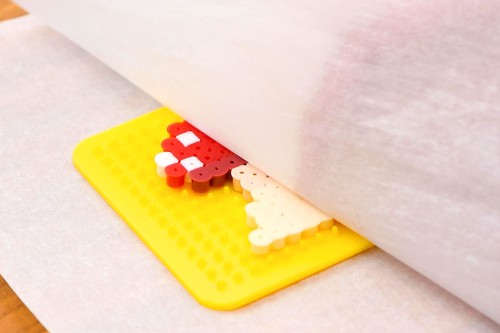
What’s the best paper for melting Perler beads?
We prefer to cover our Perler beads designs with parchment paper when melting them. We always have it in the house, it’s inexpensive, and it works well. And don’t forget that you can re-use the parchment paper to make more mushroom Perler beads! You can buy special Perler bead ironing paper if you’d like, but we don’t find it necessary.
What can I do with my mushroom Perler beads?
Working with Perler beads is fun on its own, but it’s also cool to do something with the mushrooms you’ve created! Here are a few ideas:
Use the mushrooms for pretend play in a fairy garden Tie a thin string or fishing line through one of the top holes and hang it in the window Add a magnet to the back and hang it on the fridge or any other magnetic surface Glue a pin to the back to make a brooch or badge for your backpack Add a chain with a split ring through one of the holes and turn the Perler bead mushroom into a keychain Attach your mushroom to cardstock with a glue dot for a fun picture or front of a homemade card
Mushrooms and toadstools are known as symbols of good luck, making these mushroom Perler beads perfect to give as a homemade gift. It’s so fun to make a Perler bead mushroom, whether you’re a fan of Alice in Wonderland, Super Mario, or you just like the look of these adorable fungi!
Here’s even more Perler bead craft ideas:
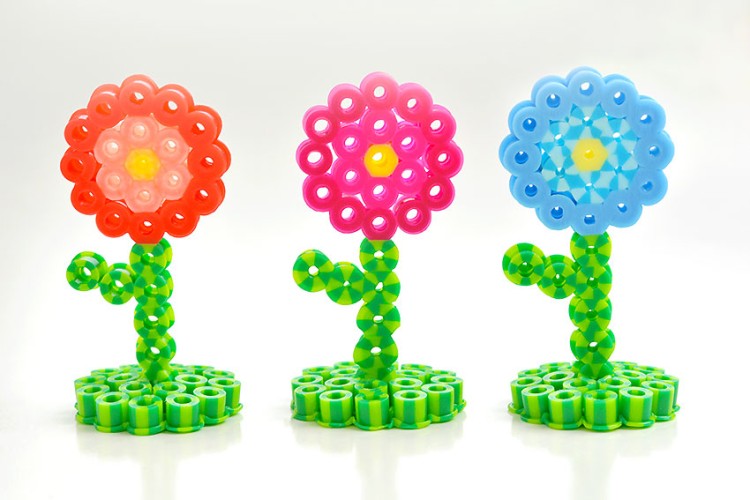
Perler Bead Flower
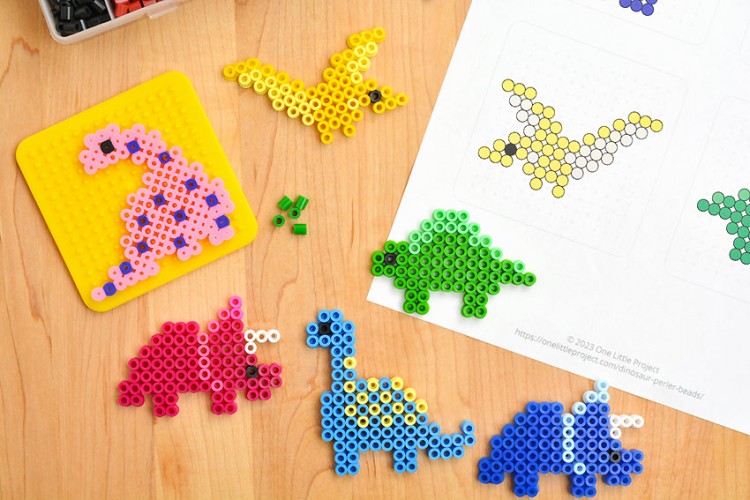
Dinosaur Perler Beads
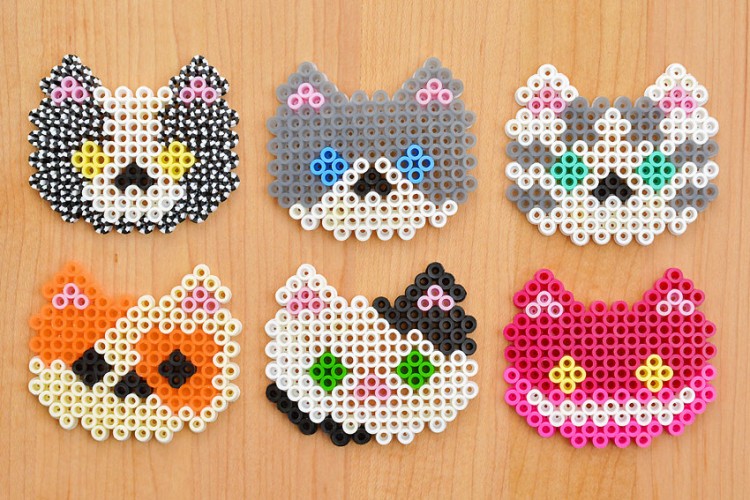
Cat Perler Beads
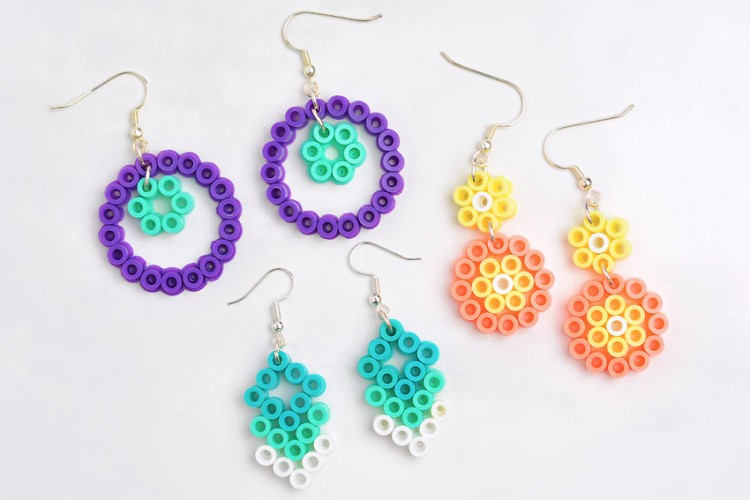
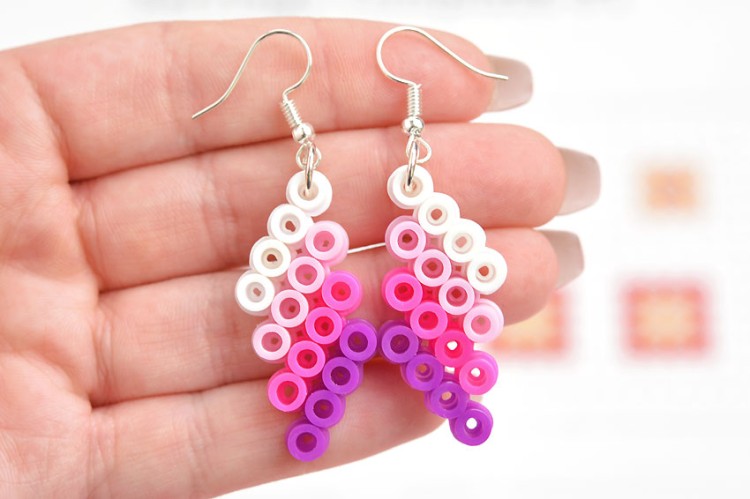
Perler Bead Earrings
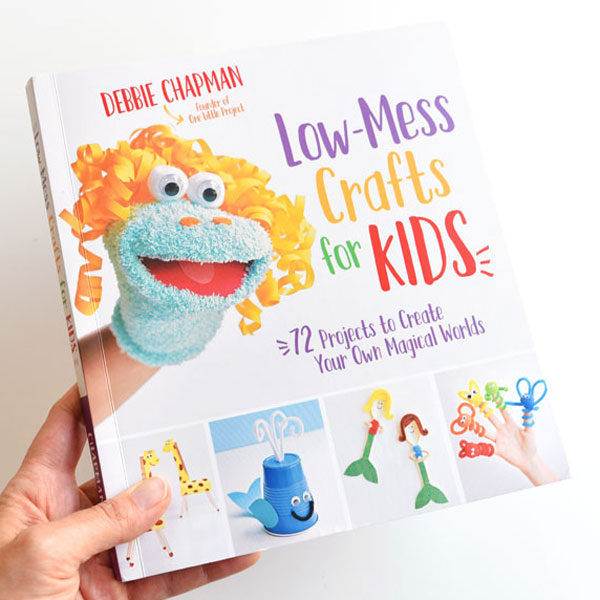
Our book Low-Mess Crafts for Kids is loaded with 72 fun and simple craft ideas for kids! The projects are fun, easy and most importantly low-mess, so the clean up is simple!
Where to buy: