And best of all, they’re really easy to make! Hello friends! Frozen pie crust is your new best friend. You can make awesome treats soooo quickly. Everyone will be amazed by your fabulous baking skills! We’ll leave it our little secret that these mini apple pies are actually really easy to make! My kids came home from school and gobbled up every last one of them in about 15 minutes. (Somehow my 3 year old managed to eat three of them!?) They sat at the kitchen table, taking giant bites leaving nothing but crumbs on their placemats.
I sat back and watched them eat. I’m glad my husband wasn’t watching me because I was sitting there, wide eyed, holding out the plate, “Here sweetie, have another mini apple pie!” just soaking it all in. Any time I bake something they love I’m pretty much beaming with pride. Nothing makes me happier than seeing them enjoy the food that I’ve made! These mini apple pies would probably taste AMAZING with homemade pie crust and homemade apple pie filling if you have the time (I’m sure you can google recipes for both of those things). But I wanted to make a delicious treat and still have time to defeat the nearly ceiling-high pile of dirty dishes on my counter. So this recipe is a winner in our house!
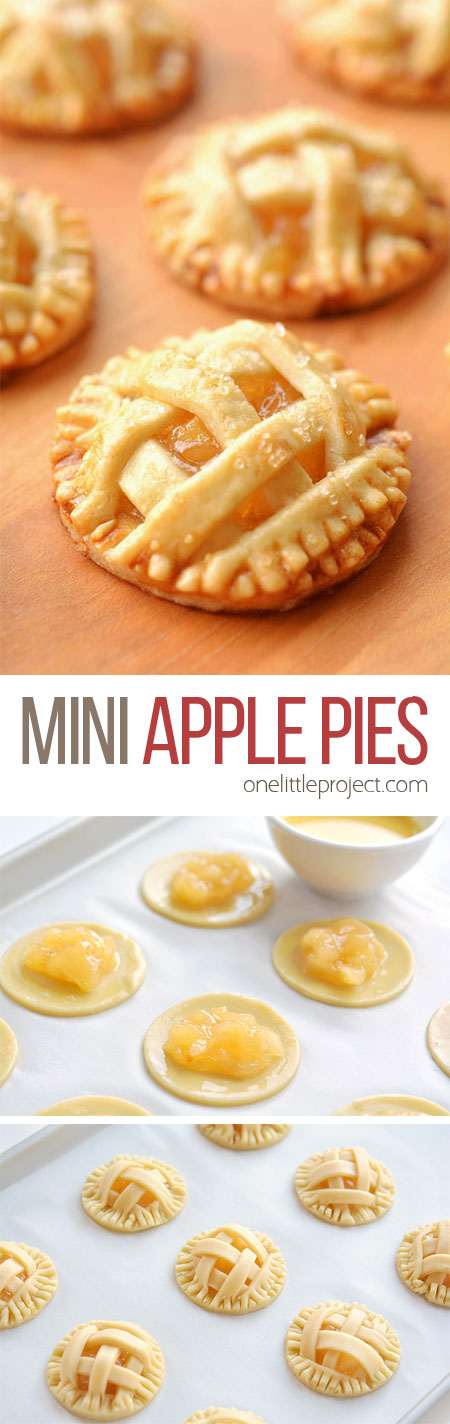
How to Make Mini Apple Pies
The full printable recipe is at the end of this post, but here’s what you’ll need:
Pie Crust Apple Pie Filling Egg Coarse Sugar
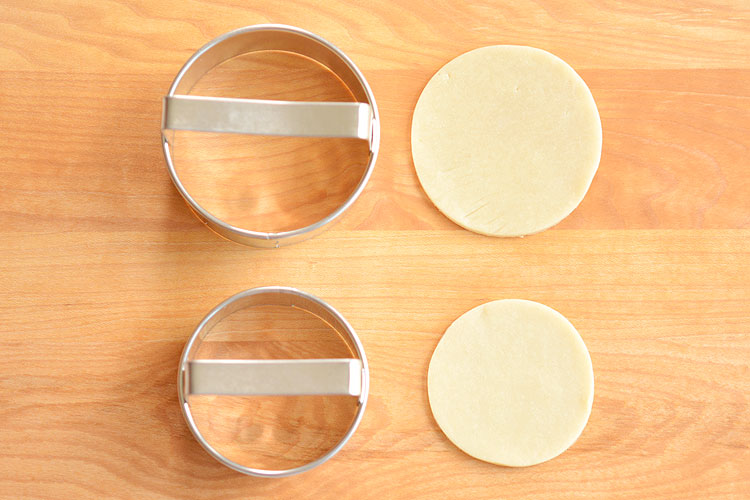
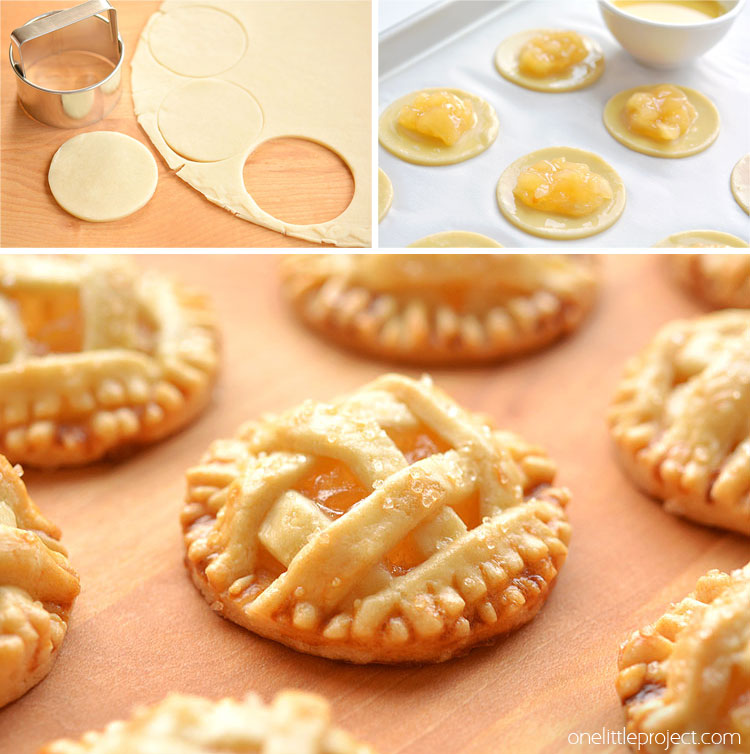
Leave the frozen pie crust on the counter for about an hour to let it defrost. Then carefully remove it from the foil tin and set it on the counter. I rolled it with a rolling pin just enough to flatten it out.
I used two different circle cookie cutters. One was 2.5″ wide and the other was 3″ wide. Don’t worry if you don’t have circle cookie cutters. Just use plastic cups, or even two different sizes of drinking glasses.
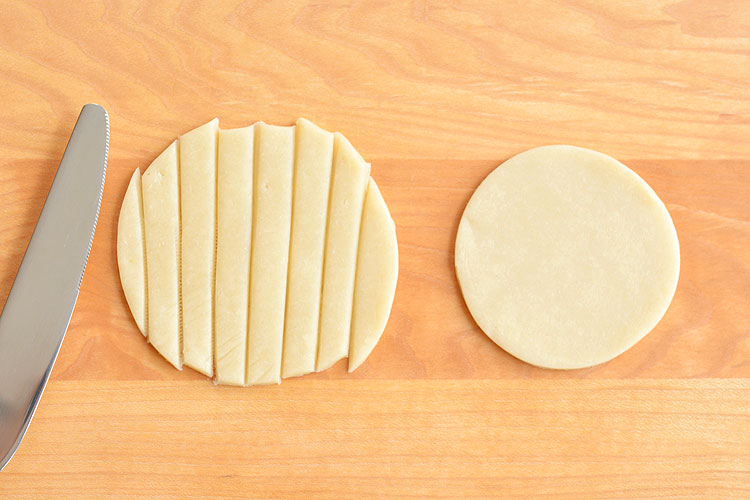
Cut the larger circles into 1/4″ strips.
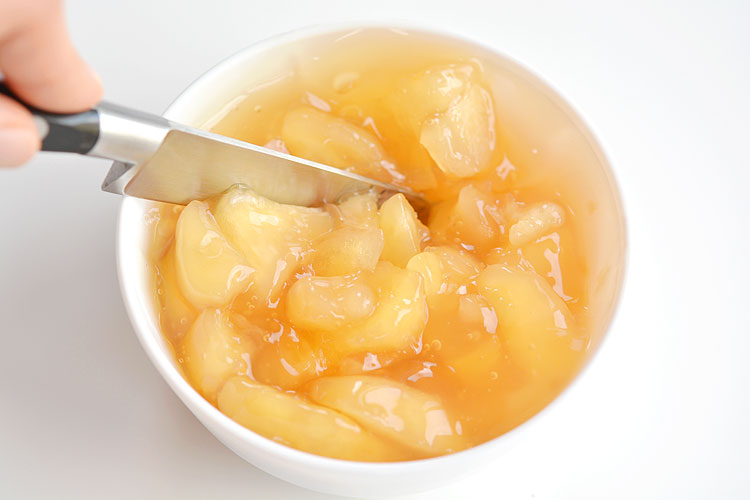
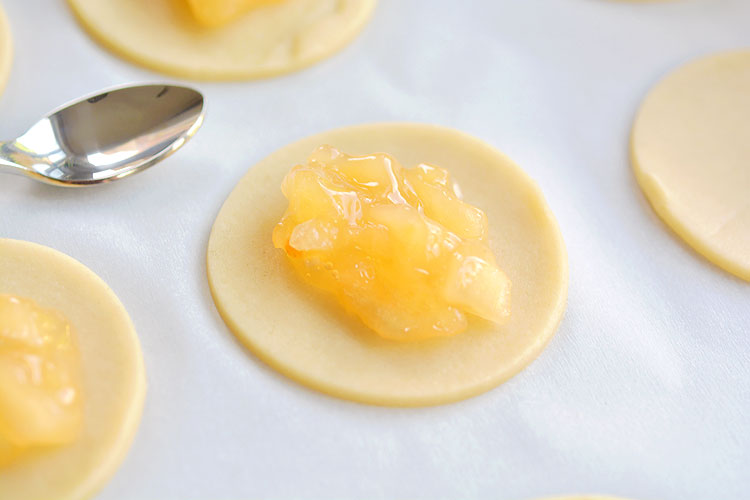
Make sure your apple pie filling is chopped into small pieces. I scooped some filling into a bowl and used a knife to cut through it a few times inside the bowl.
Scoop a small amount of filling into the middle of the 2.5″ dough circles. Make sure you leave enough space around the edges so you can seal it afterwards.
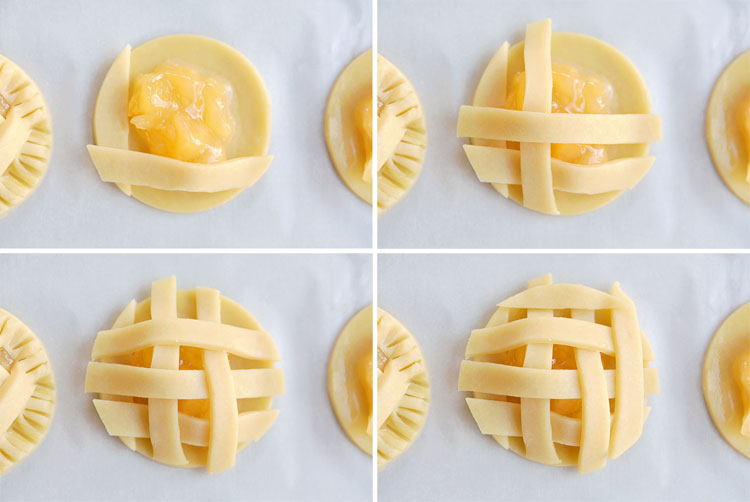
Brush some beaten egg around the edges of each of the cookies. You can use a brush if you have one, but I found it easiest to dip my finger in the egg and spread it around the edges.
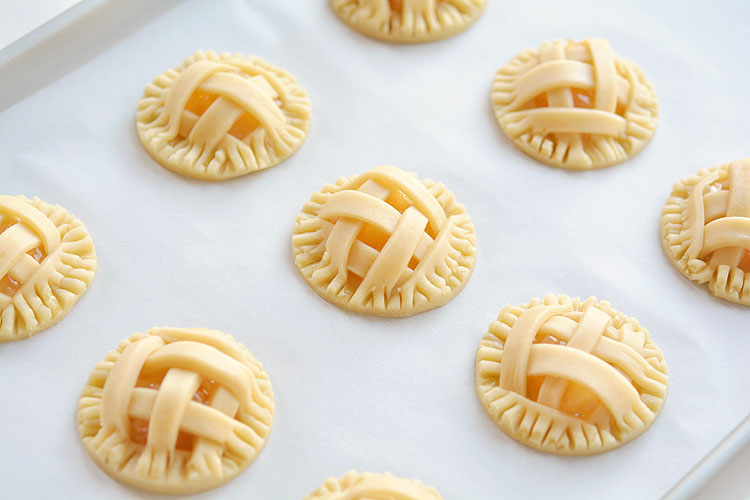
I didn’t really weave the lattice on top of the cookies. I placed the strips vertical, then horizontal, then vertical, then horizontal until I had covered the top of the apple pie cookies.
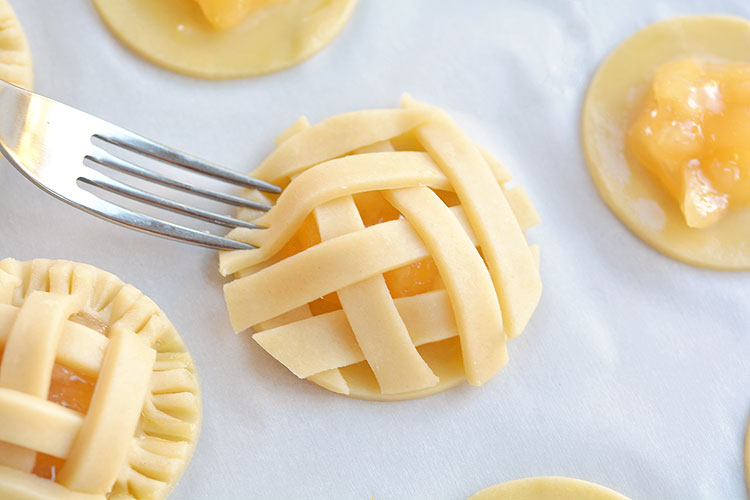
Use a fork to press down the edges all the way around the circle. If you have trouble with it sticking to the dough, dip the fork in water every once in awhile.
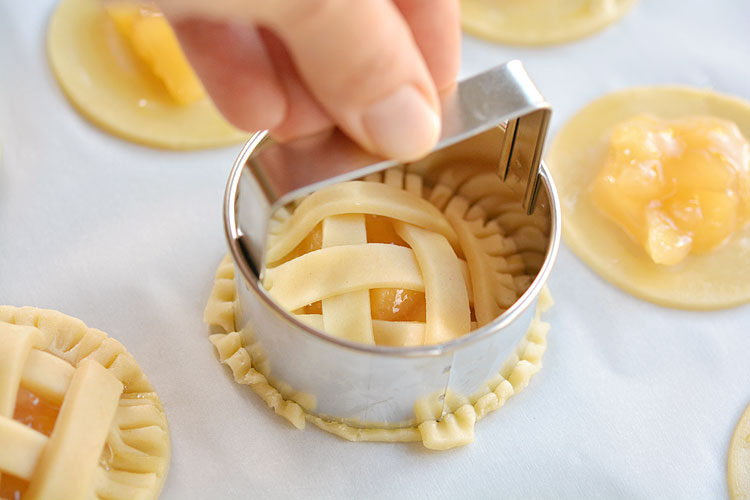
After you press down with the fork, the circle isn’t exactly “circle-like” anymore. So I used the cookie cutter to clean up the edges and make it look perfect again.
Pretty, right?!
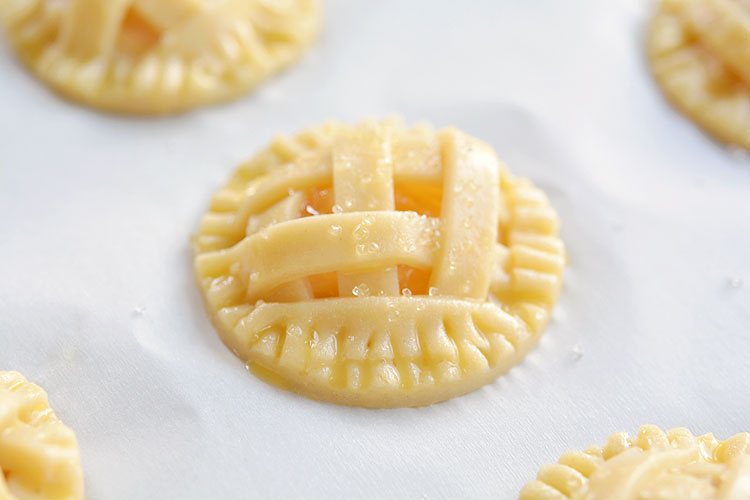
Brush the top of each mini apple pie with the beaten egg, the sprinkle some coarse sugar on top.
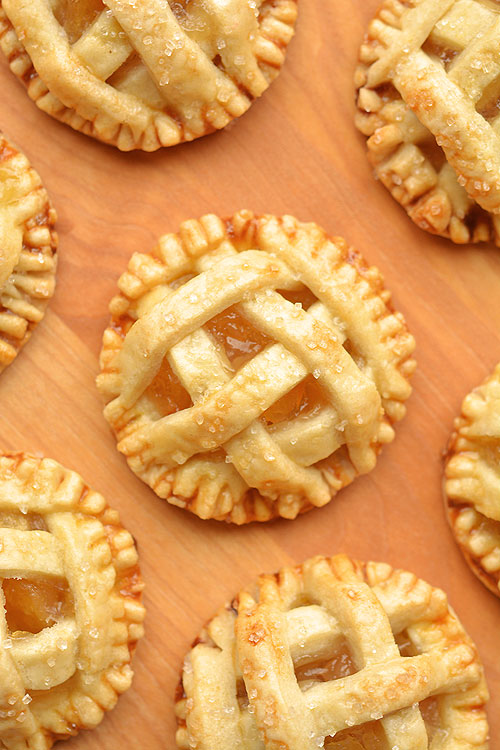
Then bake them and enjoy! Don’t they look pretty!?
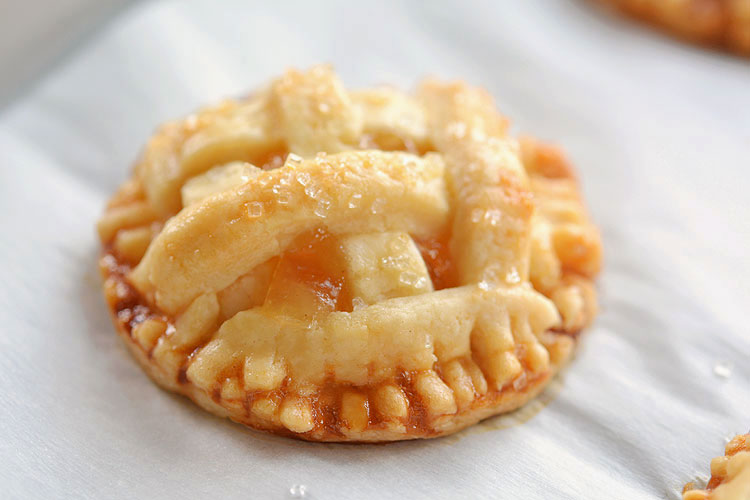
Bake them at 350F for 25 to 30 minutes.
I kept checking on them in the oven and then setting the timer for “just one more minute”, so I ended up losing track of exactly how long I baked them for. I’m guessing it was 28 minutes? You’ll know they’re done when the edges start to get that rich and delicious golden colour.
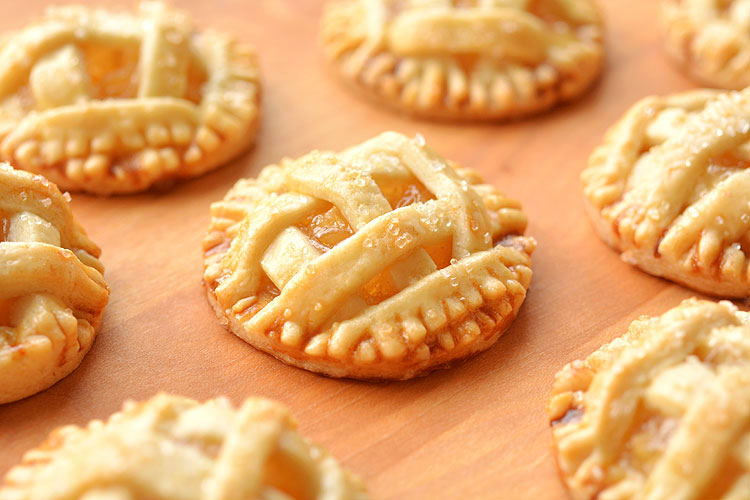
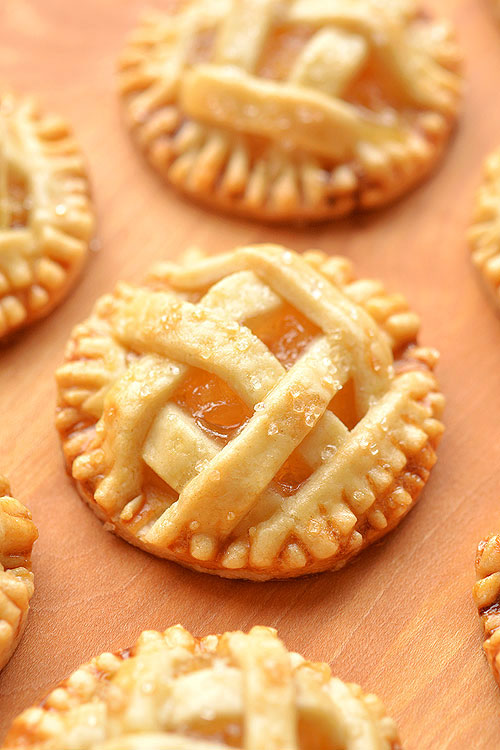
These are such a perfect treat for a cold fall day!
These mini apple pies are SO GOOD, especially when they are fresh out of the oven! There’s nothing like warm apple pie, with a delicious flaky crust and that gooey, sweet apple filling. These delicious fall treats will disappear fast! If you’re looking for more mini pie ideas, check out our recipe for making heart shaped mini blueberry pies. The glaze is still making me swoon!
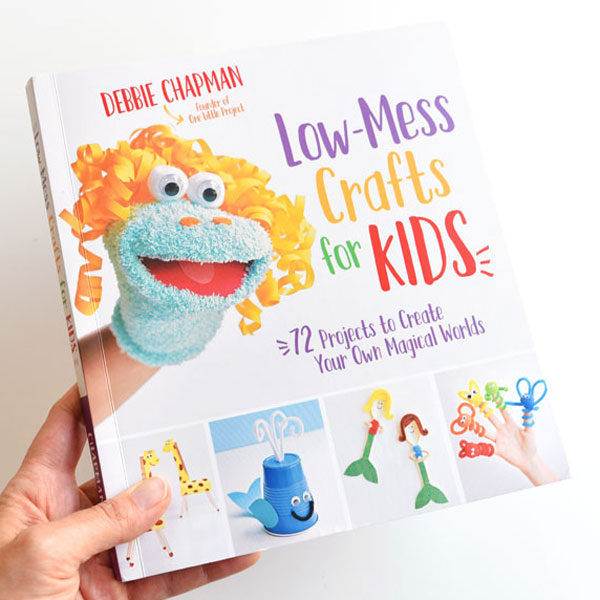
Check out our new book Low-Mess Crafts for Kids for 72 fun and simple craft ideas for kids! The projects are fun, easy and most importantly low-mess, so the clean up is simple!
Where to buy: