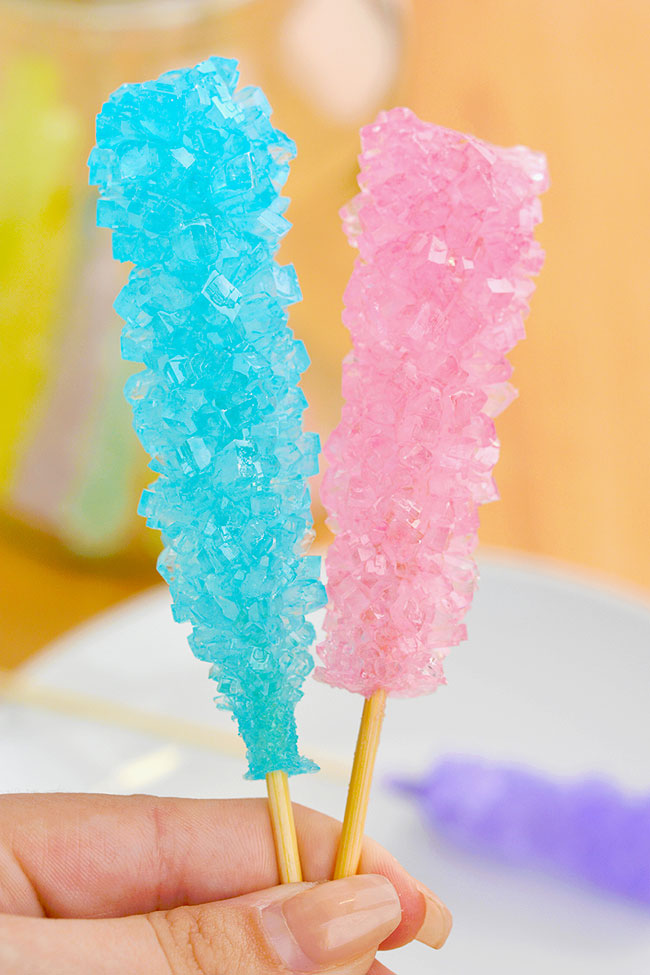
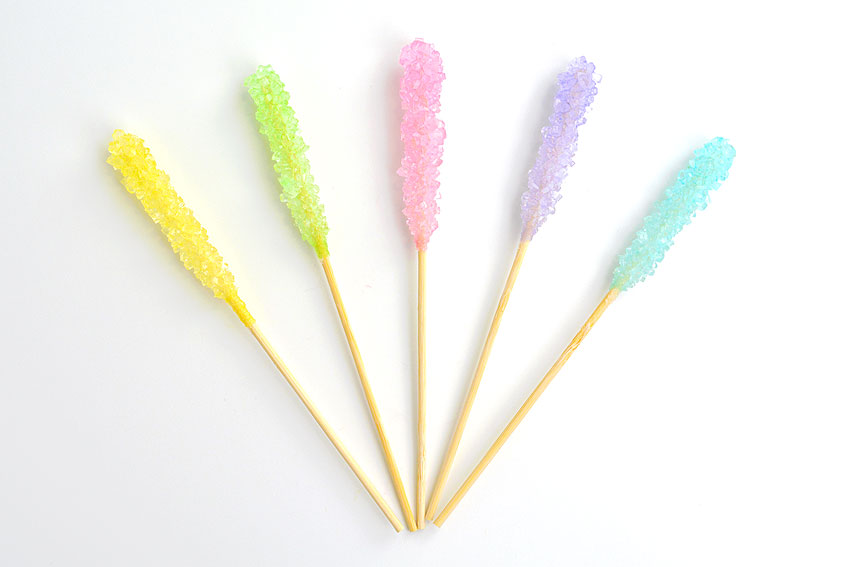
It’s so fun for kids to make their own rock candy and watch the sugar crystals grow more and more every day. Choose your favourite colours and flavours and make homemade rock candy sticks in your own kitchen!
This post contains affiliate links. If you use these links to buy something we may earn a small commission which helps us run this website.
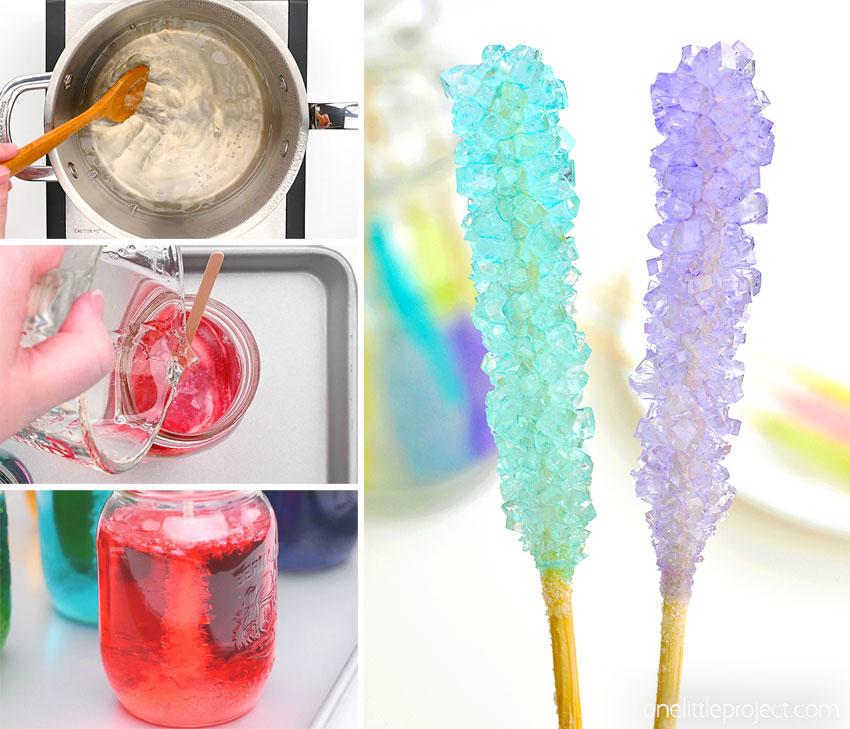
Check out our How to Make Rock Candy video tutorial:
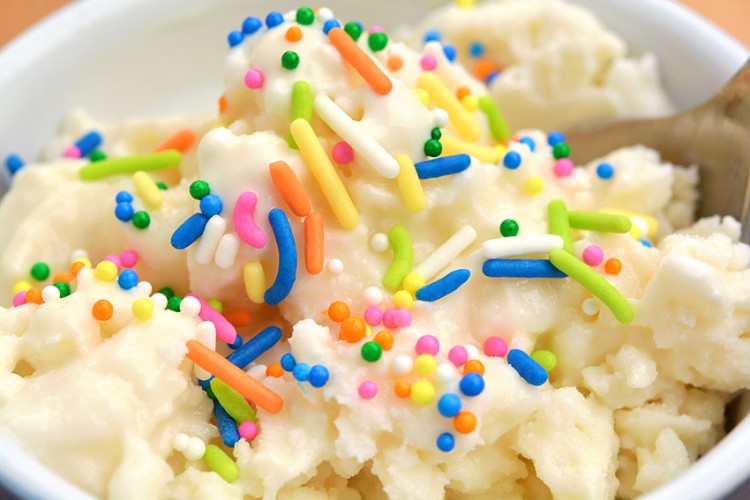
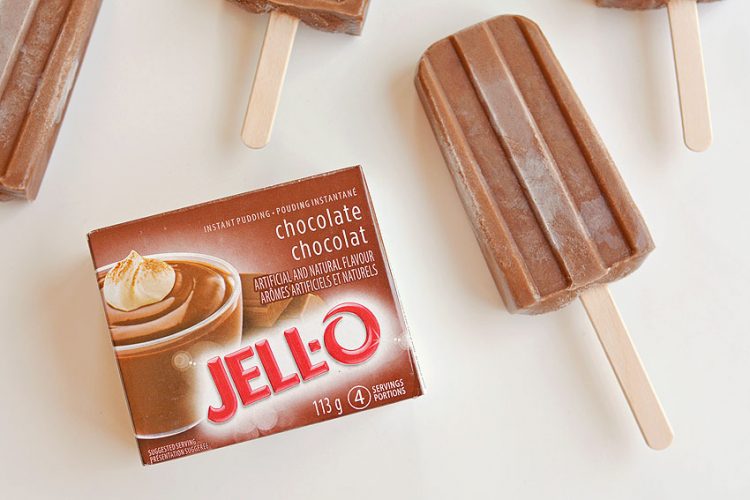
Looking for more fun recipes? Here’s a few of our favourites: Jolly Rancher Lollipops How to Make Gummy Bears Ice Cream in a Bag
What is rock candy?
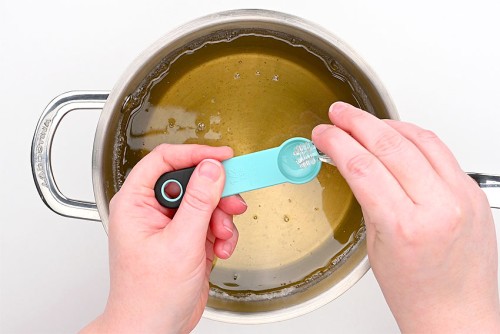
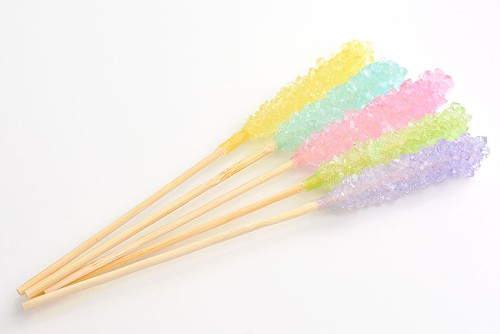
Rock candy is a candy that’s sometimes called “sugar candy”, probably because it’s entirely made up of sugar crystals! You can often buy rock candy in candy stores or old fashioned general stores. Colour and flavouring is added to the candy, since on its own it just tastes like plain sugar. You can eat rock candy on its own as a candy, dissolve it in a hot drink, use it as a garnish for cocktails or mocktails, or as a decoration on a dessert.
How long does it take to make rock candy?
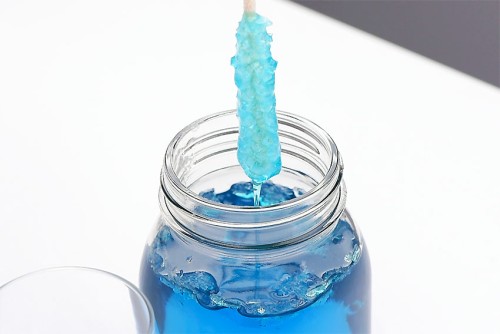
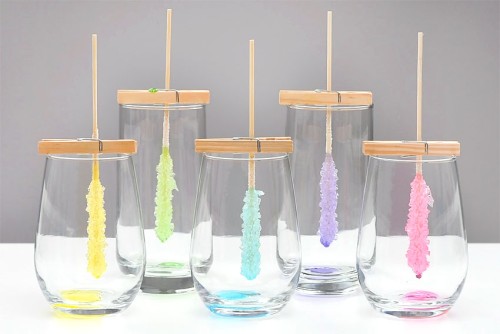
Count on waiting at least 5 days for your rock candy to grow, but you may want to keep them growing for 10 – 14 days depending on how big you want them. The timing really seems to vary. We made a few batches and even following the exact same recipe, they still seemed to grow at different speeds. Also keep in mind that the rock candy looks larger when it’s submerged in the syrup (so it will be a bit smaller once you remove it). Read more below on what factors determine how the rock candy turns out.
How much sugar do I need for a rock candy recipe? What type of sugar works best?
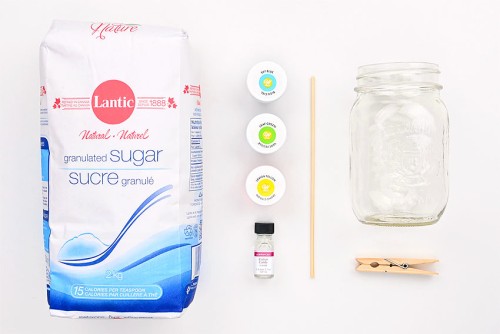
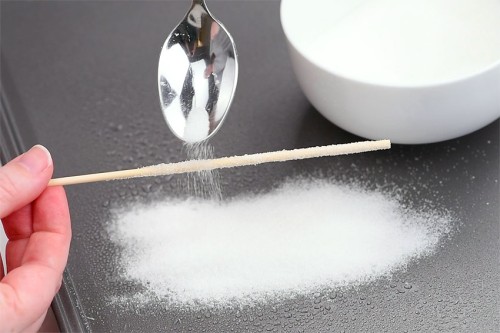
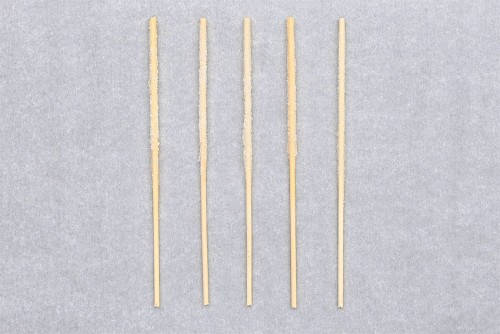
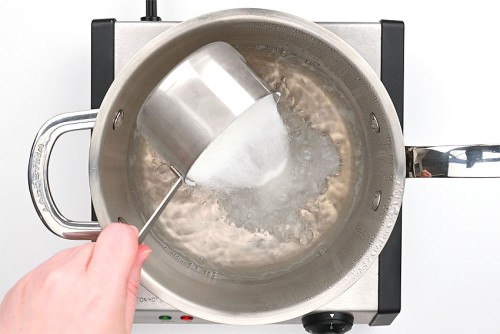
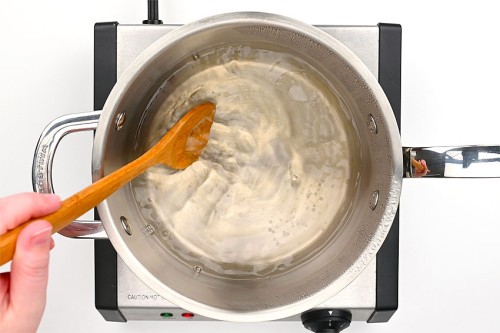
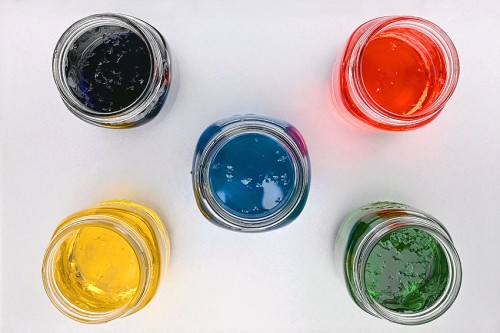
It takes a lot of sugar to make the supersaturated syrup that rock candy grows in. You need 10 cups of sugar to make 5 pieces of rock candy, which works out to about 4.4 pounds (2 kg). Plus you’ll need a bit of extra sugar for the skewers, so count on buying 2 bags of sugar if you don’t have any in the house. Regular granulated sugar on its own is the best option for making rock candy, but you can also use a combination of granulated and cane sugar.
Why didn’t my rock candy grow properly?
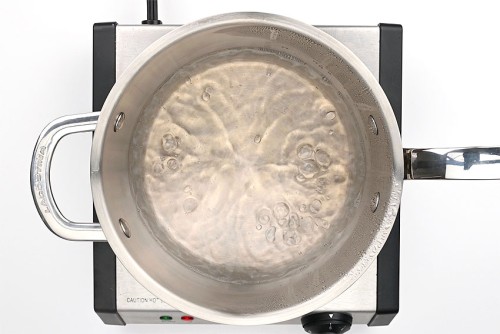
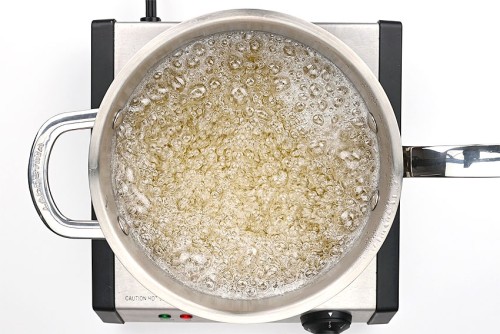
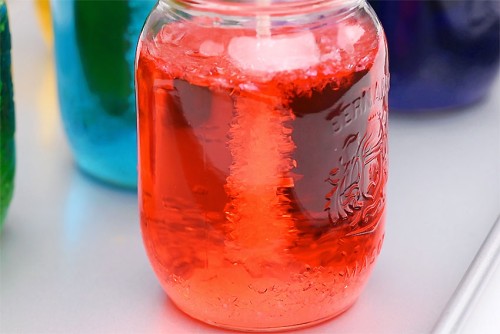
Growing crystals is a time consuming and sometimes finicky process. (See our salt crystals post for another example!) You need just the right ratio of water to sugar in order for sugar crystals to form. Too much sugar and the syrup becomes oversaturated and the whole jar will crystalize into a hard sugar paste. Not enough sugar, and the crystals won’t form at all, because the syrup isn’t supersaturated. Crystal formation can also be affected by things like moving the jars around while the crystals are growing, or even by high humidity in the air. Humidity and heat slow the evaporation rate, making it take longer for the crystals to grow. Basically, there are a lot of things that can go wrong, so don’t feel bad if your rock candy didn’t grow properly!
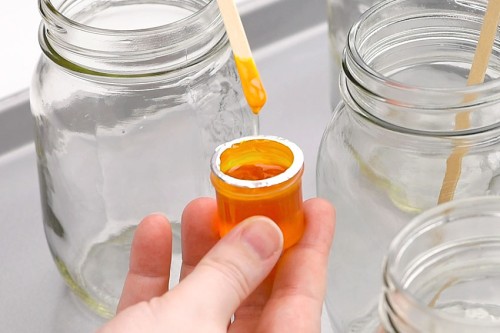
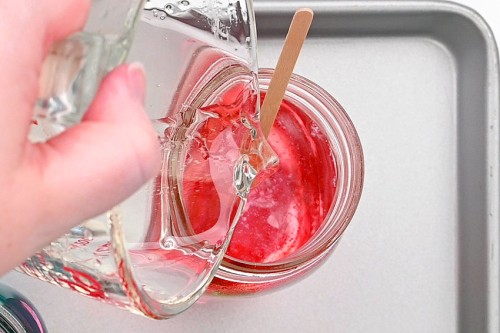
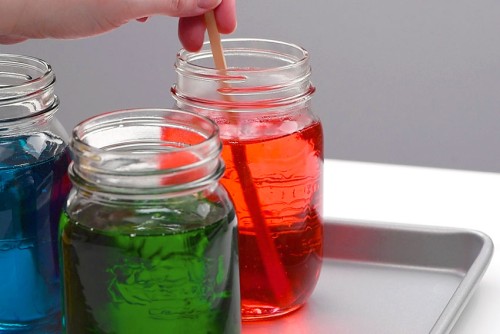
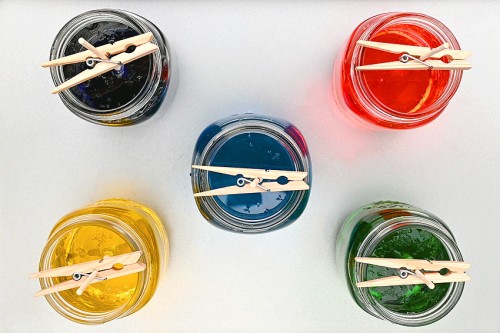
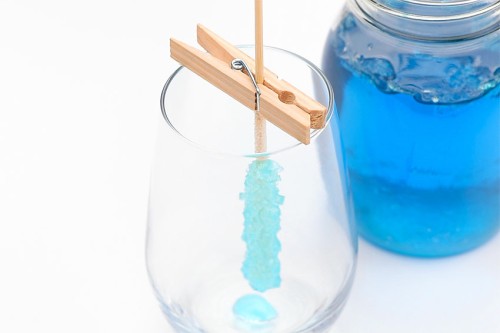
What type of jars are best for making rock candy sticks?
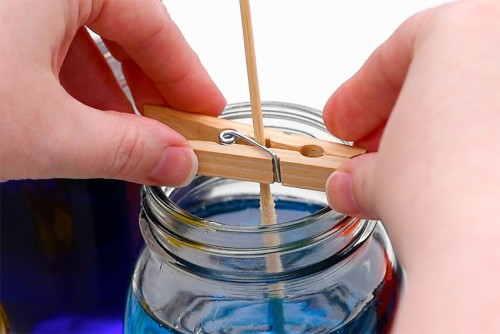
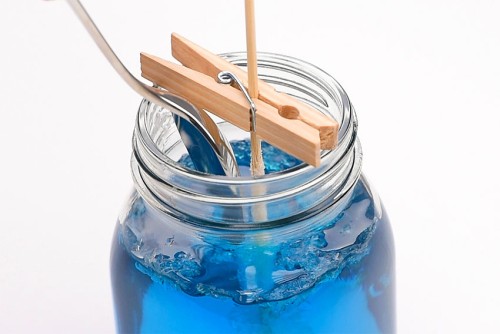
We used regular mouth 16 ounce (2 cup) mason jars, and they worked really well. On our first test batch we also used a honey jar that fit close to the same amount of liquid, but was far more narrow. This jar? Not a good idea. Basically you need to use jars that aren’t too tall and skinny. You need a wider jar for the crystals to build up on the stick properly. In regular mason jars the crystals also grow in the bottom of the jar. But if your skewer is high enough up, these crystals remain separate from the rock candy itself. In a narrow jar, the crystals still build up, but there isn’t as wide a surface, so they grow up and connect with the rock candy, making it difficult to remove the rock candy — and even more difficult to clean the jar.
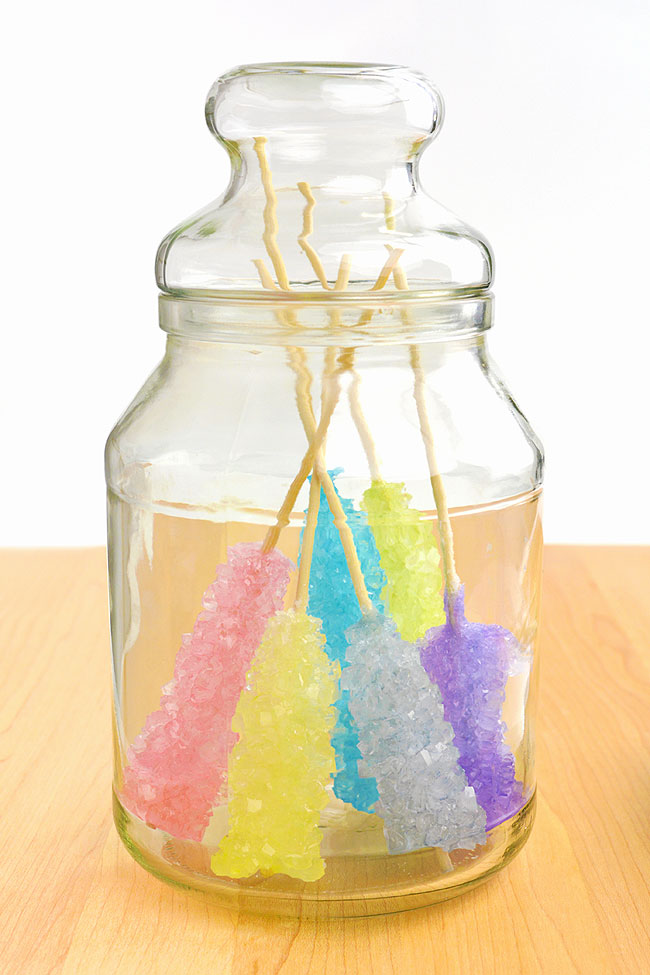
How can I clean the mason jars after removing my DIY rock candy?
When you make rock candy you’ll end up with a hard crystal build up on the bottom of the jar. But don’t panic, because the jars are actually really easy to clean! Pour the syrup out of the jar, making sure to catch any large sugar crystals. You can let these dry on parchment paper and eat them as well! Once you’ve removed any loose crystals from the jars, rinse them out with hot water. Then add some dish soap to the jar and pour boiling water on top of it, filling the jars. The jars will be very hot at first, so be careful and don’t touch them for at least 15 minutes. Then use a fork to break up as many of the crystals on the bottom of the jar as possible. If the jar is still hot, wear oven mitts to hold the jar and pour the crystals and water down the drain. Repeat with boiling water if there are stubborn crystals remaining, and then clean the jar with soap and water.
Learn how to make rock candy and enjoy this old fashioned, homemade candy. It’s so cool to watch the crystals grow, and with a little bit of patience you can enjoy a tasty snack that you made yourself. So cool!
Here’s even more fun recipe ideas:
How to Make Gummy Bears
Ice Cream in a Bag
Homemade Fudgesicles
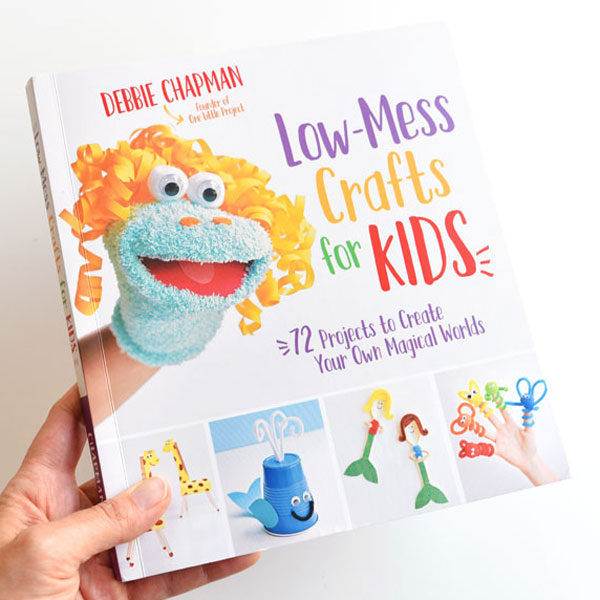
Our book Low-Mess Crafts for Kids is loaded with 72 fun and simple craft ideas for kids! The projects are fun, easy and most importantly low-mess, so the clean up is simple!
Where to buy: