I think what I’ve learned from making all of these different play sands is that you have to tweak the ingredients for the type of sand you have. All play sand is slightly different, so if your sand isn’t behaving how you’d like it to, you’ll need to increase (or decrease) the quantity of liquid to bring it to a texture you like.
We tried four recipes for play sand which you can check out and compare here:
- Shaving Cream Sand Foam using Shaving Cream and Sand – Make this one if you want a cool sensory foamy experience, but not necessarily the most squishiest, moldable sand.
- Moldable Play Sand using Flour and Oil – Make this one if you want soft, moldable sand that you can play with over and over again without needing to add more liquid.
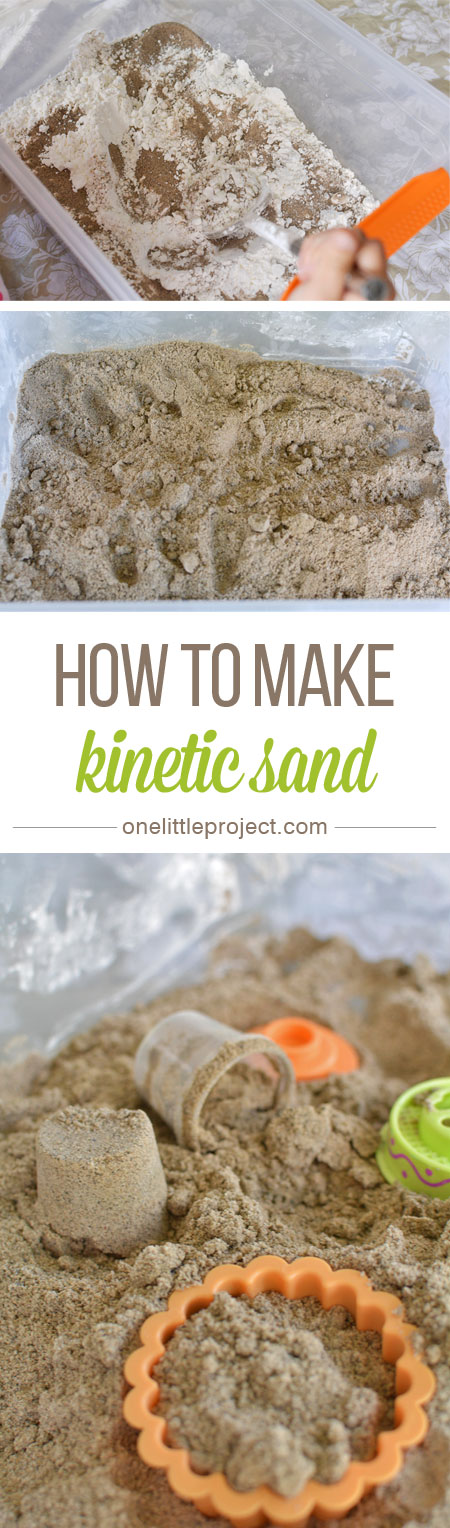
- Kinetic Sand using Corn Starch and Dishsoap – Make this one if you want play sand with a texture closest to the kinetic sand in stores, but you don’t mind adding water after it dries out.
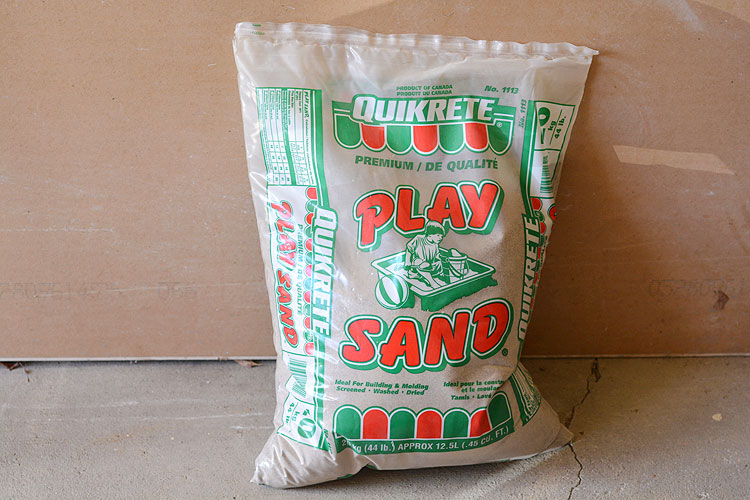
- Moon Sand – Make this one if you don’t have any play sand. Moon sand is made with only flour and baby oil, and has a great soft texture! This is the 44 lbs bag of sand we bought at Home Depot for about $5. It’s a lot of sand! I’ve already tried three recipes with it, and there is still about 3/4 of the bag left! I guess I’ll need to come up with some more sand activities!
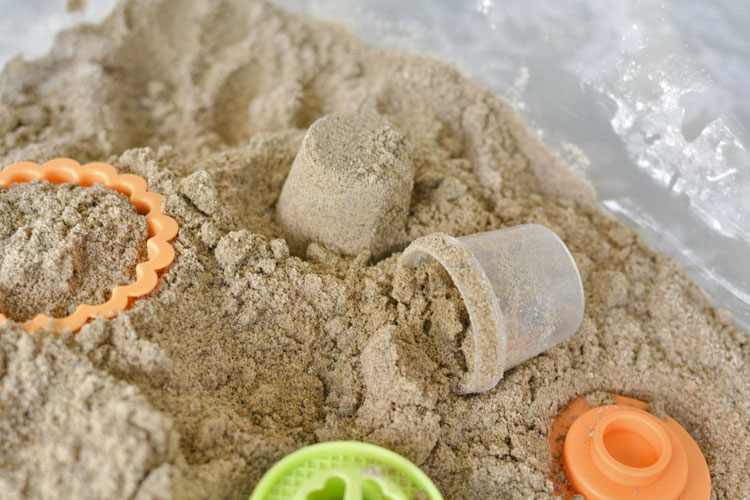
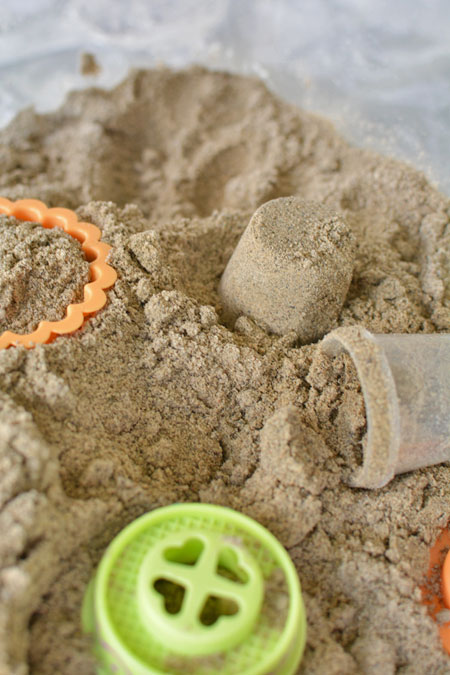
This recipe is interesting because it combines the unique characteristics of cornstarch and water, with the moldable characteristics of sand. You know how when you mix cornstarch and water it’s not quite a liquid and not quite a solid? Adding it to the sand kind of gives the it a bit of a “quicksand” quality, especially when you add more water to it.
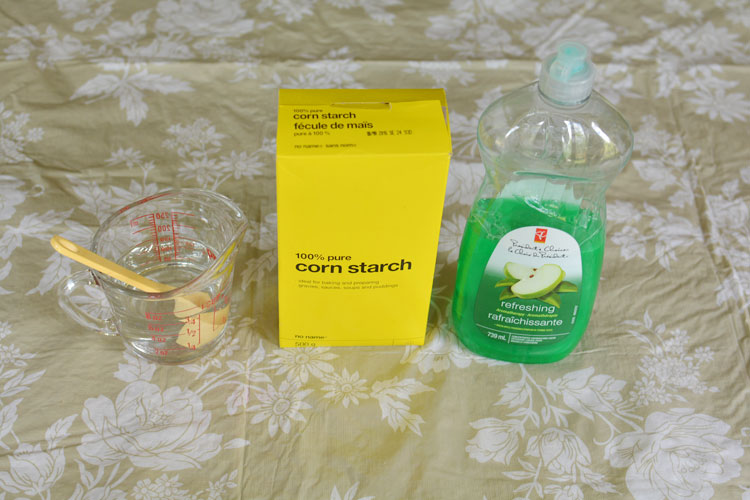
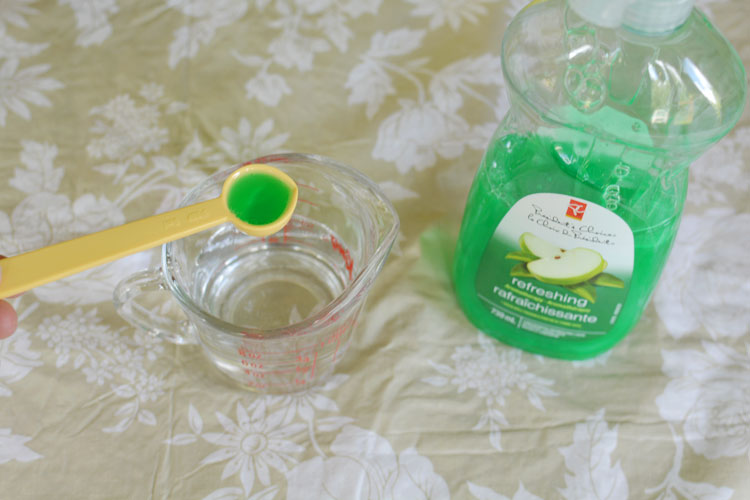
This recipe uses water, corn starch and dish soap (the full recipe is at the bottom of this post). The soap is what gives it the fun squishy texture.
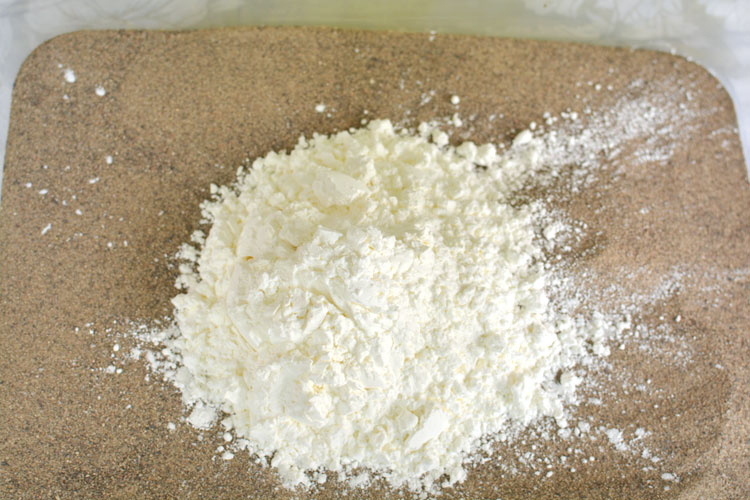
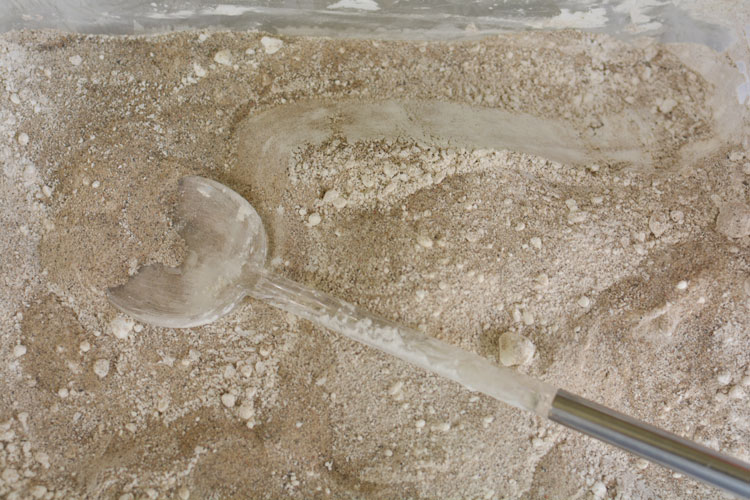
Mix together the sand and corn starch. It will make it easier to combine when you add the water and will prevent lumps if you pre-mix the dry ingredients.
Add the dish soap to the water in a separate container and stir until it’s well mixed and a little bubbly.
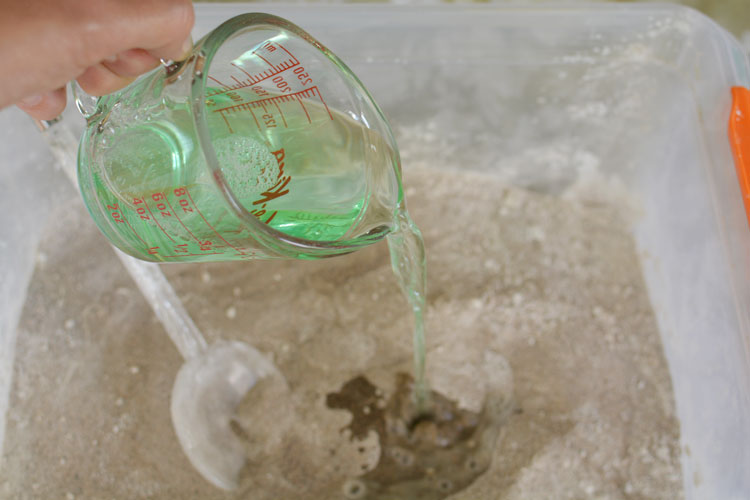
Then add the water and soap solution to the sand and corn starch mixture.
Stir it up until it’s well mixed. If it looks a little too dry, feel free to add some more water until it gets to a consistency you like.
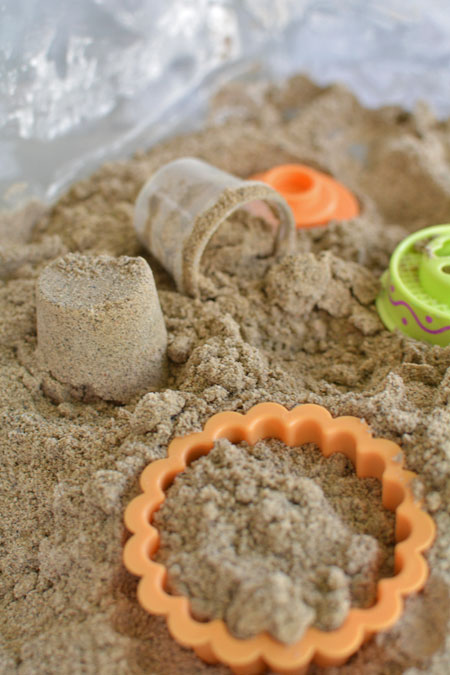
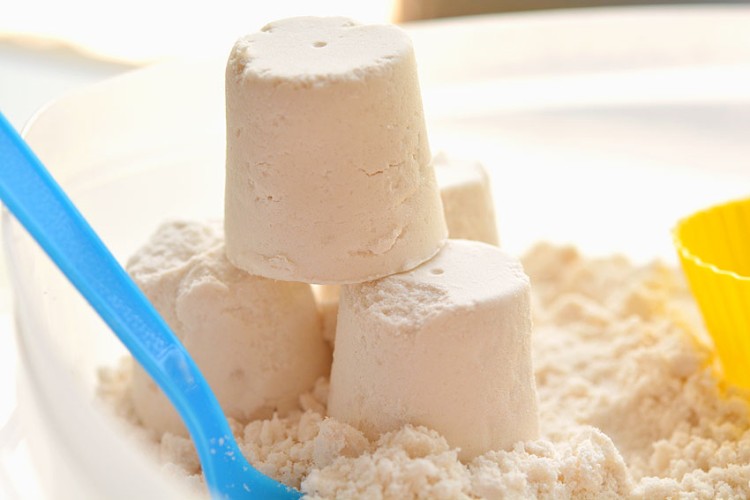
This stuff had a great texture! It was easily moldable, and I would say it behaved a lot like the kinetic sand you see in stores. Out of the three recipes we tried, this one was probably the best, with the oil and flour moldable play sand being a close second.
The only problem with this recipe was that by the end of the day, it had completely dried out. Which I guess is either a good or a bad thing, depending on how you look at it. If you put it away after it has dried out, it will store so much better and all you’ll have to do is add the water back when you are ready to play with it again.
Here’s a comparison of all three recipes that we tried. The top photo is the flour and oil moldable play sand, the middle photo is the shaving cream foam sand and the bottom photo is the kinetic sand recipe in this post.
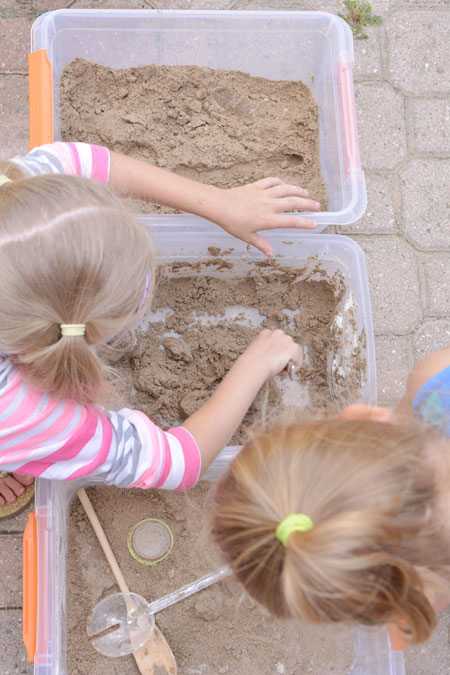
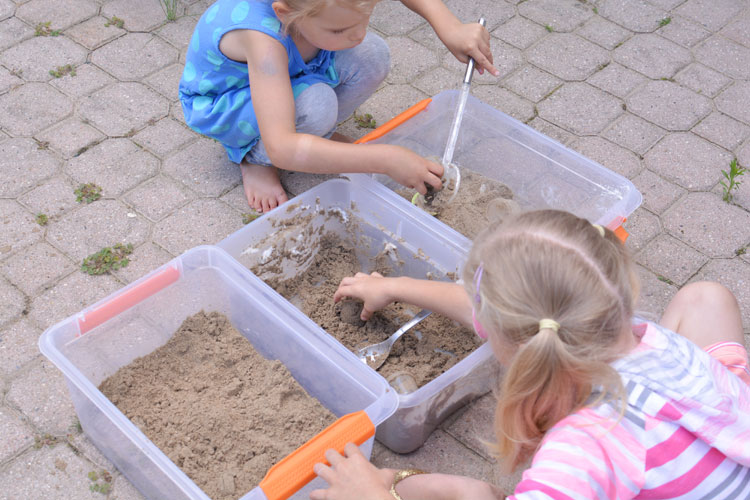
We took all of the bins outside and played with them on the patio. (cough ignore the weeds in the patio cough). The kinetic sand recipe in this post is the box on the right in the photo below. It was a warm day, so it started to dry out quickly.
This kinetic sand recipe uses ingredients you probably already have at home. It’s easy to mix it all together, and it ends up with a really cool squishy and moldable texture. If it dries out, add more water and if it loses it’s squishiness, add another squirt of dish soap to bring it back to life. When you are done playing, let it dry out, and then put the lid back on the container to save it for another day. When you are ready to play with it again, add the water and dish soap back in, mix it all up, and it will be as good as new!