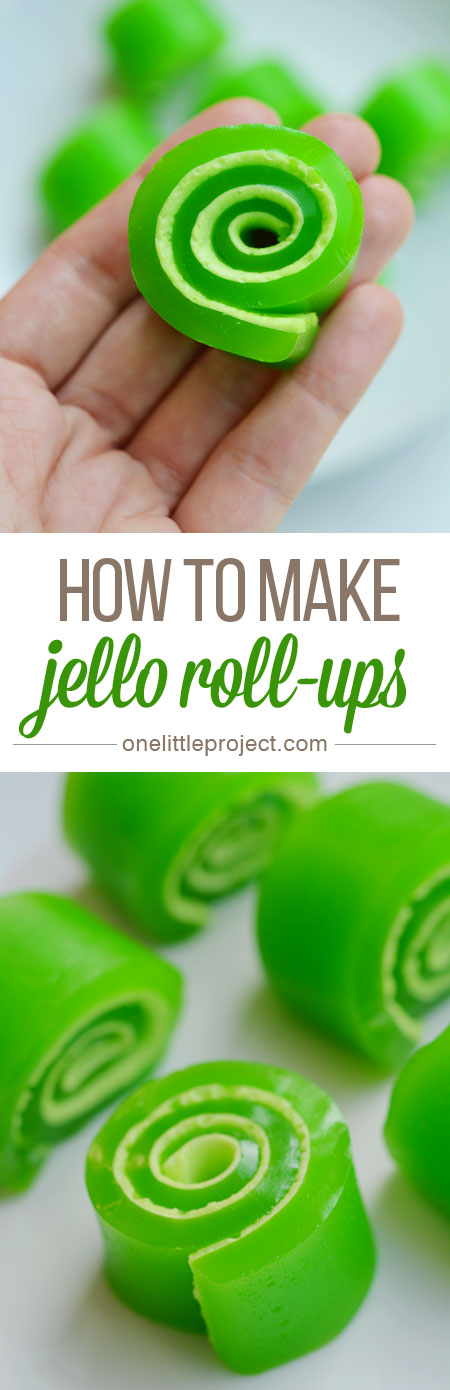
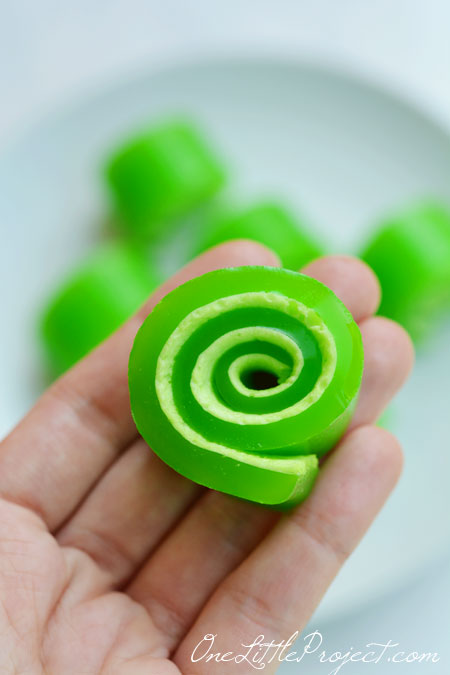
So I was really excited when I came across this recipe for Jello Roll-Ups because 1. It’s Jello – and they love making Jello – and 2. It’s a novel new specialty item they’ll be excited to eat because they get to brace yourself, unroll it with their fingers! (I guarantee when you make them it’ll be the first thing you do too…).
Check out our video for How to Make Jello Roll Ups:
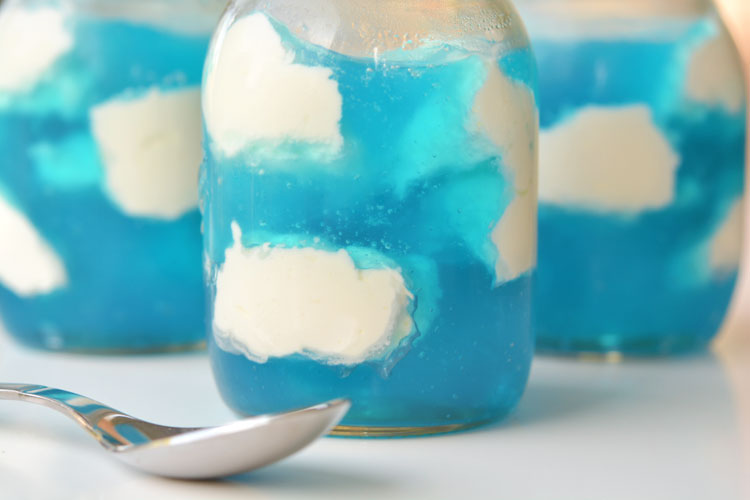
We love Jello here at One Little Project! Here are some other Jello recipes to try: Bowl of Worms: How to Make Jello Worms Sky Jello With Fluffy Clouds Rainbow Jello Recipe Homemade Fudgsicles Using Jello Pudding
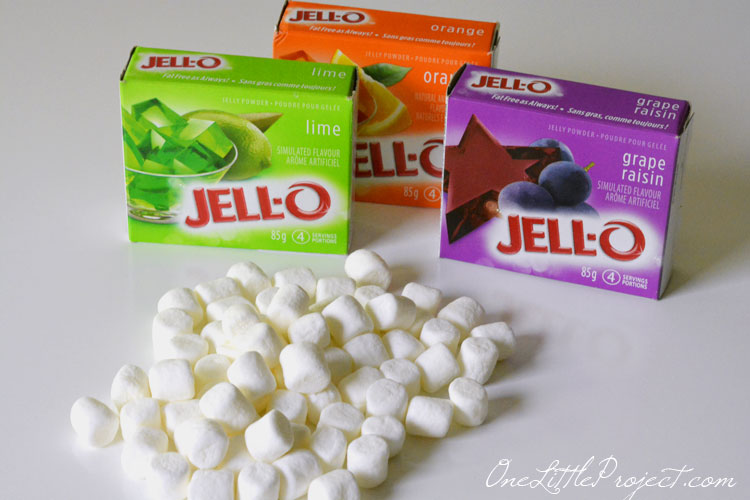
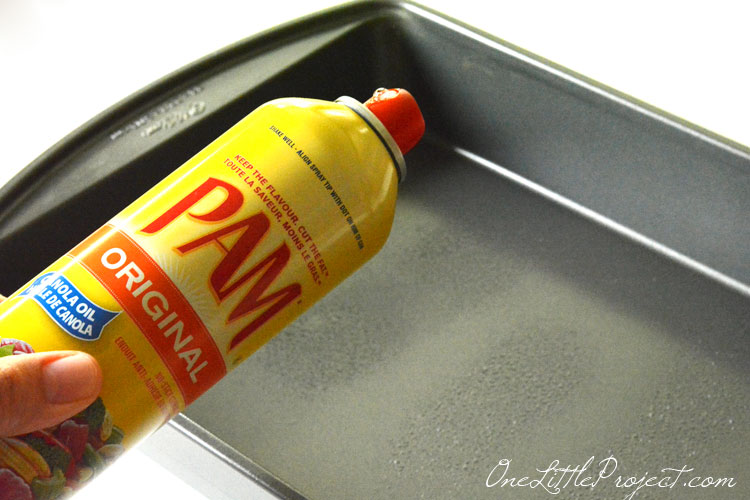
Some recipes call for 1-1/2 cups of marshmallows, but I found that that many marshmallows makes the pinwheels really thick and hard to roll up when they are done. I had much better luck using only 1 cup of marshmallows. Jello is sticky enough on it’s own, but add in the marshmallows, and it’s going to stick to everything! So make sure you lightly spray your pan before you put in the jello mixture.
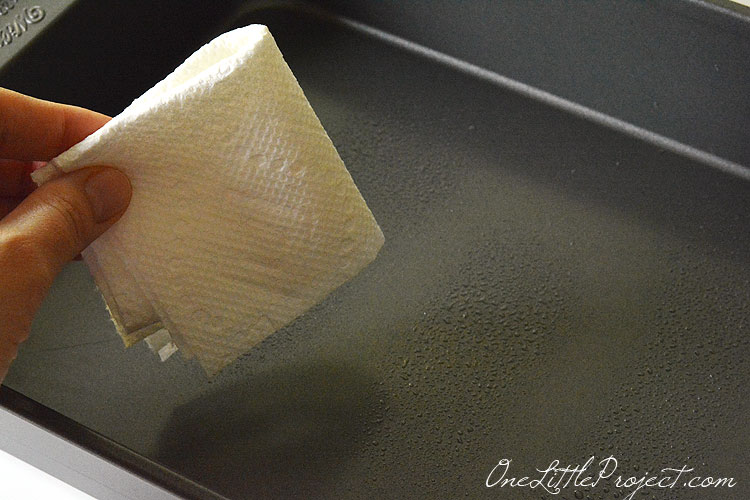
I don’t normally do this when I use cooking spray, but I was particularly worried about these things sticking, so I used a paper towel to spread around the cooking spray on the pan to make sure it was evenly coated.
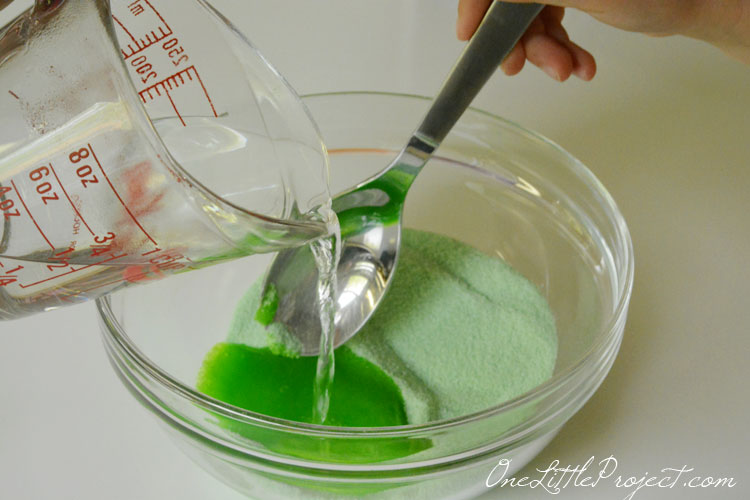
Add the hot water to the box of jello and stir until it’s dissolved. Mine wasn’t dissolving so I had to put the bowl in the microwave for 30 seconds to heat it up. I tried using a whisk to get it to dissolve for one of my batches, but it just added a gazillion tiny bubbles to the mixture that never fully went away even after I refrigerated it, so I don’t particularly recommend whisking it at this stage. (Don’t worry, you can whisk it after you add the marshmallows).
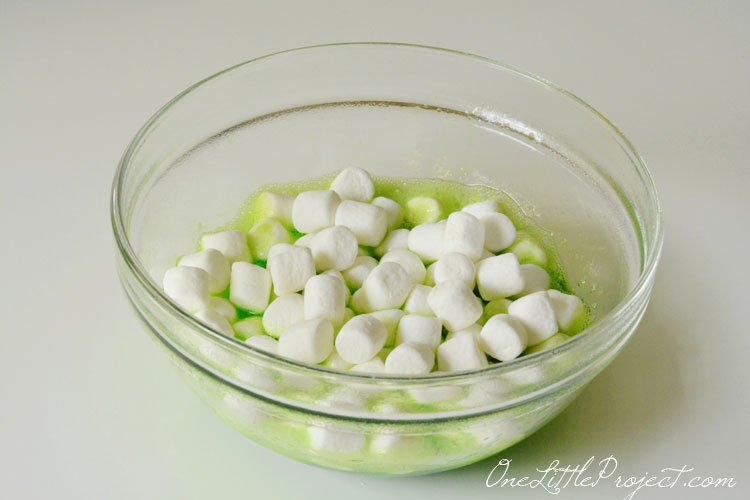
Add the marshmallows to the bowl and microwave it for another 30 seconds to soften them up. There’s no need to separate anything. The marshmallow layer will rise to the top while it’s setting. Magical, I know.
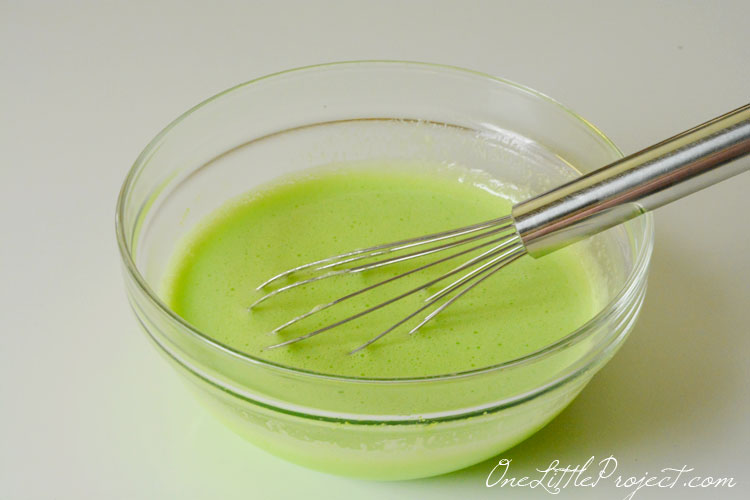
Now, at this point, it didn’t matter how much I stirred it, I couldn’t get the marshmallows to dissolve unless I used a whisk. Just go easy on it, because the bubbles you get in this mixture are going to stick around.
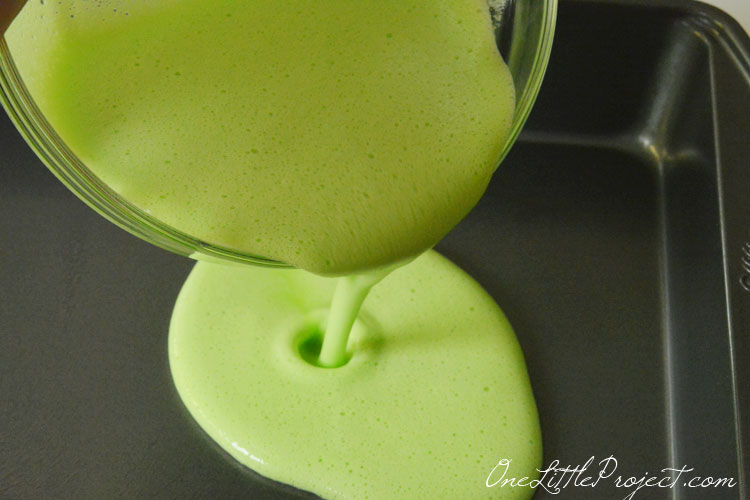
Pour the mixture into an 8″ x 8″ pan. When I first tried this recipe, I didn’t have any 8″ x 8″ pans, so I tried using a 9″ x 13″ pan instead – big mistake – it was way too big for the recipe and almost turned into a blog post fail! In my blogging emergency, I zipped out to the dollar store and was relieved that I could get them for only $3 each.
Put the pan in the fridge for at least an hour. The marshmallow will rise to the top of the jello as it sets! You can see below all the bubbles that ended up in the mixture from me whisking it, so like I said, make sure you go easy on the whisking.
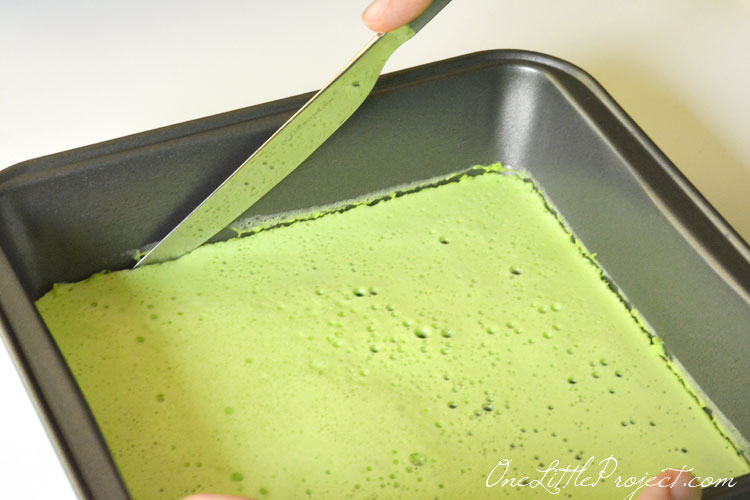
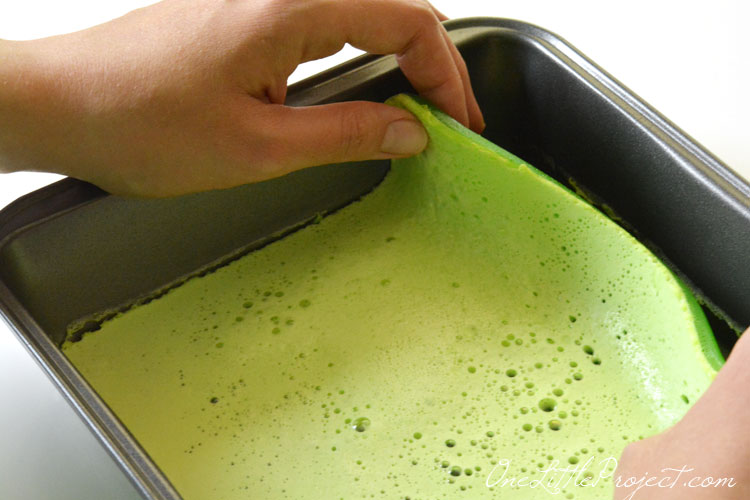
I ran a butter knife around the edge of the pan to loosen it from the sides and then I peeled up the corners.
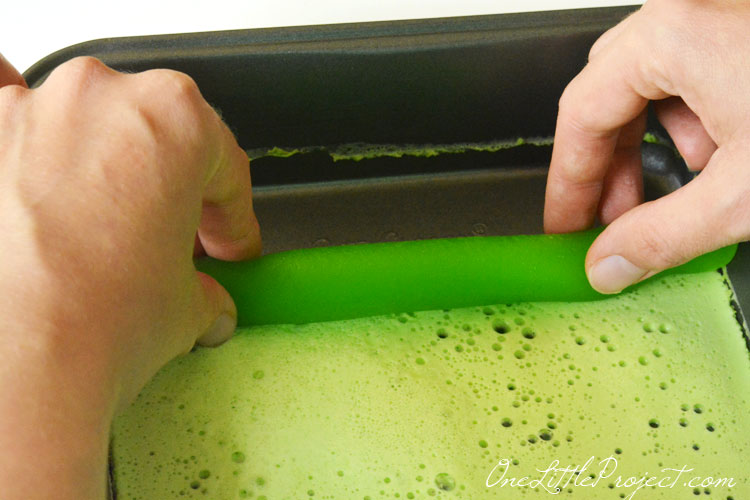
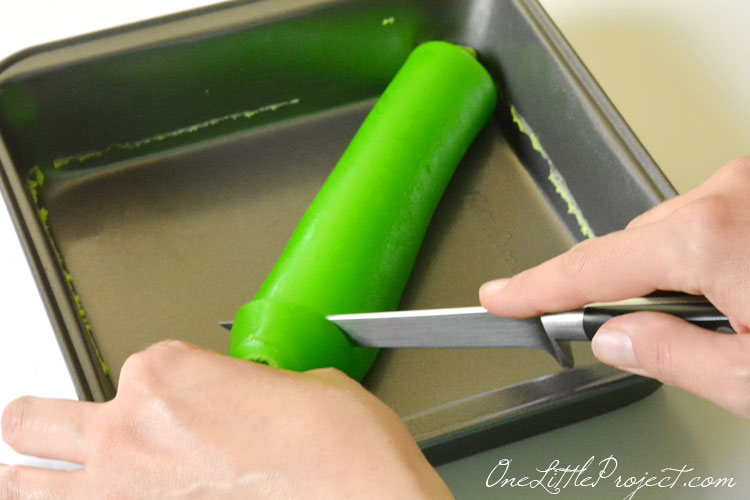
I rolled it as tightly as I could – but it really wasn’t an easy task. It takes a few rotations before the roll starts sticking to itself without trying to unroll back flat again.
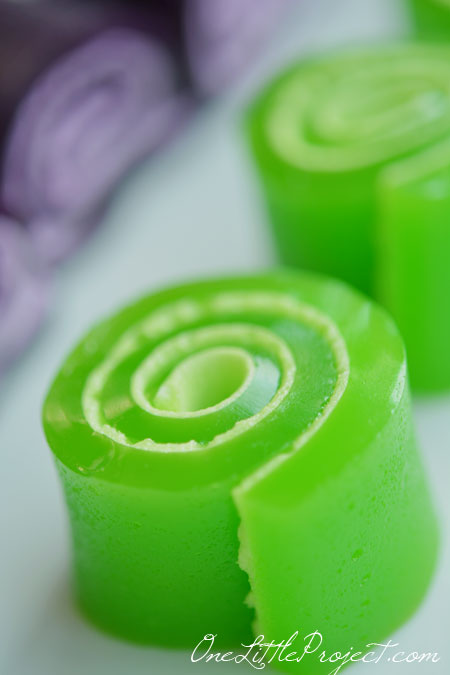
Some people recommend using dental floss to get even slices, but to be honest, that method just didn’t work for me. I don’t know if I just wasn’t tightening the floss quickly enough to make the slices, but I found the pinwheels turned out much better by slicing them with a sharp, thin, knife.
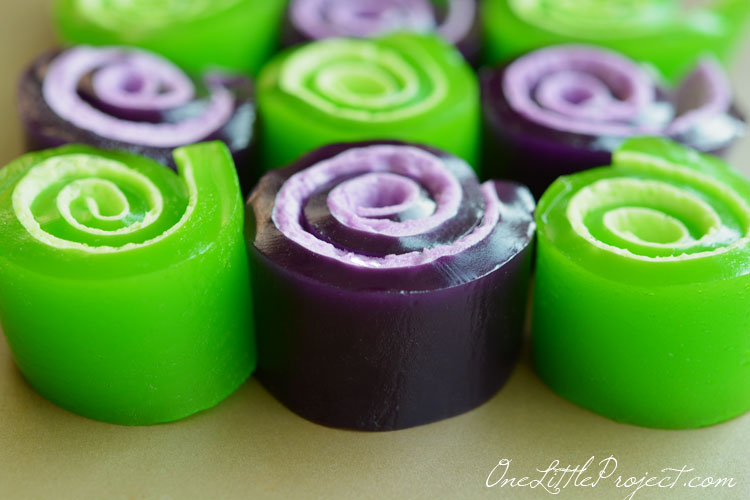
I cut the green jello pinwheels with a knife and I used dental floss to cut the purple pinwheels… which is why I didn’t include very many photos of the purple ones. Even though I enjoyed the novelty of using dental floss (unflavoured of course), they just didn’t work out as well as when I sliced them with a knife.
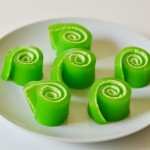
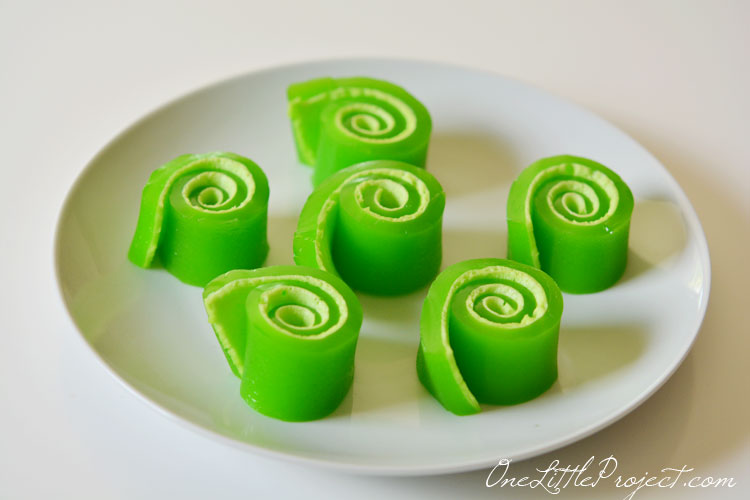
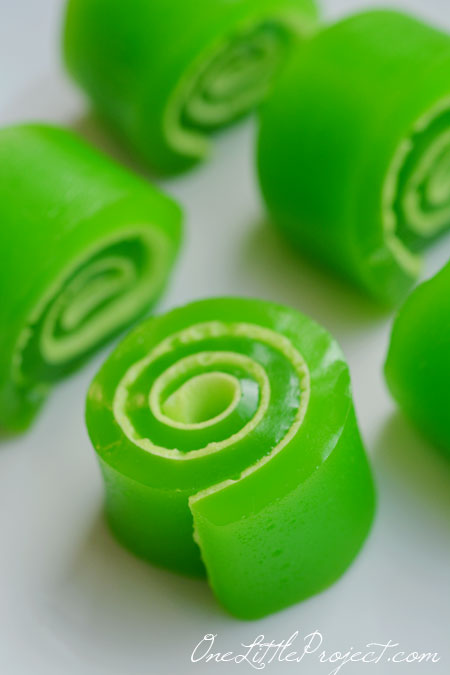
I was kind of hoping these would stick to themselves and keep their shape, but the rolls just wanted to… well, unroll – as you can see in the photo below.
My kids definitely didn’t have a problem with that, since the first thing they wanted to do when they picked them up was unroll them anyway. Just be forewarned, that if you plan to take them to a party or school or something, you might want to do the cutting when you get there or you’ll be re-rolling all of your pinwheels.
They’re cute though, aren’t they? They’re a great snack size… which is good because they are super sweet. (Sweet? From Jello, and marshmallows? Shocking, I know!)
My 3 year old is a sugar addict, so she LOVED these. She loved choosing the jello colours we were going to use. She loved mixing everything together. And most of all, she loved eating them!
These Jello roll-ups were amazingly easy to make! And the kids loved them! They only take about 5 minutes to put together, and another hour to set. They’re great if you need a fun and easy cooking activity for kids this summer! Bowl of Worms: How to Make Jello Worms:
Sky Jello With Fluffy Clouds:
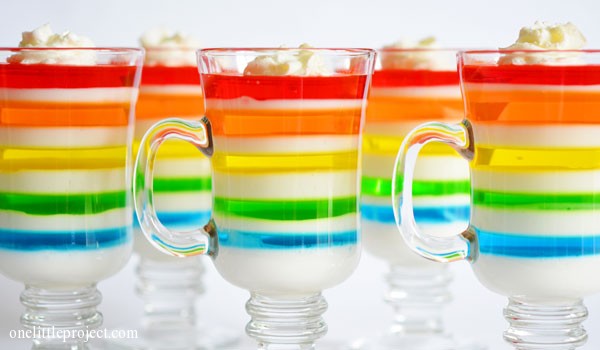
Rainbow Jello Recipe:
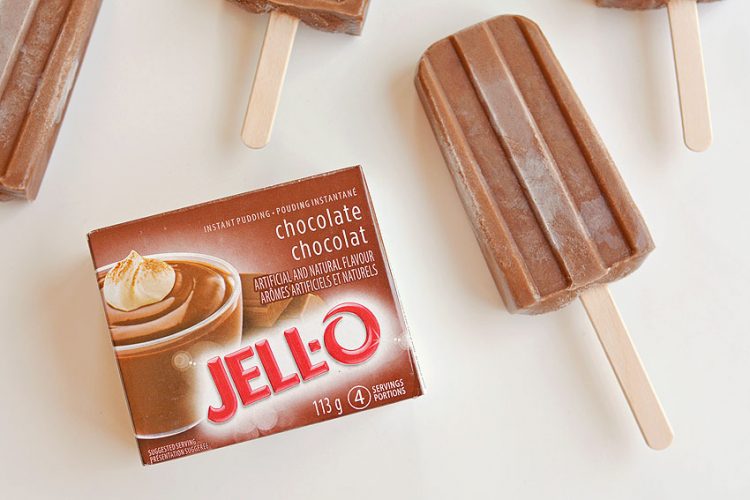
Homemade Fudgsicles Using Jello Pudding: :