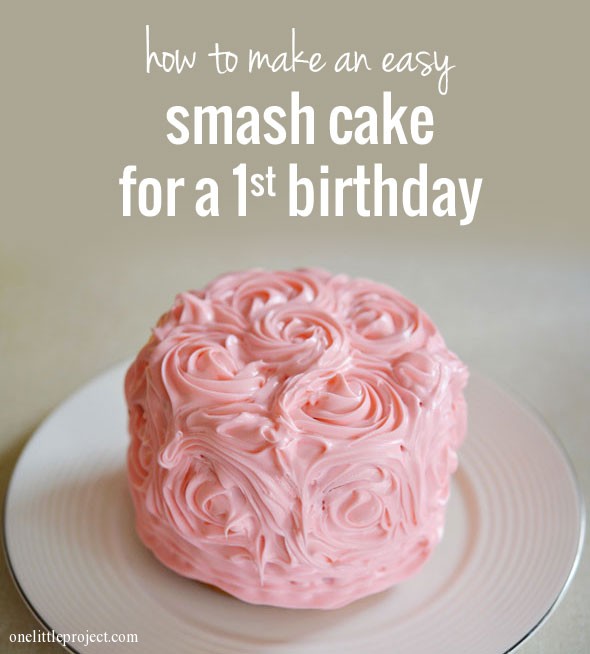
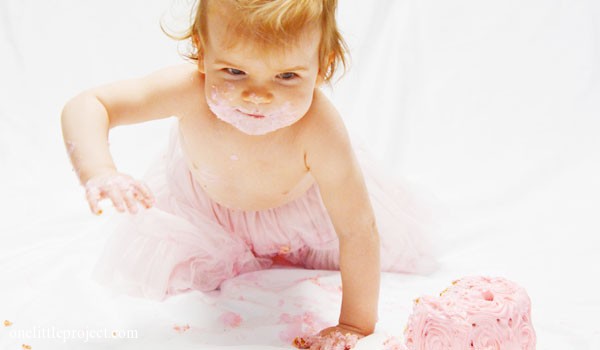
Since I loved the idea of taking smash cake photos, I decided to figure out how to bake a smash cake, and then to figure out how to have a smash cake photo session at home without it turning into a disaster!
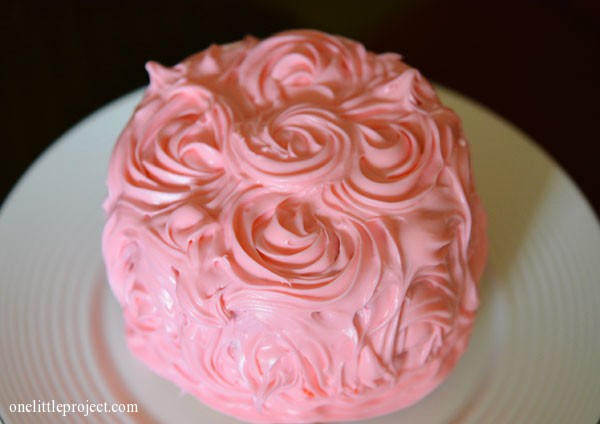
The cake and the photo session were inspired by photos from Mrs. In Training. I was really hoping to get a similar look and I’ve gotta say I am SO HAPPY with how the smash cake photos turned out! I’ll post more about the photo session soon. As for the smash cake itself, here’s how it turned out. This is the first time I’ve ever even used a piping bag, or attempted anything fancy with icing. So it’s not flawless, but it’s an easy project for a beginner, and I’m really happy with the cute cake I ended up with:
How to make a smash cake
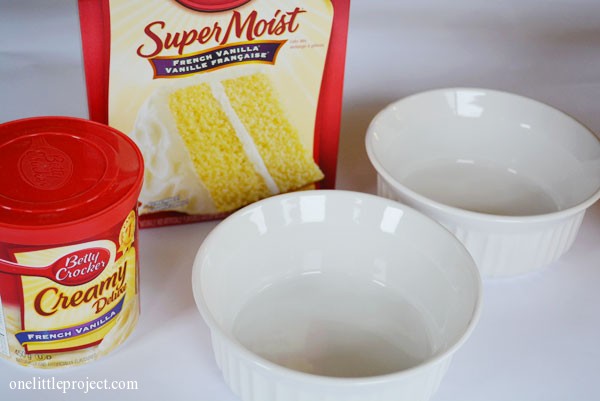
Use one box of cake mix and one tub of icing. I used French Vanilla cake and Creamy French Vanilla icing and added a little bit of red food colouring to make it pink. I didn’t want to buy special small cake pans to bake the little cakes, so I used two round 4″ Corningware dishes I found in my cupboards, and they worked perfectly! Definitely check your cupboards before you head out to buy a small cake pan – as long as it’s oven safe, and the size you want, then you can use it! Even an oven safe mug would work!
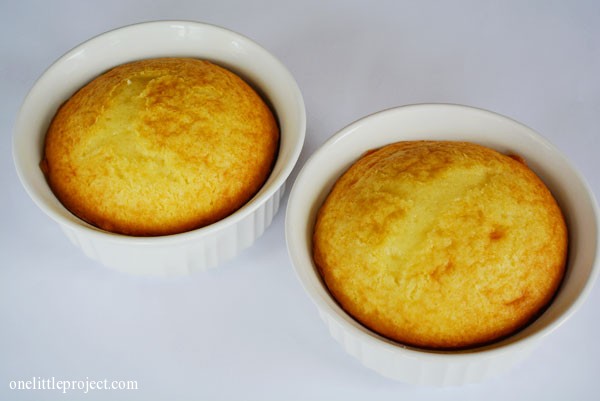
The little cakes definitely came out of the oven with rounded tops:
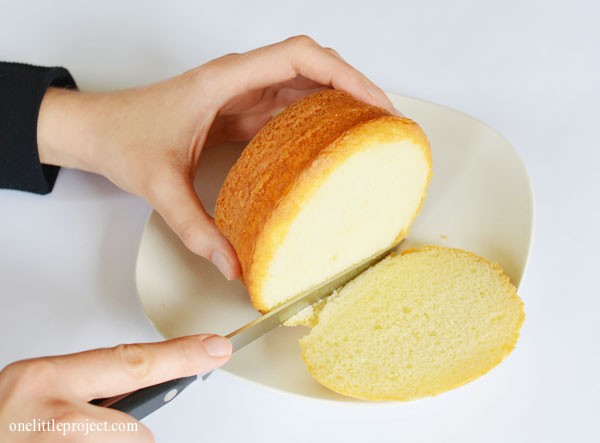
But not to worry, if it happens to your cakes you can just cut off the rounded part with a sharp knife to flatten them out:
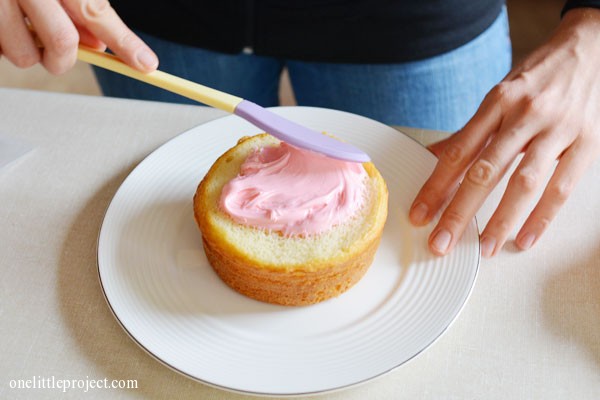
Take some icing and spread it in the middle to make a middle frosting layer. Honestly, this is optional. Let’s face it – as a smash cake for a 1 year old, this extra effort is not going to be appreciated by anyone but you!
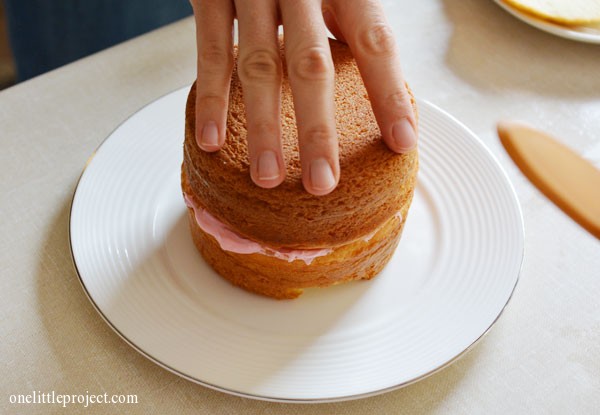
Put the other cake on top of it:
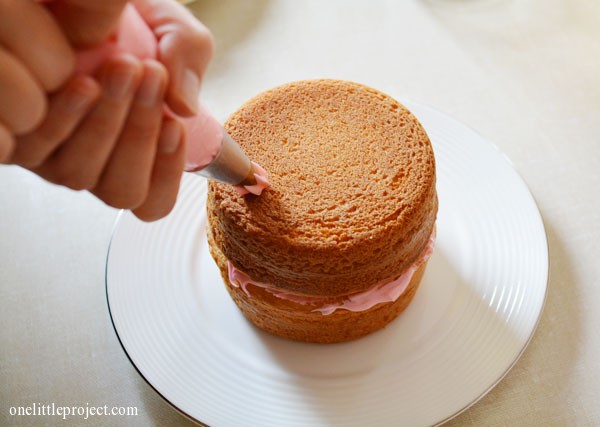
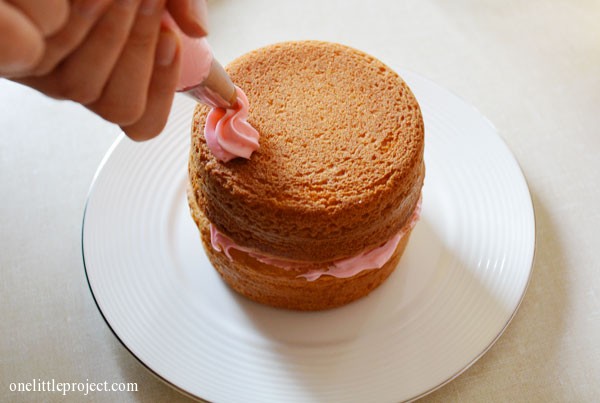
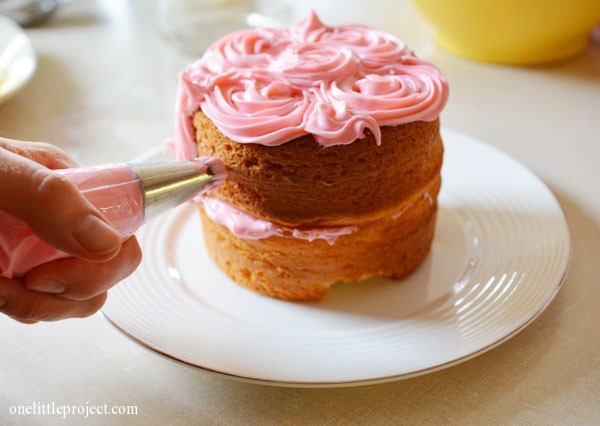
If you want the icing to make the large rose like flowers like mine, use a large open star icing tip and a piping bag:
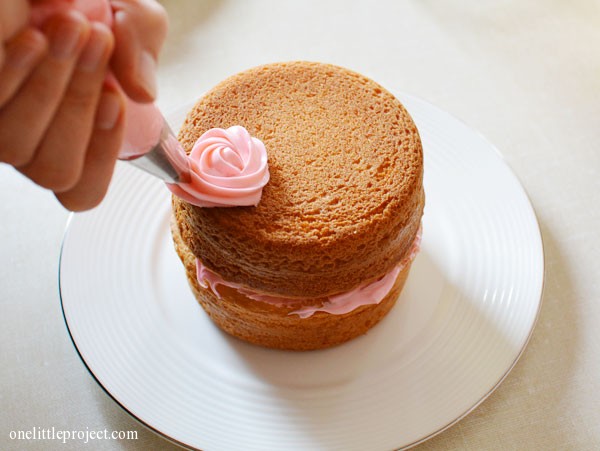
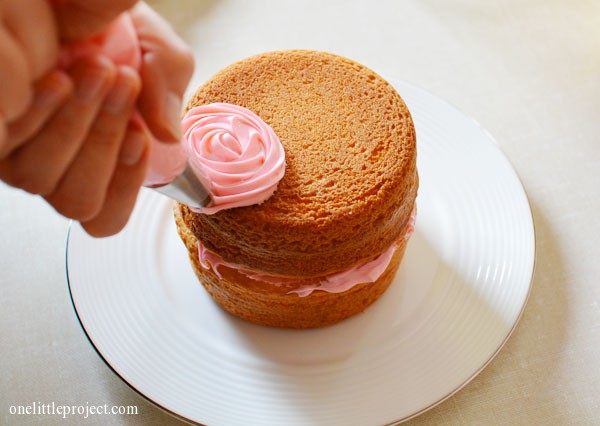
Make little circles, starting at the center of the circle and working your way out:
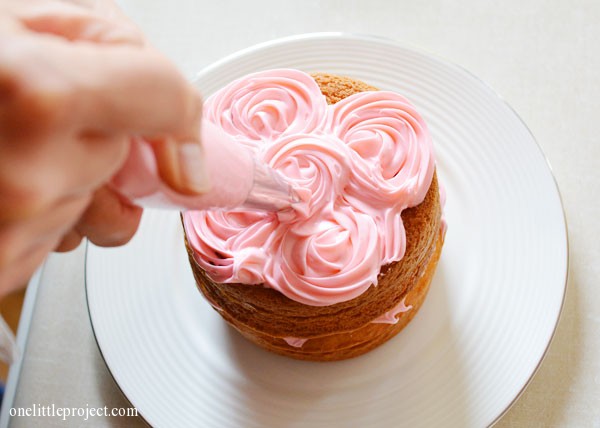
Continue making these little circle flowers and fill in the other gaps as needed until you have covered the top:
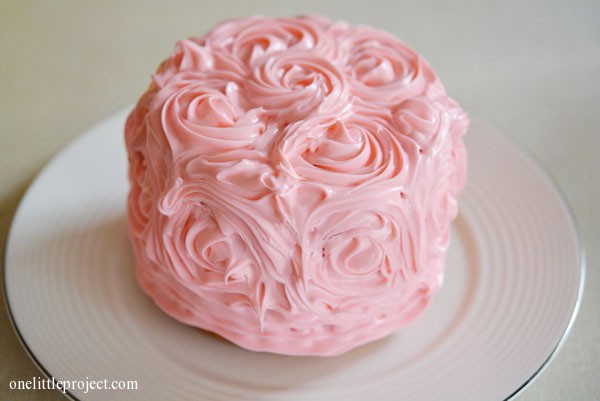
Then use the same technique on the side of the smash cake:
It ended up using a lot of icing, but oh well… it just added to the messy fun of the photos! If I had a coupler for the large icing tip that I used I would have switched the icing tip so I could add rosettes around the bottom of the cake where it meets the plate. But I wasn’t about to waste another icing bag, so mine had a bit of a gap between the icing and the plate where you could see cake if you looked at it straight on.
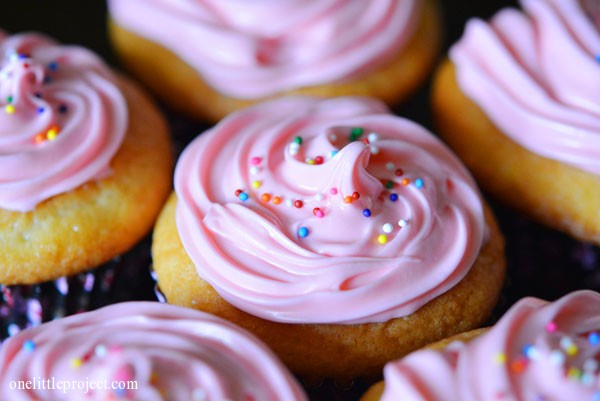
Oh, and the two little 4″ round dishes only used up half of the cake mix. So I used the other half to make 11 pretty little matching cupcakes:
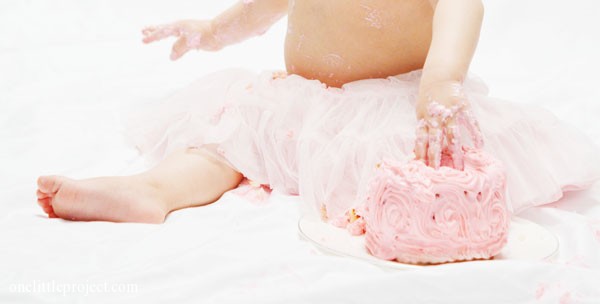
Giving the smash cake to Kate was SO MUCH FUN! She loved it, and I love having the photos! Like I said, I’m going to post more photos from her photo session soon! Here’s what the cake looked like by the end of it though:
