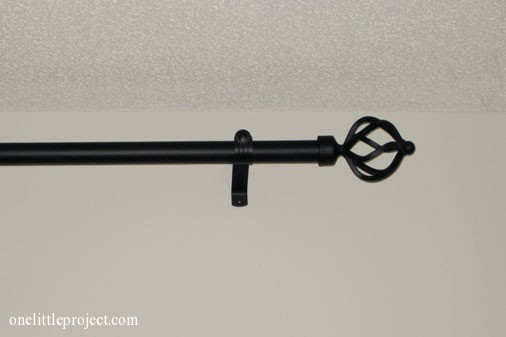
My sewing machine is still out for repairs, but at least I’ll be able to hang the fabric from the curtain rod to get an idea of what everything will look like! I got this curtain rod for 50% off at Jysk this morning, making it only $25, which I thought was a steal of a deal for a hefty curtain rod like this.
How to install a curtain rod, with pictures
Gather all the supplies you’ll need and familiarize yourself with the parts that were included with the curtain rod you purchased. You’ll need:
pencil level measuring tape drill and drill bits screwdriver drywall anchors curtain rod with at least two brackets and two finials
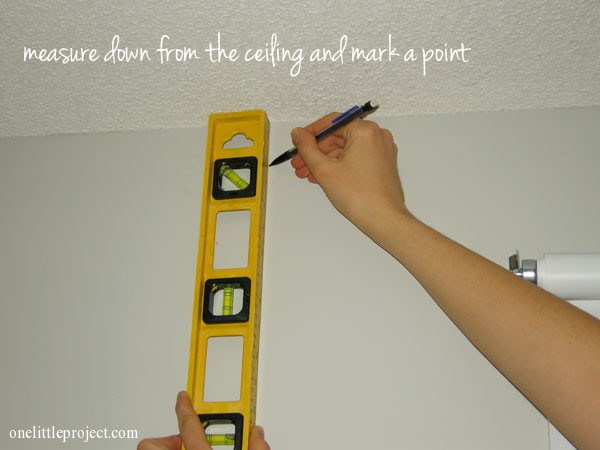
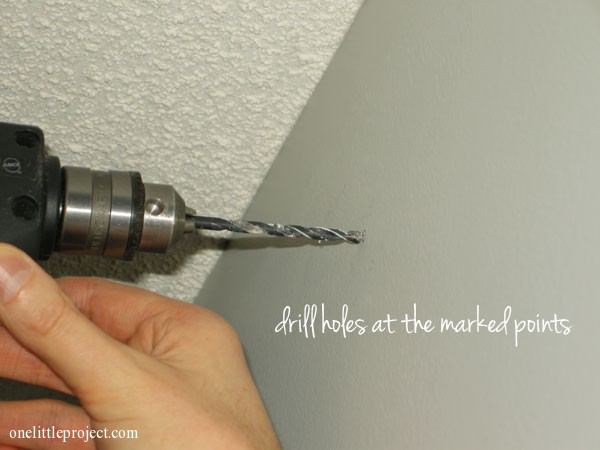
How high should a curtain rod be installed? That will depend on how long your curtains are. I marked my top hole at 2″ below the ceiling so the curtain rod would be close to the ceiling, making the room look taller. It’s also common to install the curtain rod half way between the ceiling and the top of the window frame.
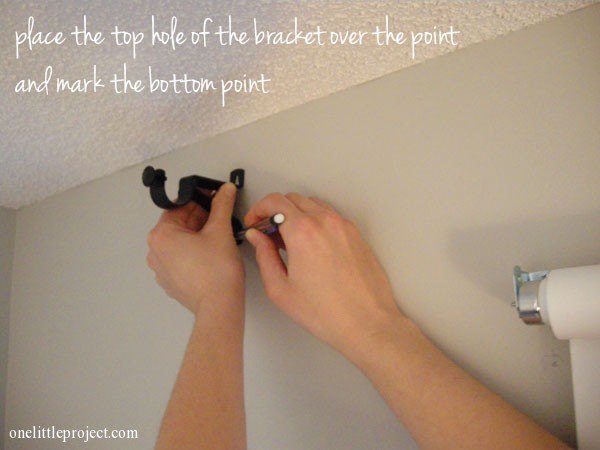
How far from the window should the curtain rod brackets be? It depends on your curtains and how big you want the window to look. I’m making blackout curtains and I don’t want them blocking the window, so I placed the brackets about 12″ horizontally from the window frame (I roughly measured it but didn’t worry about being precise). If you don’t want such a big distance 3″-4″ from the window frame will also work. Just keep in mind that the less window that the curtain fabric blocks, the bigger the window will appear. The curtain rod will actually lie lower than wherever you marked the top hole of the curtain rod bracket, so remember that when measuring and marking your points.
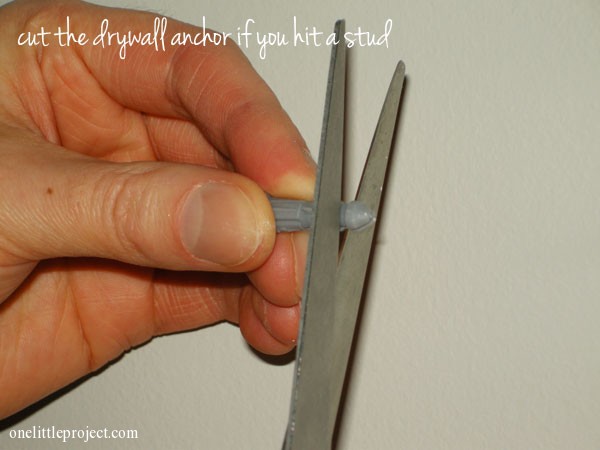
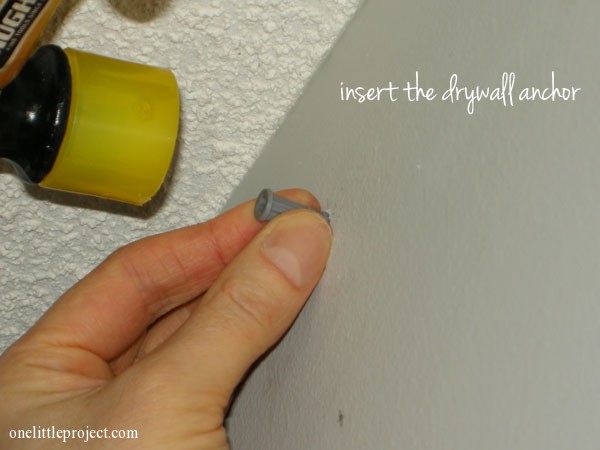
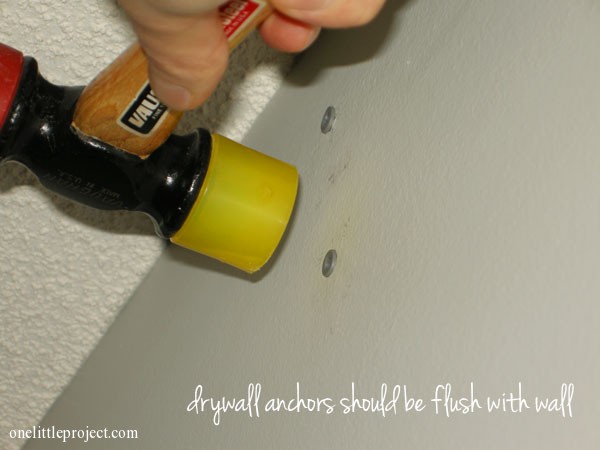
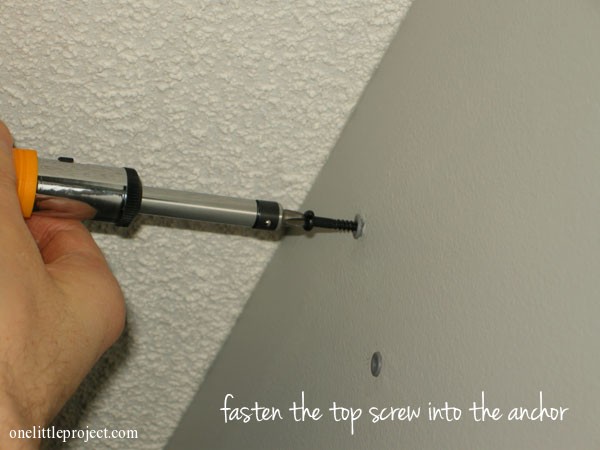
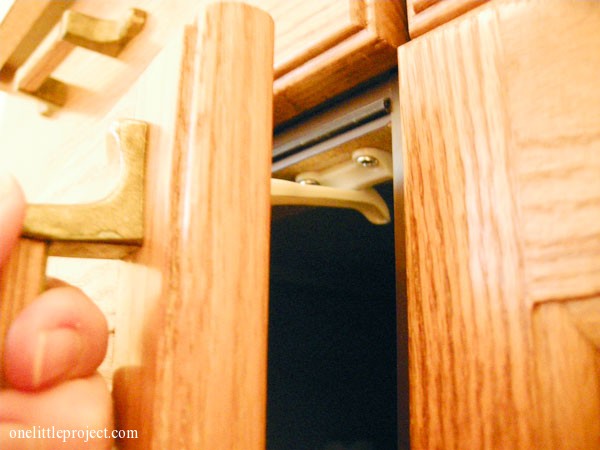
If you hit a stud like we did, just trim the drywall anchor with scissors to the thickness of the drywall (drywall is generally 1/2″ to 5/8″ thick). Use a rubber mallet to tap in the drywall anchors.
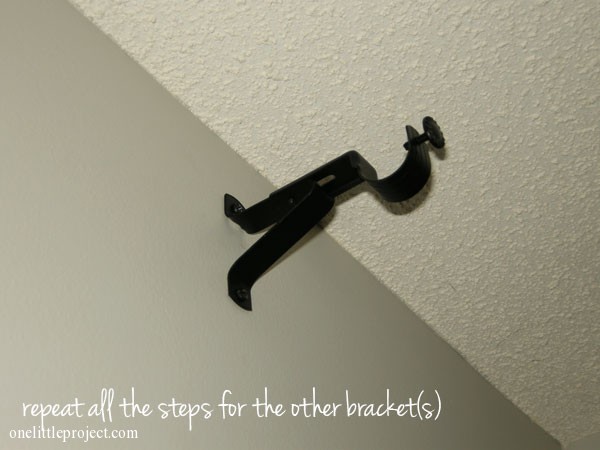
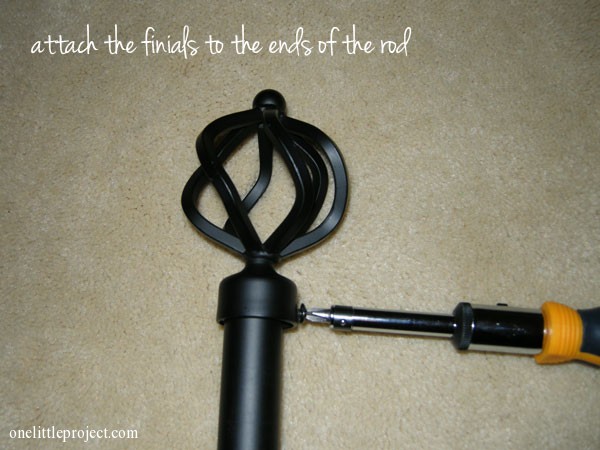
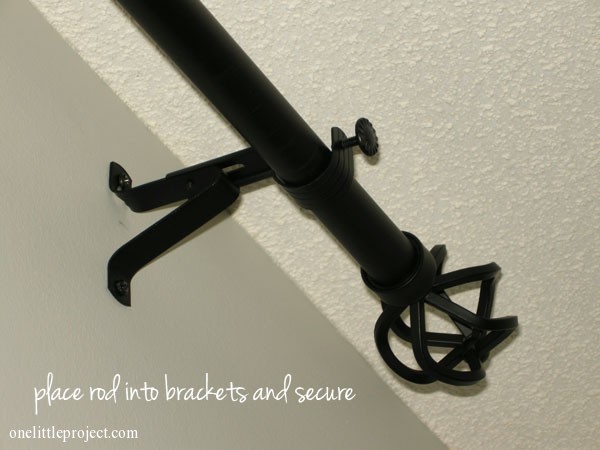
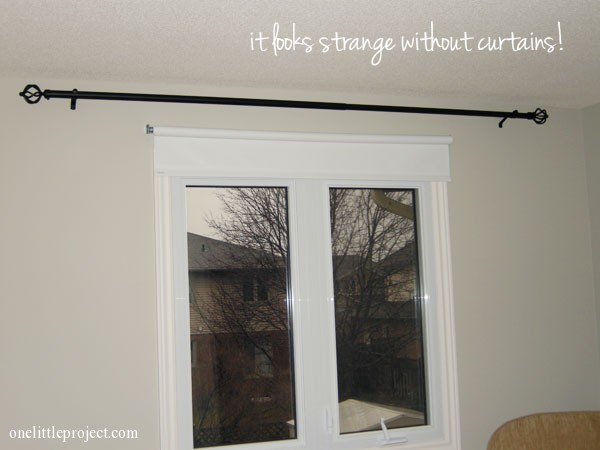
Depending on how large your window is you’ll need repeat all of the above steps for one or two more brackets. At this point, you’ll want to put the curtains on the rod, and then attach the finials before you put the rod up. So pretend that there are yellow damask curtains hanging from the rod pictured below. Since I don’t have the curtains yet I didn’t bother securing anything, but generally at this point you’ll want to tighten that screw in the bracket to keep the rod from shifting. Again, you are going to have to picture happy yellow damask curtains hanging from the curtain rod below. It looks pretty bare without them! That wasn’t so bad, was it?