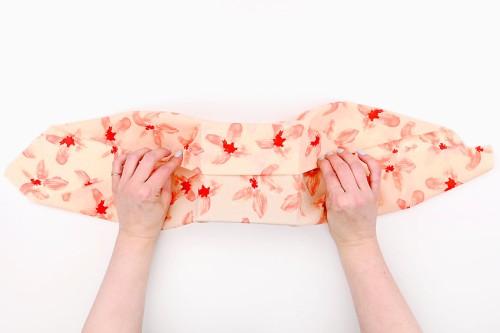
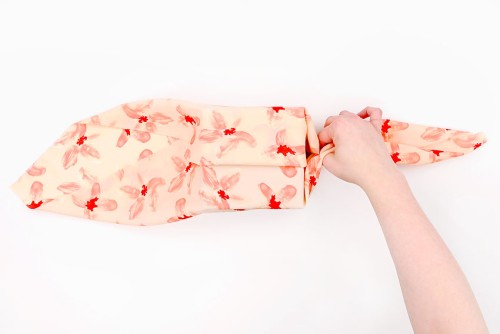
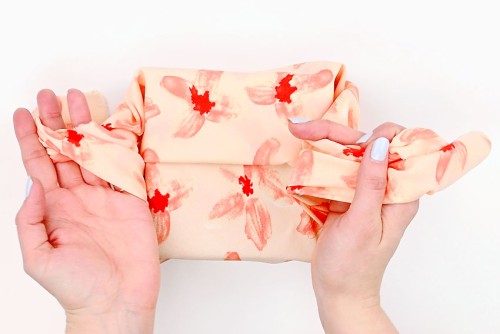
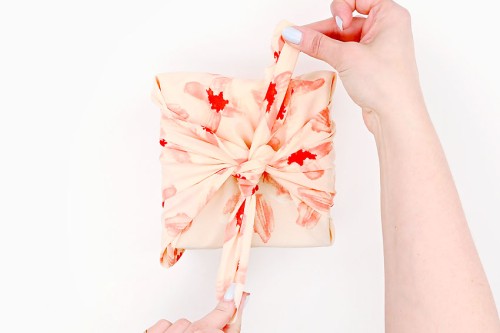
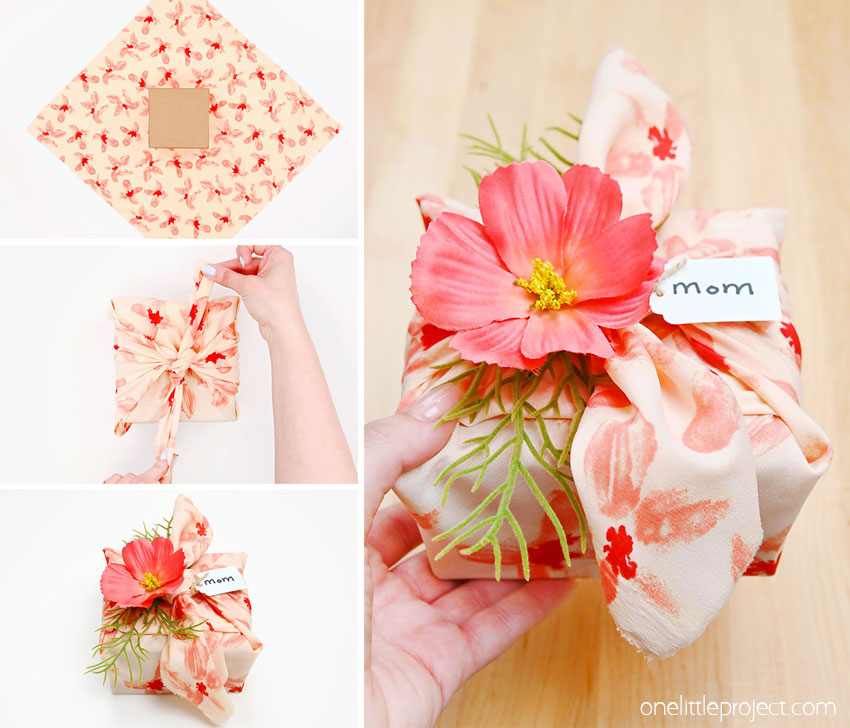
Feel good about reducing waste, and create a beautifully wrapped gift in a re-usable wrapping cloth. Read below for helpful tips and tricks, and follow our step by step photo and video tutorials to learn this easy wrapping technique.
This post contains affiliate links. If you use these links to buy something we may earn a small commission which helps us run this website.
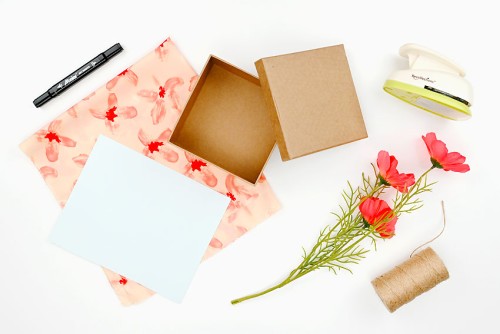
Helpful Tips:
What is furoshiki gift wrapping?
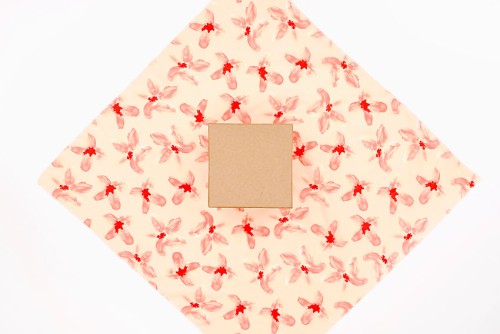
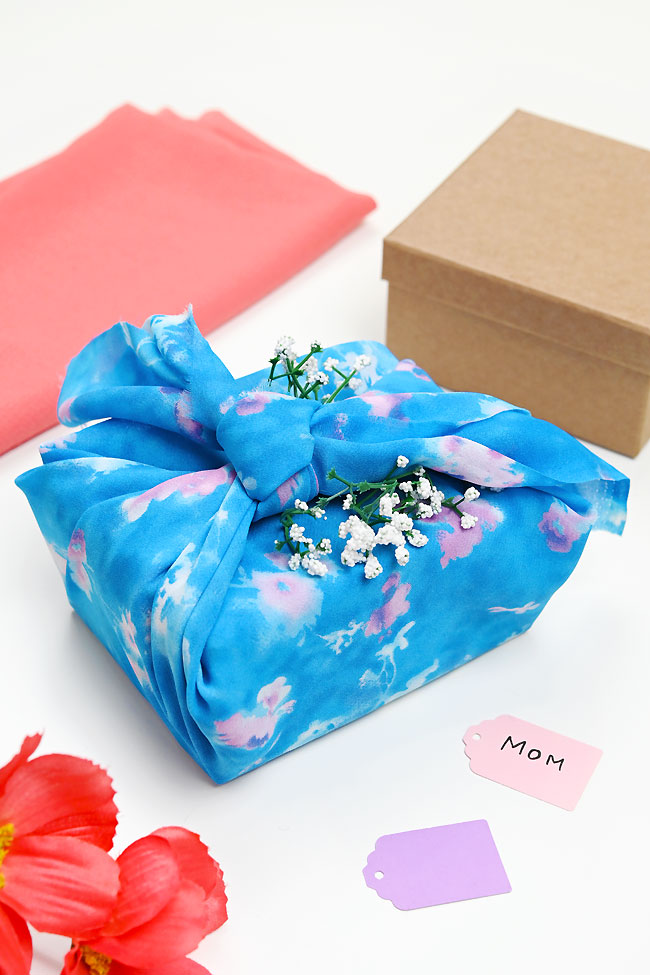
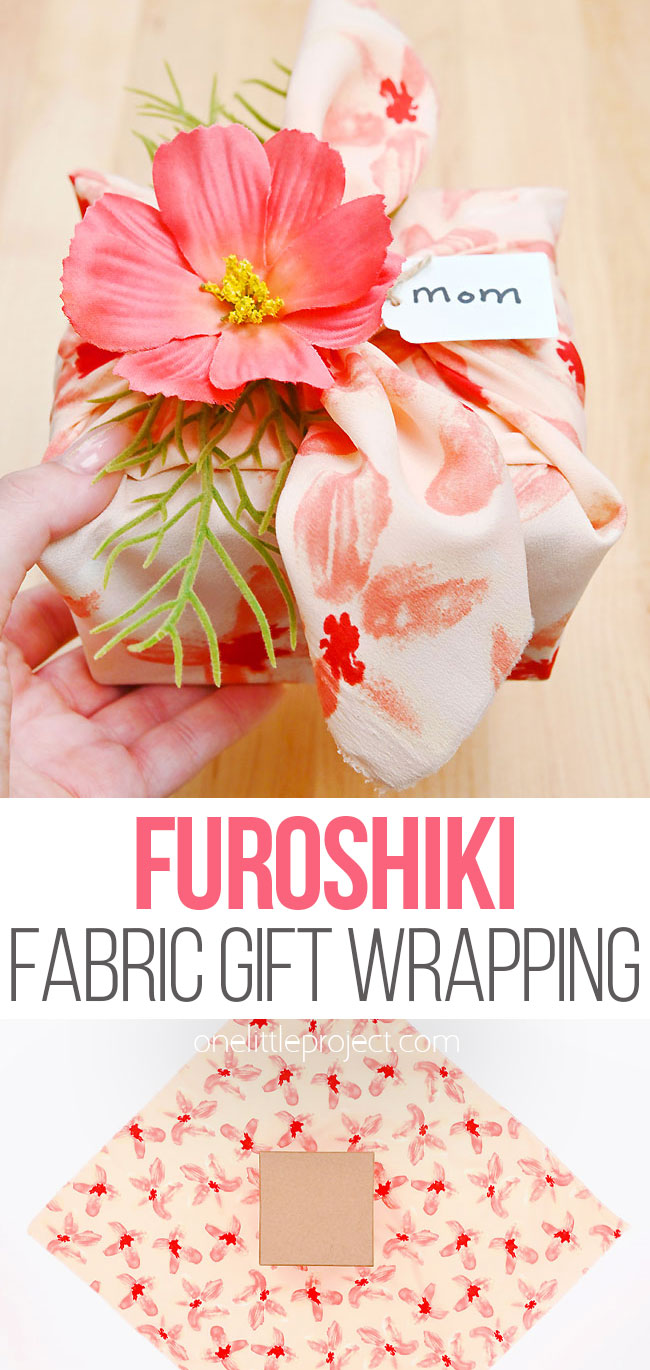
Furoshiki is a traditional Japanese method of gift wrapping, using fabric to wrap boxes and items. The word “furoshiki” refers to both the wrapping technique and the fabric used. Furoshiki eliminates the need for wasteful, disposable wrapping paper. It’s an eco-friendly way to wrap presents, since the fabric can be re-used over and over again. Furoshiki wrapping can be done in a number of different styles, and can be personalized with different fabrics, patterns, and accents.
Can I use any fabric for furoshiki?
We recommend using a fabric with little to no stretch, like silk, cotton, or a poly-cotton blend. Any fabric can technically be used, but thinner fabric is easier to fold and tie. If your gift has a lot of weight to it, or needs more protection, thicker fabrics like linen or canvas will work. However, thicker fabric is more difficult to tie neatly. If your fabric has a print, make sure it’s double sided and that the print shows through well on both sides. The back side of the fabric is visible after the gift is wrapped, so if you use a fabric with a “bad side” you’ll be able to see it.
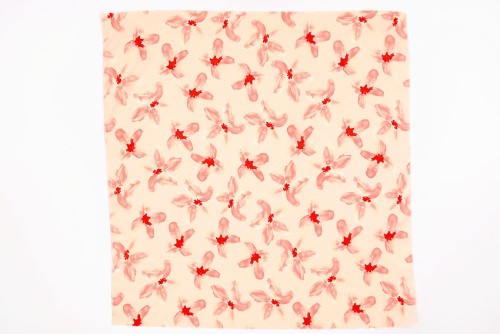
What’s the best way to cut fabric for furoshiki wrapping?
We highly recommend using fabric scissors to cut your fabric, since sharp scissors give the straightest and cleanest lines. If you have them, a rotary cutter and a quilting ruler on a cutting mat are even better for creating long, straight lines. Be sure to iron your fabric and set it flat before cutting, and if you’re worried about the fabric moving you can weigh the edges down and/or mark the cutting lines with fabric chalk.
How much fabric do I need for furoshiki wrapping?
Generally your fabric should be 3 to 5 times the size of your gift box. This is just a rough estimate — it’s okay if your fabric is bigger, but you definitely don’t want it to be smaller. Typical measurements would be 17 x 17 inches, 20 x 20 inches, 22 x 22 inches, etc. for small square or rectangular gift boxes. We bought 1/2 meter of each of our fabrics, and it was enough to wrap 2 to 3 smaller boxes. The exact amount of fabric needed will, of course, depend on the item you’re wrapping and the style of wrapping you prefer.
How can I decorate my furoshiki wrapping?
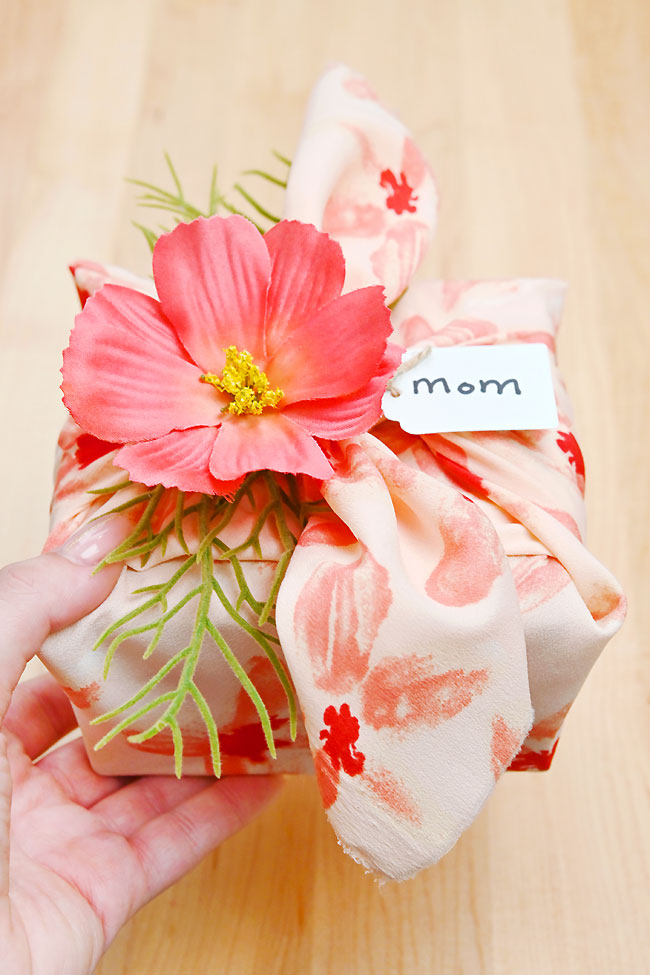
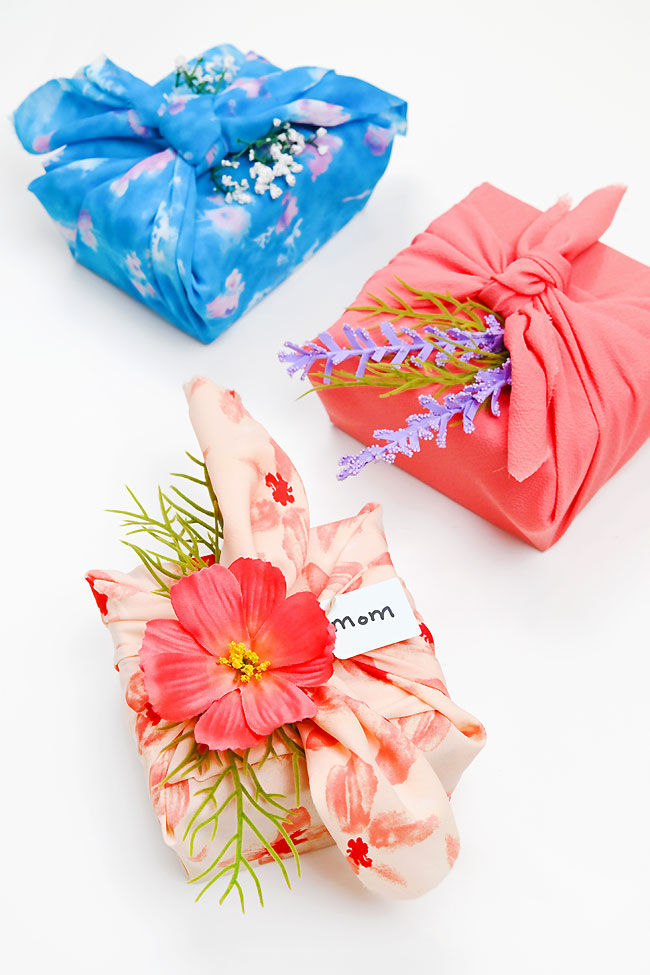
There’s no question that furoshiki wrapped gifts look amazing on their own. But adding a little extra decoration will only make your personalized gift more memorable. Here are some ideas of what to add:
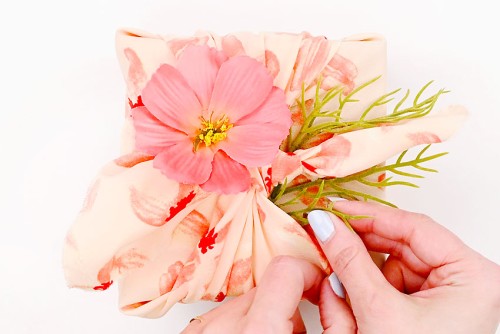
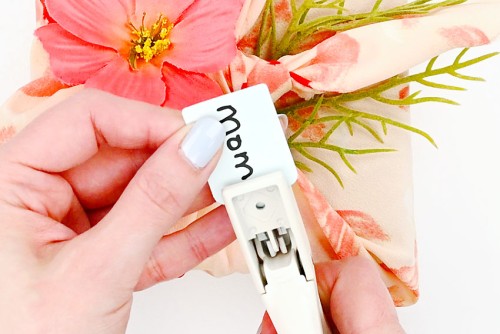
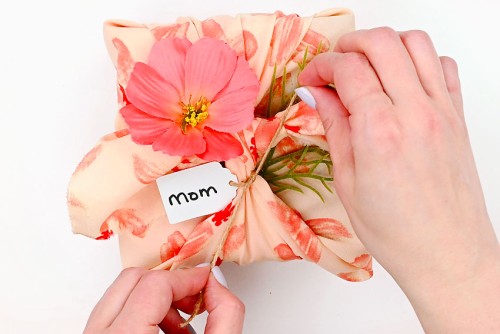
Natural items: Slide faux flowers, greenery, or feathers under the wrap knot. Ribbons or bows: Tie a ribbon bow or add pizzazz with curling ribbon. Charms or trinkets: Create an extra embellishment with a decorative accent that can be themed to the gift or the recipient’s interests. Personalized gift tag: Make a little tag with the recipient’s name, like we did on our gifts, or even write a thoughtful message on a small card. Fabric scraps: Use fabric scraps or remnants in a coordinating colour to make bows, flowers, or appliques. You can tie, sew, or glue them onto the wrap. Pom poms: Make a yarn pom pom and tie it around the knot for a cute and fun decorative touch.
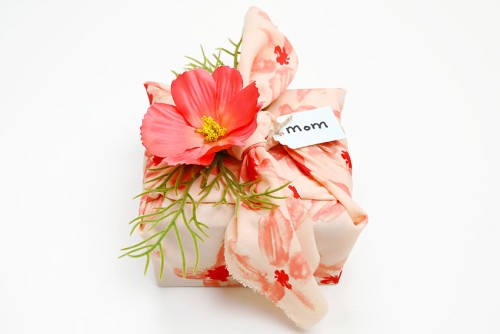
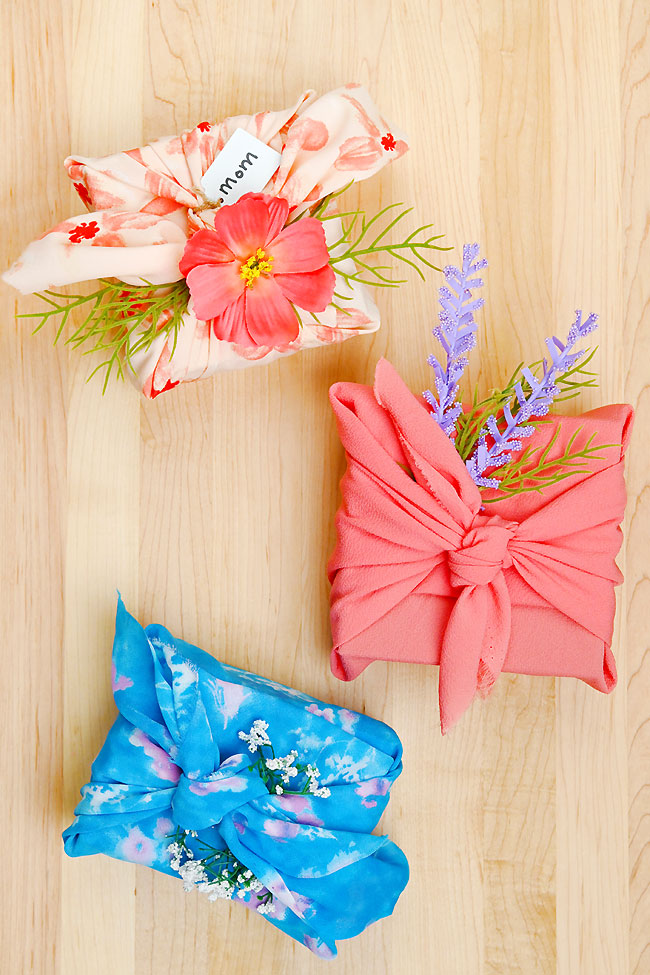
Furoshiki wrapped gifts are SO PRETTY, and they allow you to wrap the present in the recipient’s favourite colour or pattern. Add a personal touch to your next gift giving occasion, and be environmentally conscious with this versatile wrapping technique!
Here’s even more DIY gift ideas:
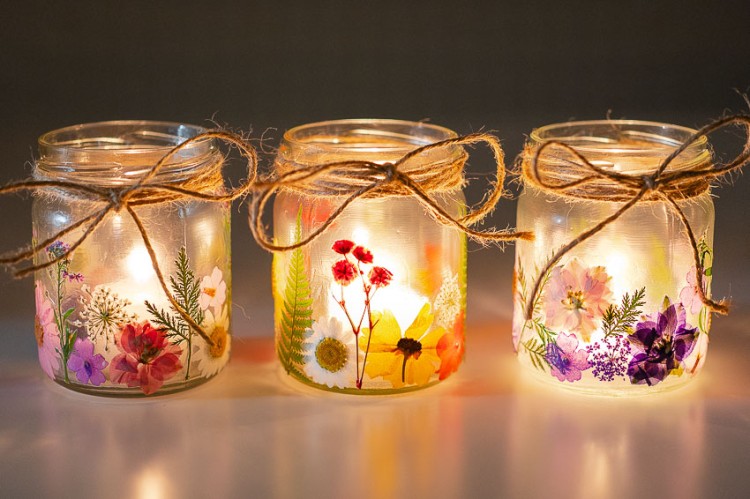
Pressed Flower Lanterns
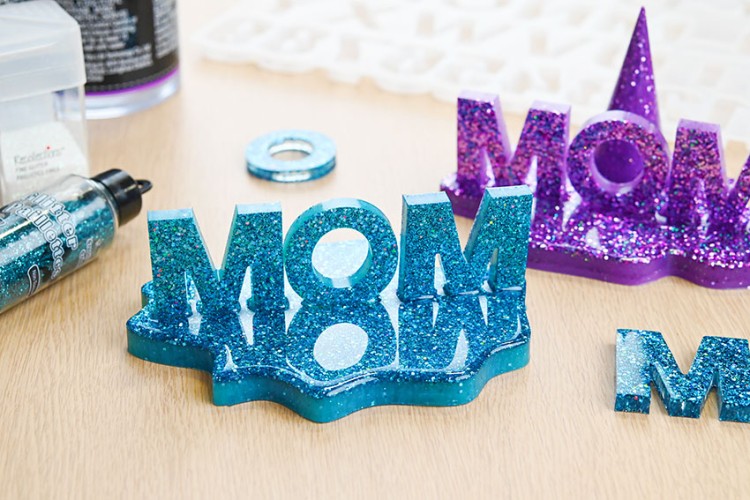
Mother’s Day Resin Craft
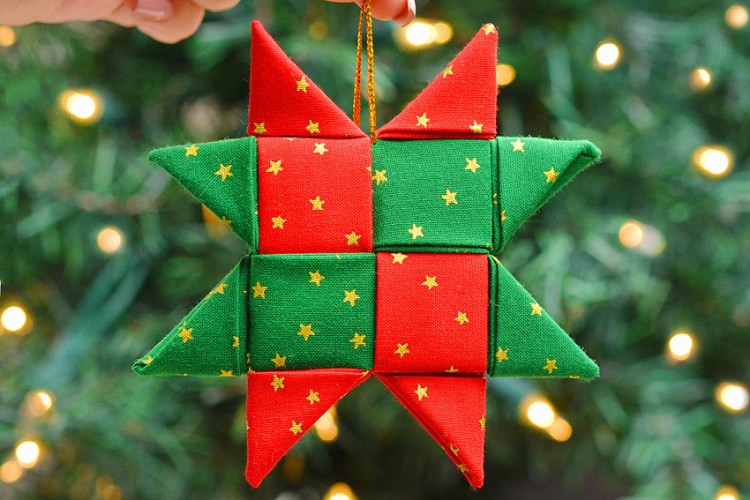
Scandinavian Star Ornament
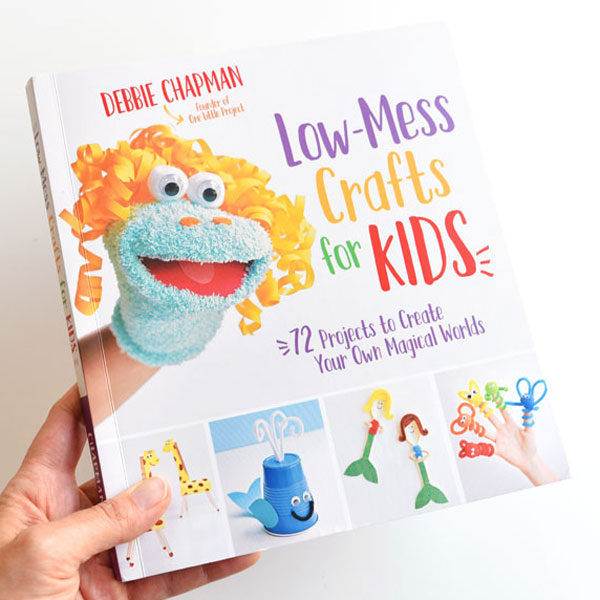
Our book Low-Mess Crafts for Kids is loaded with 72 fun and simple craft ideas for kids! The projects are fun, easy and most importantly low-mess, so the clean up is simple!
Where to buy: