This creative and hands-on activity is as fun as it is educational. Let the kids choose their favourite colours, and enjoy the almost magical reaction as each egg fizzes when it interacts with the vinegar solution. With just a few pantry staples, you can easily try this fizzy Easter egg dyeing project at home!
Helpful Tips:
What causes the reaction in this fizzy egg science experiment?
When making these fizzy Easter eggs, combining the baking soda paint (a base) with vinegar (an acid) creates a gas called carbon dioxide. This is the same gas we exhale after we breathe in oxygen. You can see and hear the reaction, and sometimes even feel the bubbles popping if you hold your hand close enough. Baking soda and vinegar experiments are not only great teaching tools about acid-base reactions, but they also illustrate changes in states of matter. This reaction shows a solid (baking soda) combining with a liquid (vinegar) to create a gas (carbon dioxide)! You can see a visible representation of this with baking soda and vinegar balloons.
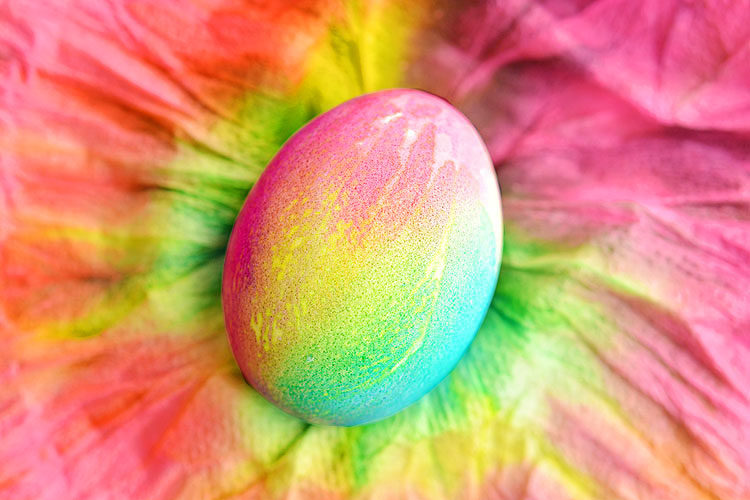
What food colouring is best for my fizzy Easter egg dyeing?
Almost any food colouring should work for your fizzy Easter egg dyeing project. Some colours may be more vibrant than others, so you might need to add extra drops, but they will still dye the eggs beautifully. With the wide variety of food dye options available today, you can even experiment with neon food colouring for bold, vibrant hues. We recommend avoiding pastel food colours for this activity, as the shades will be paler on the eggs than they are in the bowls.
How can I protect my work surface when making fizzy eggs?
To prevent staining your work surface during fizzy Easter egg dyeing, take a few simple precautions to protect it from any vinegar overflow. The vinegar mixture used in this experiment can sometimes bubble over, potentially colouring your countertop or table. Pouring the vinegar slowly will help control the intensity of the fizzing reaction, but it’s best to take extra care to avoid spills. Place your bowl of fizzy eggs on a rimmed baking sheet, glass baking dish, or cake pan to catch any overflow. Alternatively (or in addition), cover your workspace with a water-repellent tablecloth (like plastic or vinyl) to shield your table or counter. Be sure to perform the fizzy egg experiment away from the edges of your workspace to prevent spills onto the floor. For added safety, consider taking the fun outside to limit the mess.
How can I control the amount of vinegar I add during this fizzy egg experiment?
If you’re struggling to control the vinegar pour during the fizzy Easter egg dyeing, try adding a small amount into a measuring cup. Pouring from the measuring cup allows you better control the amount of vinegar added to the egg dye mixture and ensures the reaction stays manageable. This method is especially helpful for kids. For younger children, using a pipette is a great solution. This small tool only holds a limited amount of vinegar, helping prevent over-pouring and keeping the experiment safe and fun. For older kids, consider a squeezable bottle—they can easily add the vinegar, and the flow will stop when they stop squeezing, giving them more control over the reaction. These options allow for a low-mess Easter project with kids! These fizzy Easter eggs are a great way to get creative and experiment with science! Whether you’re arranging an Easter egg hunt or creating a colourful centerpiece for Easter dinner, they’re a magical way to bring festive joy to any space. With their interactive, bubbly nature, these marbled Easter eggs will be the showstopper of your springtime gatherings!
Here’s even more Easter egg decorating ideas:
Tie Dye Easter Eggs DIY Galaxy Easter Eggs Decoupage Easter Eggs
Where to buy: