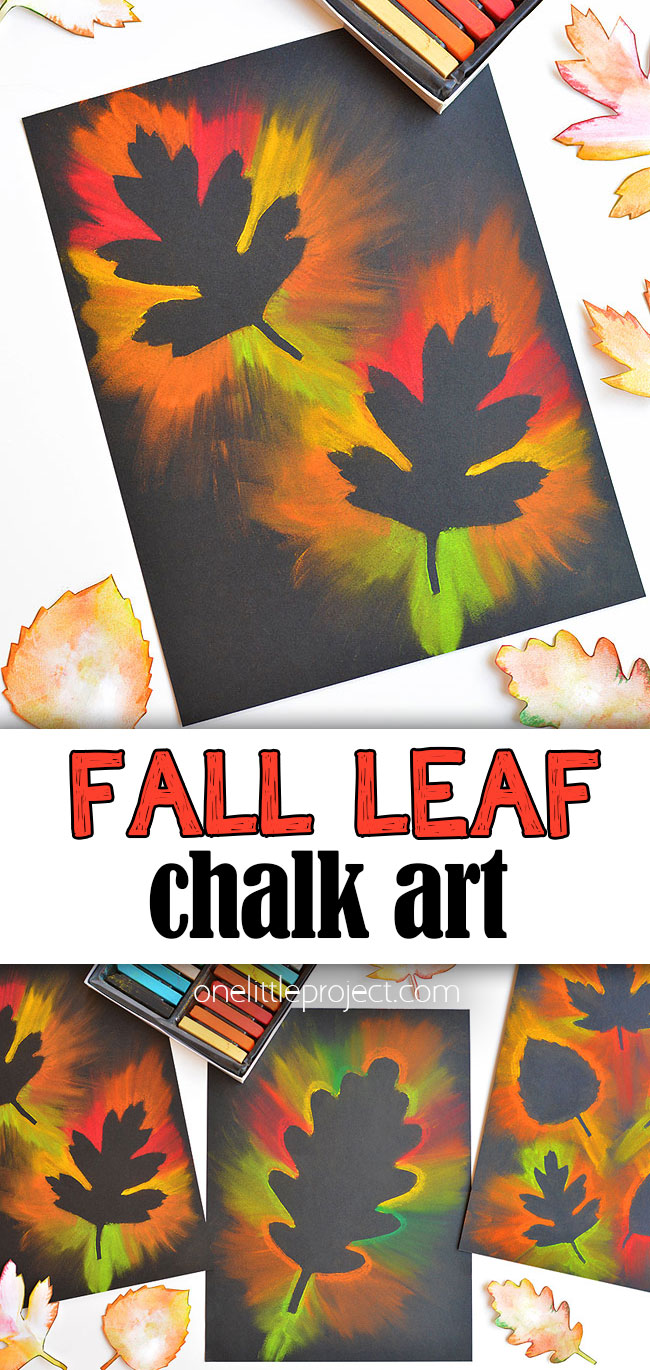
Chalk Pastel Art for Kids
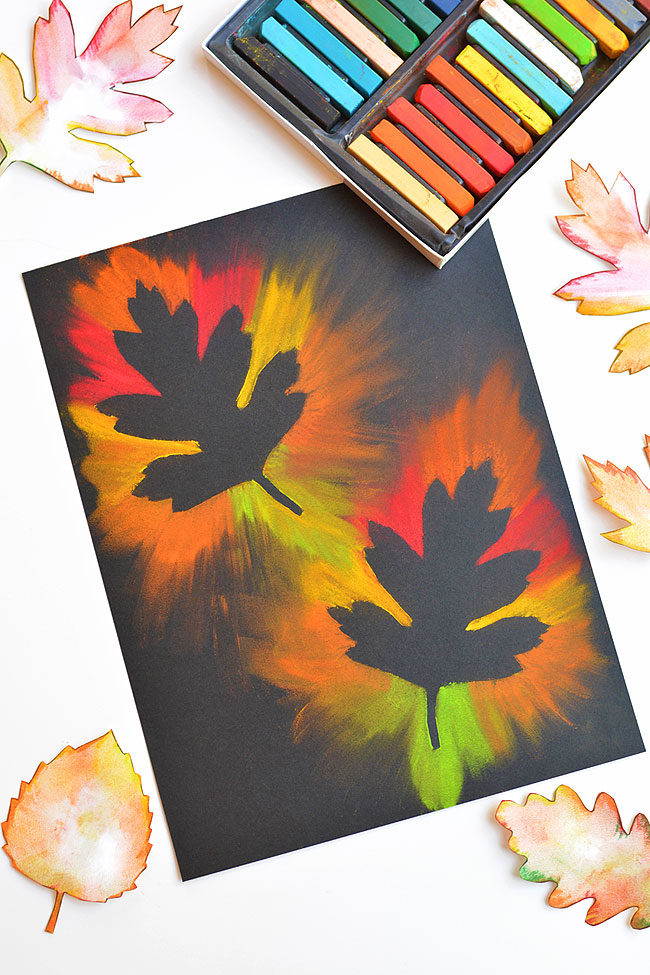
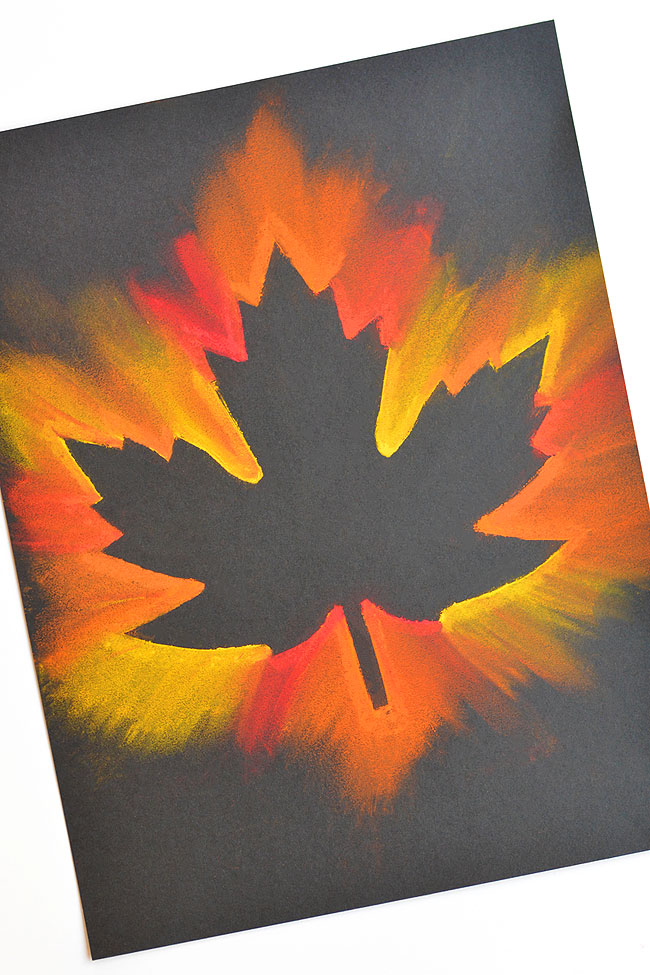
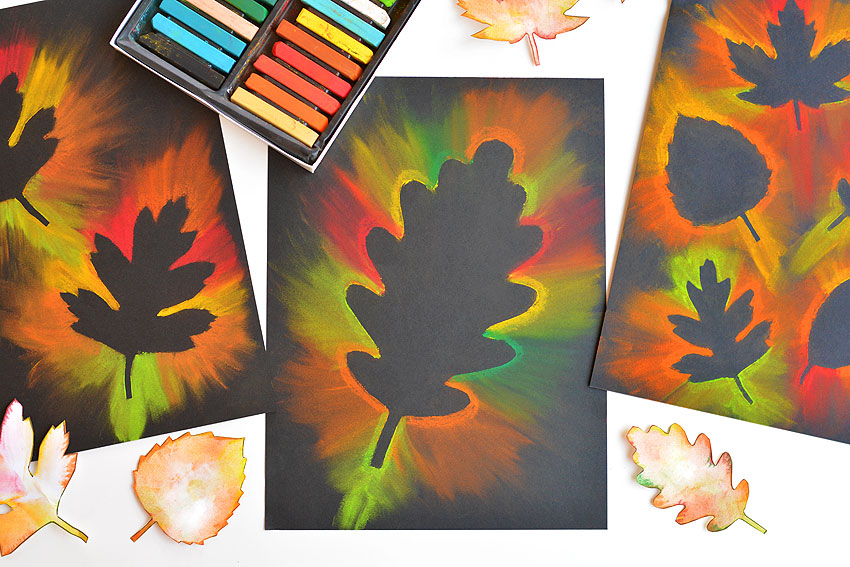
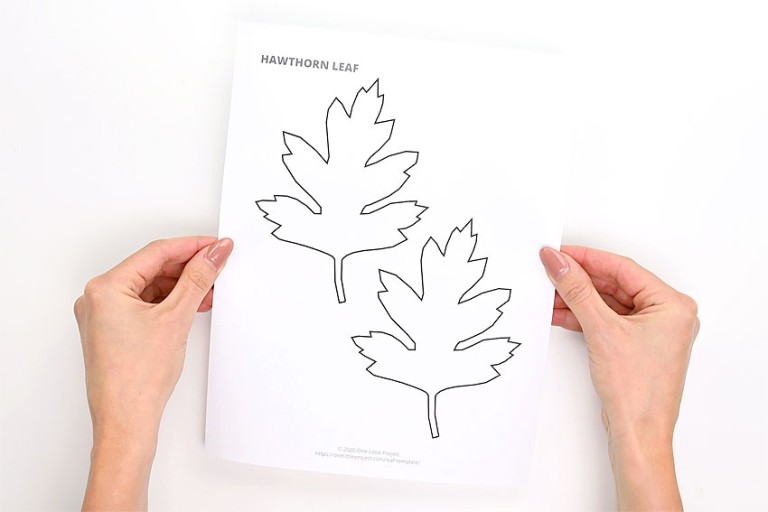
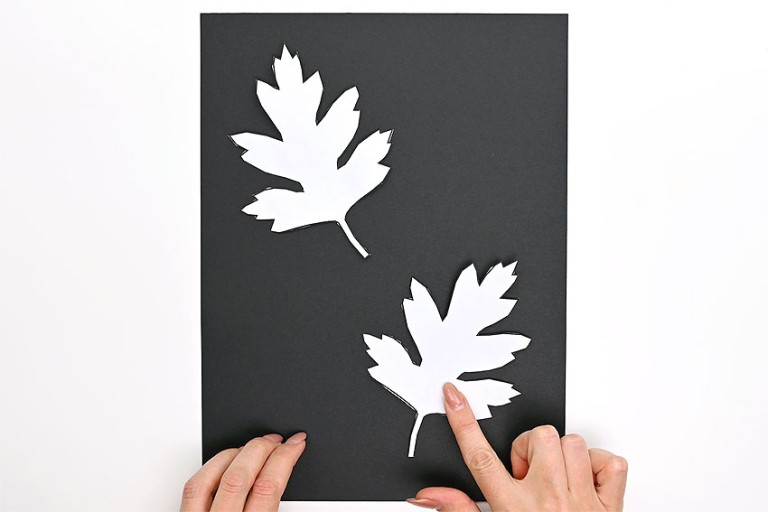
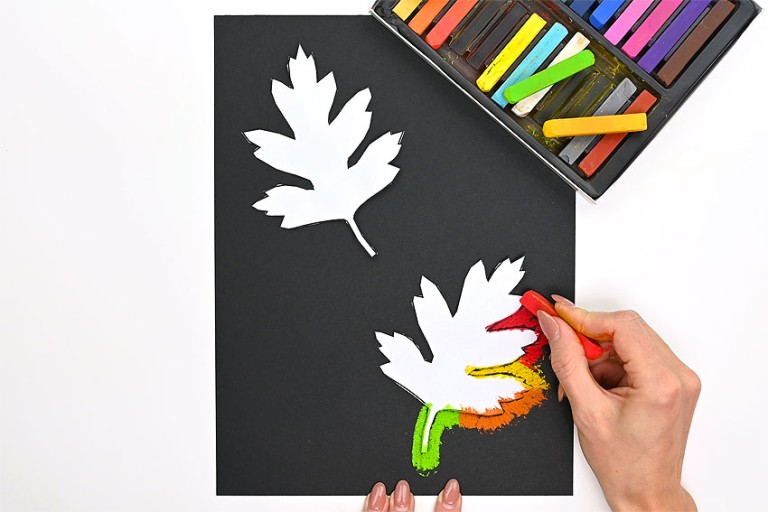
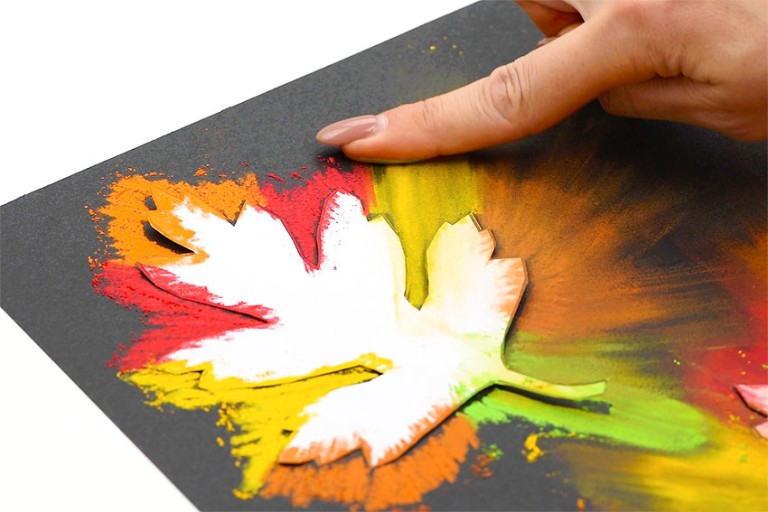
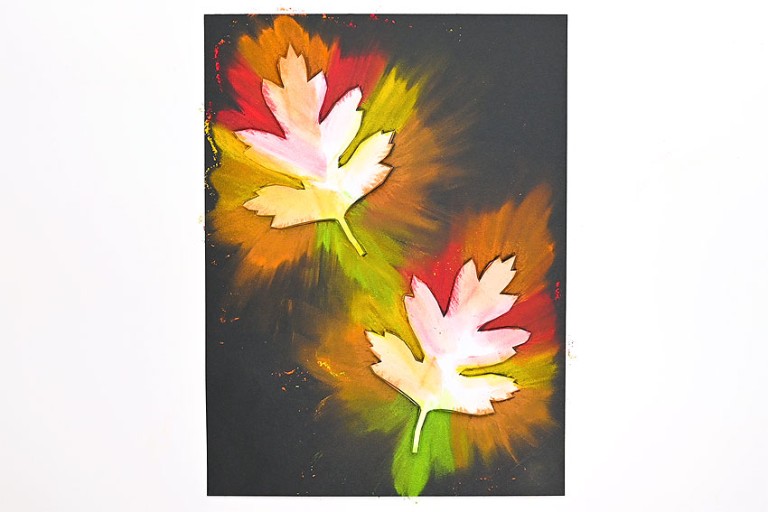
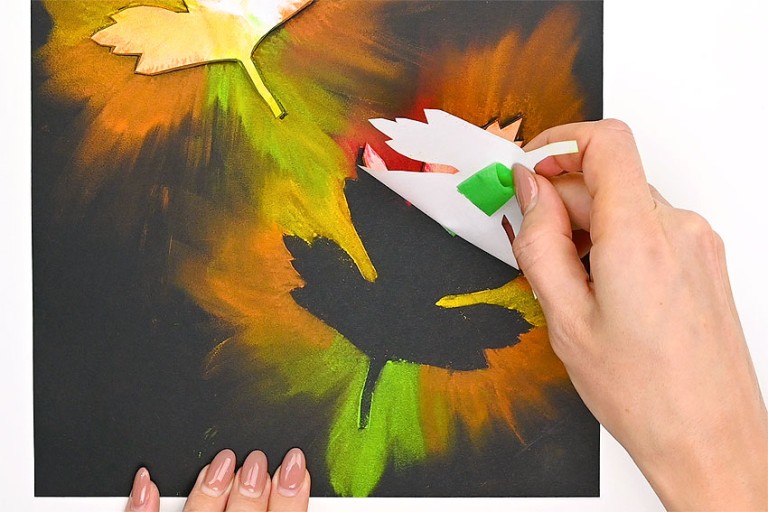
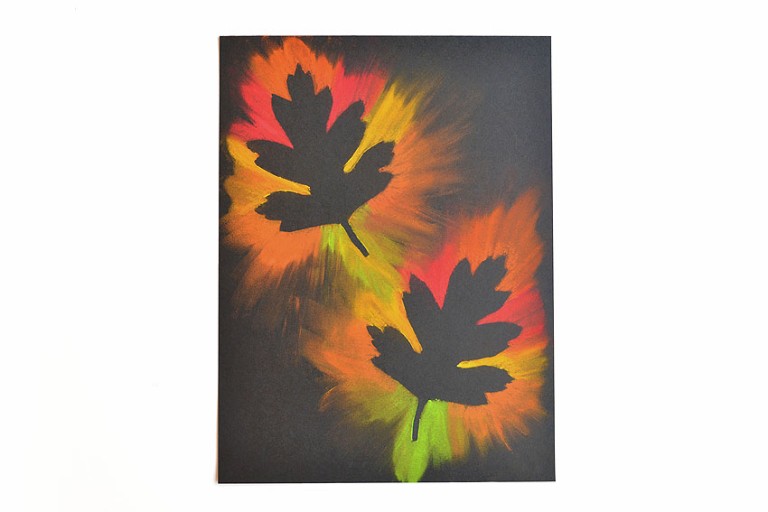
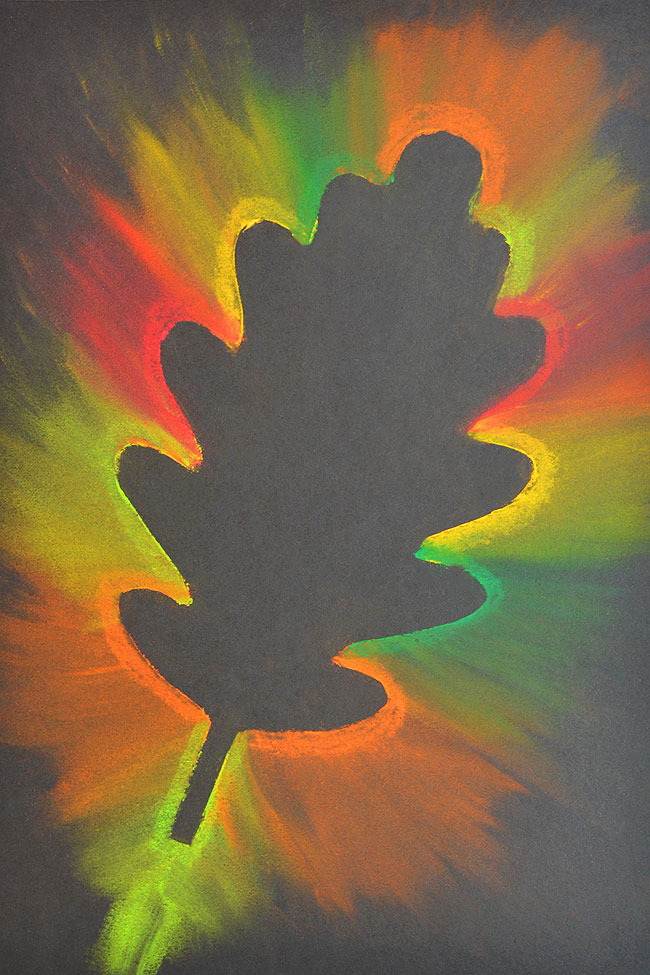
We used fall colours to make our fall leaf art – red, orange, yellow and a touch of green. The leaves really pop and look like they’re glowing on the black paper! And the technique is SO EASY! This is a great activity to learn about positive and negative space in art and colour blending while using fun and tactile art techniques. Use a simple colour smudging technique over a paper template and reveal a clean leaf outline – so cool! Younger kids might find it easier to use one large leaf template in the center of the page, while older kids can work around several smaller leaves. We have lots of free printable leaf templates available, but it would also be fun to use a real leaf as a stencil!
Check out our Fall Leaf Chalk Art video tutorial:
*Note: Scroll down for the step-by-step photo tutorial.
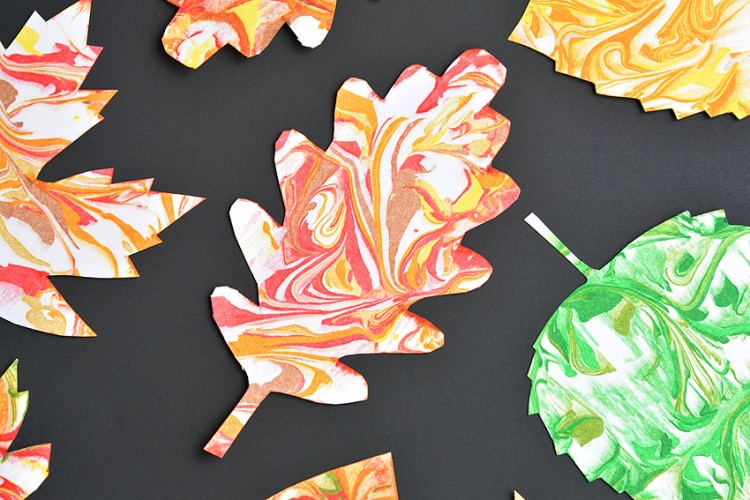
Marbled Fall Leaves Painting Paper Pumpkin Craft Easy Tree Painting for Kids
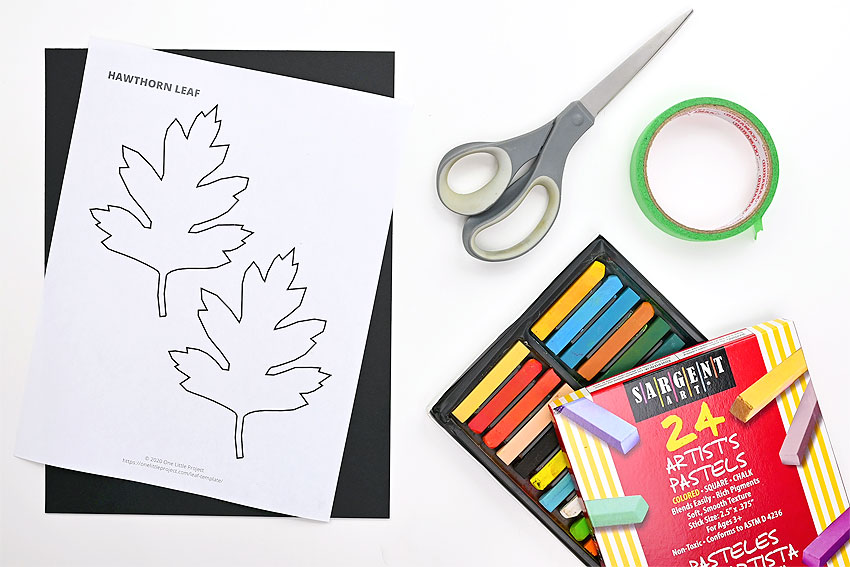
Here’s what you’ll need:
This post contains affiliate links. If you use these links to buy something we may earn a small commission which helps us run this website.
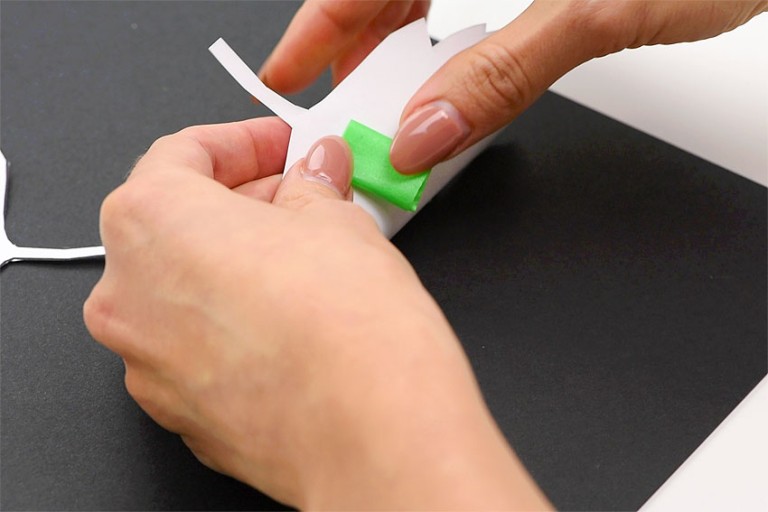
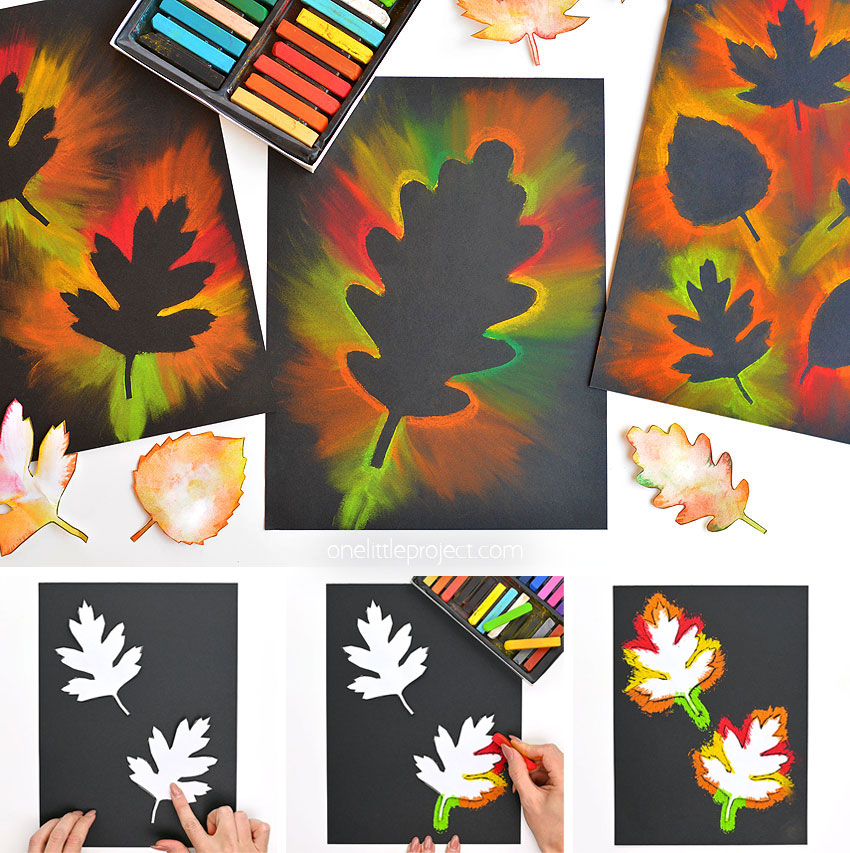
Fall leaf template Scissors Black drawing paper or construction paper Painter’s tape Chalk pastels
Can I use regular or sidewalk chalk instead?
Yes, you can! The colours just won’t be as bright. We used a similar technique with sidewalk chalk for our chalk stenciled pumpkins and sidewalk chalk Christmas lights and they turned out great! We discovered chalk pastels when we made our northern lights pastel art and you can see the colours are way more vibrant than the projects where we used sidewalk chalk.
What else can I use to smudge the chalk pastels?
We found using our fingers was the easiest way to smudge the chalk pastels without removing too much of the colour. If you don’t want to use your fingers, Q-tips work well to smudge smaller areas, while cotton balls work well for larger areas. You can also use foam paintbrushes to blend the colours. These methods take off a lot of the colour, so you have to use a light touch.
How can I contain the mess of chalk pastel art?
Chalk pastels can get a little messy, but it’s easy to contain the mess if you’re prepared. You can do your art project on newspaper or on a baking sheet, or use a wipeable tablecloth underneath your drawing paper. Make sure to have baby wipes or damp paper towel handy for cleaning messy hands. You can tap excess chalk dust into the garbage, or carefully bring it outside to blow or shake the dust off.
How can I protect my chalk pastel art?
Chalk pastel art can easily be smudged or damaged, so if you want to preserve your art there are a few ways you can do it. The easiest option is to frame your art behind glass. You can also spray the art with a fixative, which is similar to a varnish. Workable fixative allows you to add other layers of pastels on top, while a final fixative offers final protection for your chalk pastel art. For an inexpensive alternative to a fixative you can spray a thin layer of hairspray on your drawing to prevent fading and smudging. Make sure it’s an inexpensive, unscented hairspray without any oils or conditioner in it.
This project was inspired by the beautiful fall leaf chalk pastel art over at Projects with Kids. Capture the brilliance of autumn colours with this fall leaf chalk art! These drawings are so pretty and it’s so much fun to smudge and blend the colours together.
Here’s even more fall craft ideas:
Marbled Fall Leaves Painting
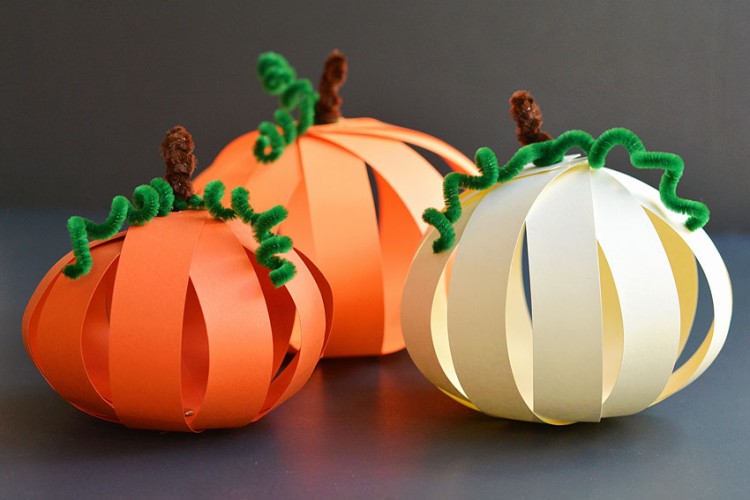
Paper Pumpkin Craft
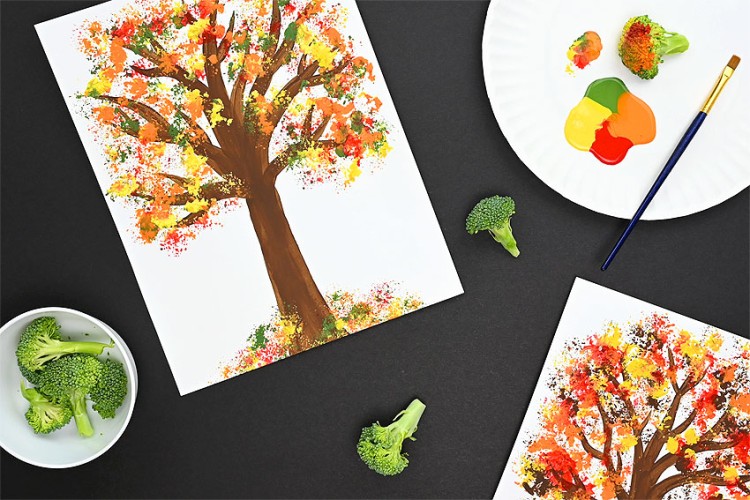
Easy Tree Painting for Kids
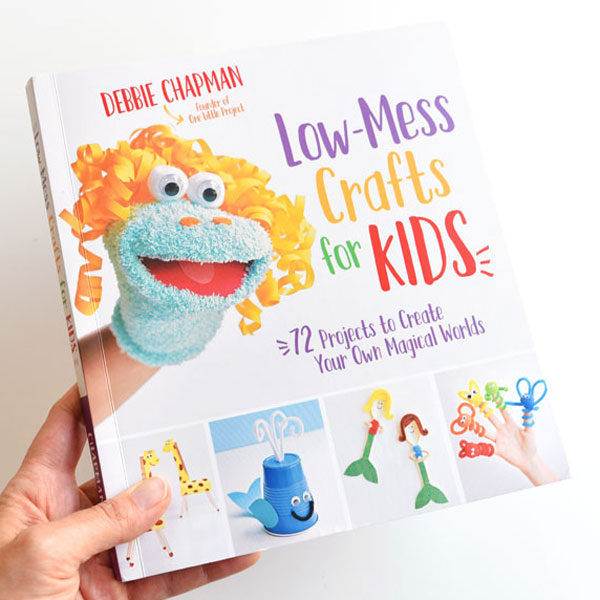
Our book Low-Mess Crafts for Kids is loaded with 72 fun and simple craft ideas for kids! The projects are fun, easy and most importantly low-mess, so the clean up is simple!
Where to buy: