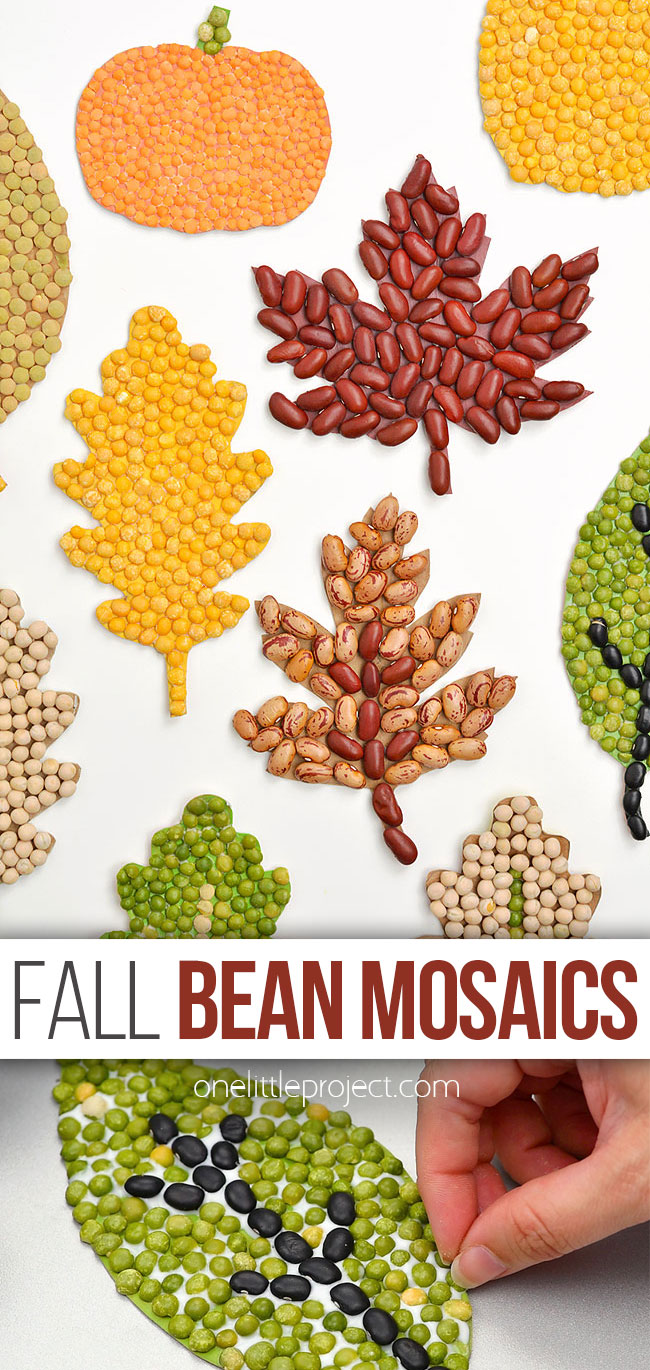
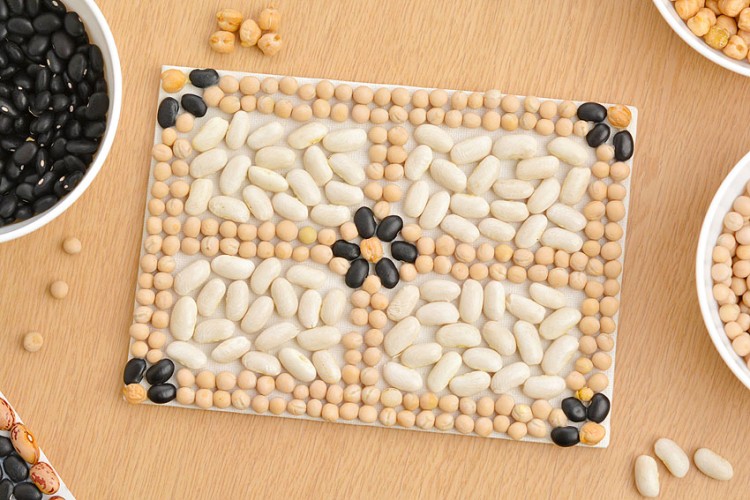
Use dried beans, lentils, legumes, and seeds to decorate this fall bean art. It’s an easy craft that looks great sitting on a mantle, side table, or as homemade decorations for your Thanksgiving table.
This post contains affiliate links. If you use these links to buy something we may earn a small commission which helps us run this website.
Helpful Tips:
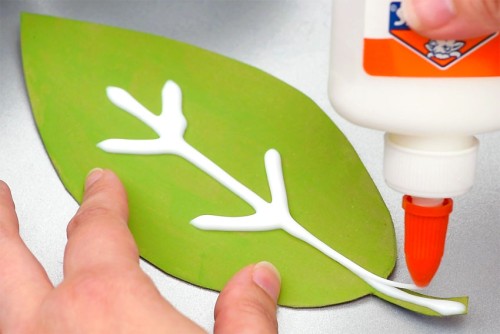
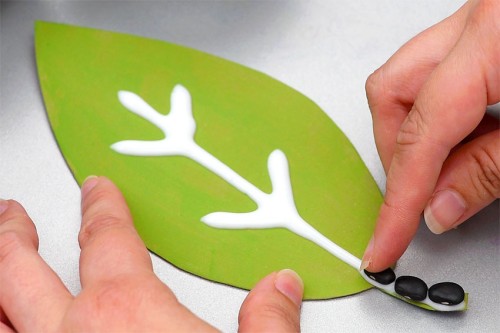
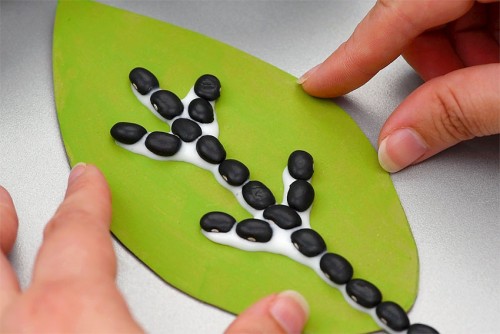
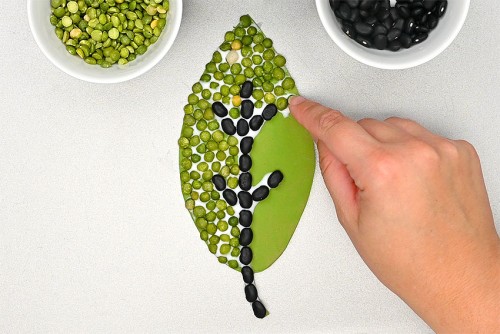
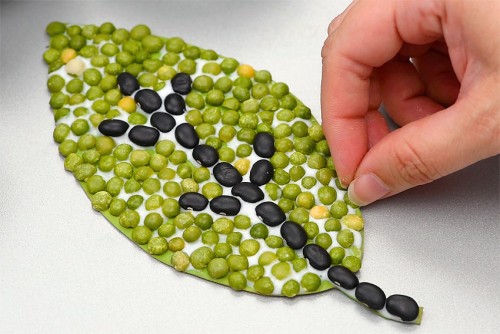
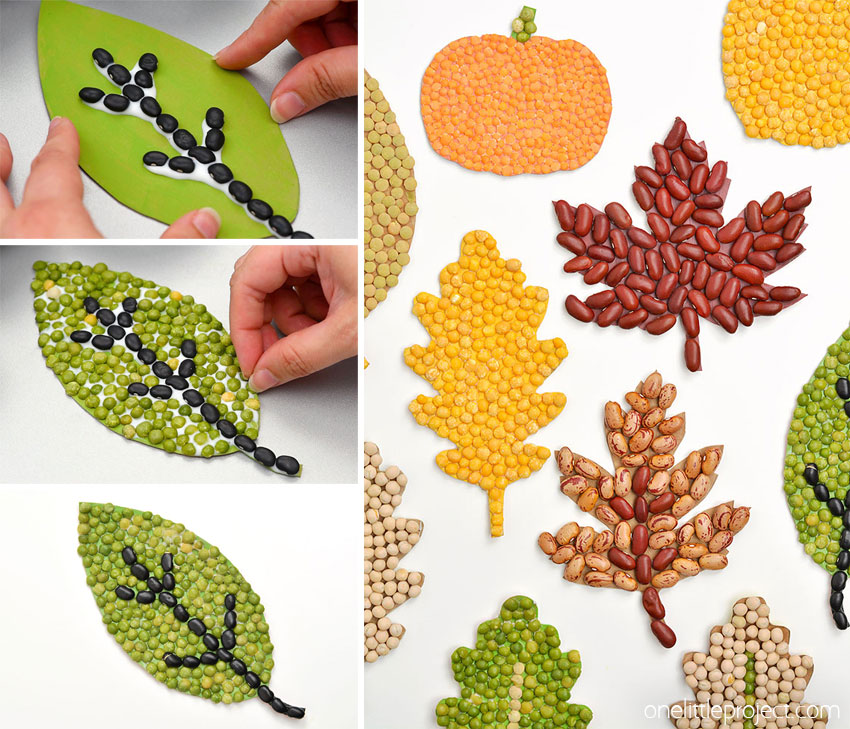
- Add beans to the stem of the leaf first. This will ensure that the leaf veins come up straight from the stem. Then finish the leaf vein details before filling in the rest of the leaf.
- The tiny lentils can be sprinkled onto the glue instead of placed one by one. Use tweezers if you want to place them neatly.
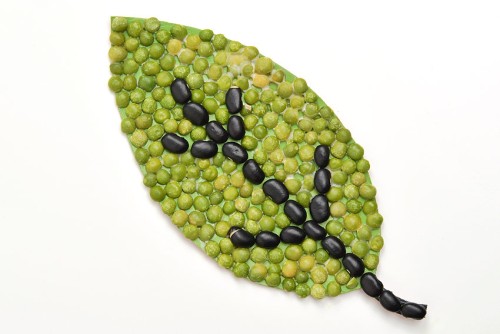
- Keep your bean art flat by placing a heavy tray on top of it while it dries. Or bend them back carefully after they’ve dried.
Free printable templates for these fall bean mosaics:
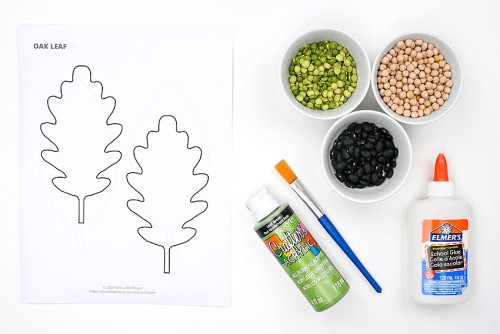
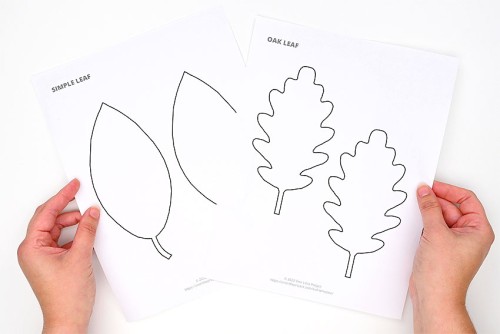
Click the links below to find many great options for making mosaic art with beans! The templates are free to download and print. On our leaf template page you can choose from maple, oak, hawthorn, aspen, and a simple leaf shape. We used the medium size of each leaf:
»> Leaf Template «<
»> Pumpkin Template «<
What type of beans are best for making fall bean mosaic art?
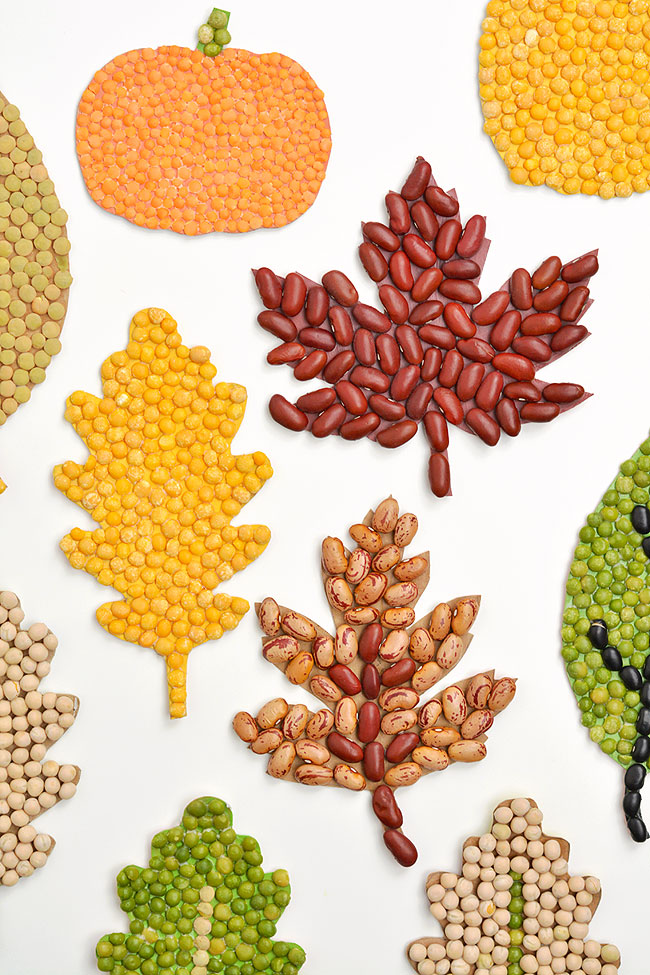
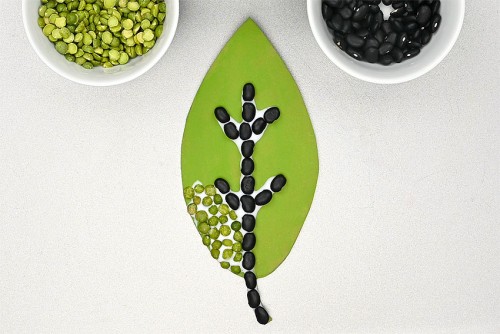
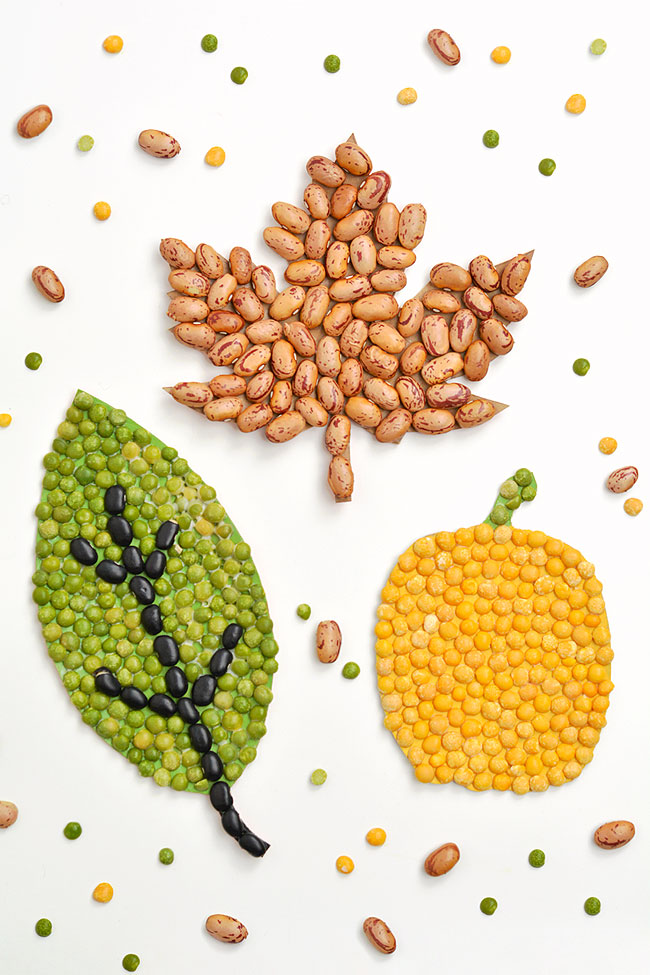
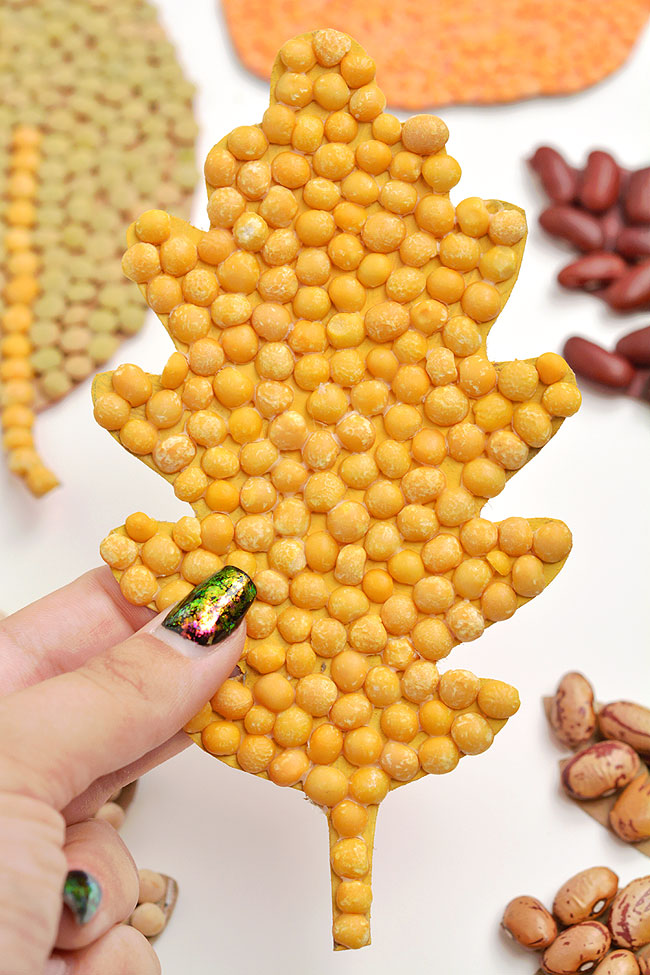
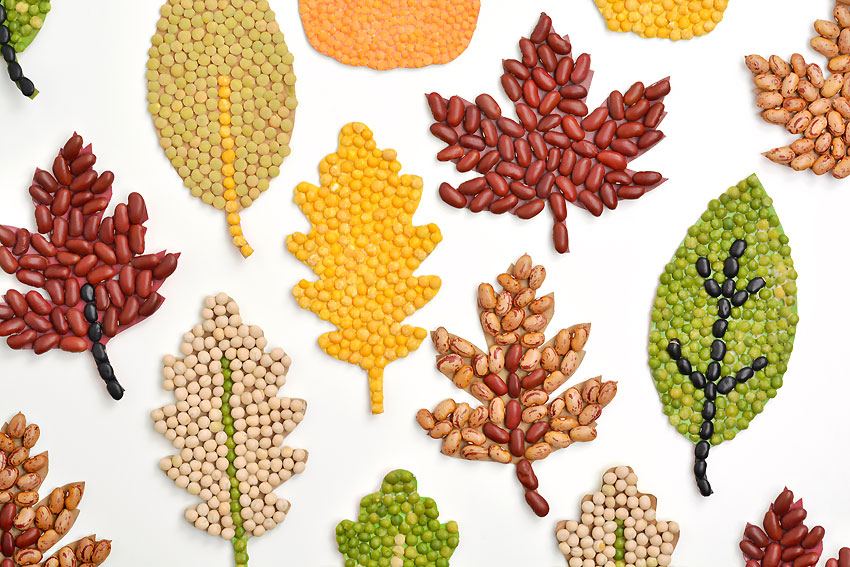
There are so many varieties of dried beans that work really well for making bean art! To make our fall leaves and pumpkin mosaics, we used:
yellow split peas green split peas romano beans red lentils black turtle beans red kidney beans yellow whole peas
You can also use:
black-eyed peas white kidney beans (aka cannellini beans) chick peas sunflower seeds pumpkin seeds popcorn kernels navy beans lima beans great northern beans pinto beans
Or buy a bean mix, meant for soup, to have a ton of different options in one bag!
What glue works best for making fall bean art?
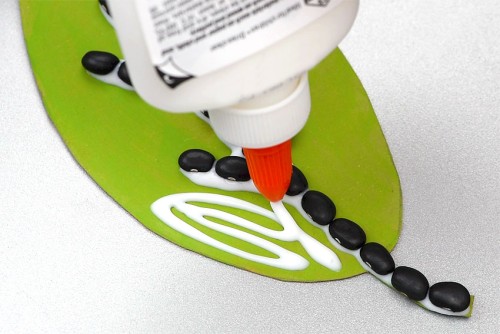
We used white school glue to make our fall bean mosaics. This glue dries clear, and it takes long enough to dry that you can create your design without rushing. Tacky glue is another great option. It’s a bit thicker than regular white glue, which helps keep the beans in place once they’re added.
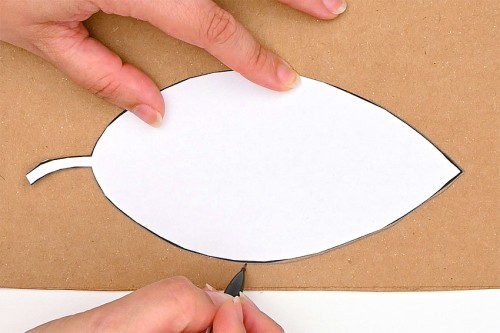
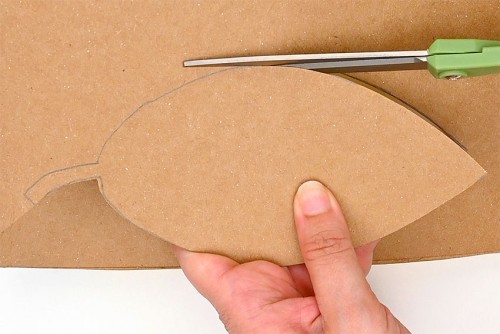
What makes the best backing for fall bean mosaics?
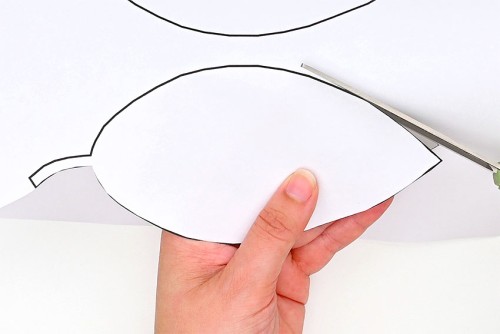
You need to use thin cardboard that you can easily cut through to make your fall bean art. We cut our leaf and pumpkin shapes from a cereal box. You can also use a thicker corrugated cardboard, but adults will need to cut it with sharp scissors or a craft knife.
These fall bean mosaics are so much fun to make and the colours look so pretty! We made pumpkins and leaves in fall colours, but you could also make acorns and apples! Turn your bean art into magnets to hang on the fridge, or punch a hole in the cardboard before adding beans to create an ornament. These bean mosaics will add tons of fall cheer to your home, however you choose to display them.
Here’s even more fun craft ideas:
Bean Mosaic Art
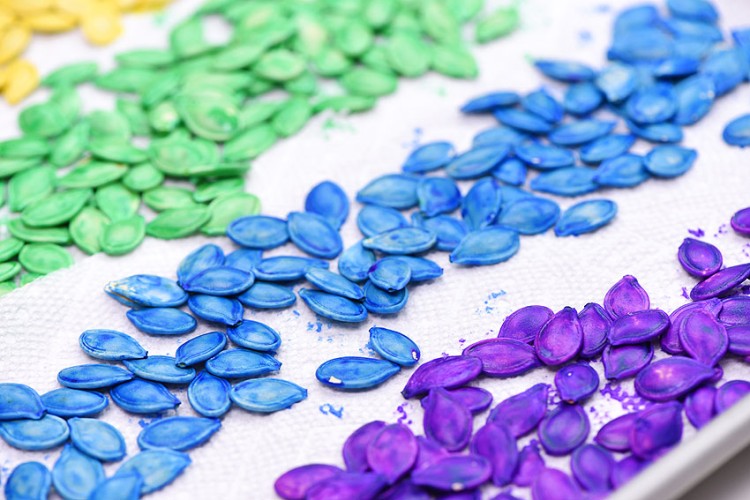
How to Dye Pumpkin Seeds
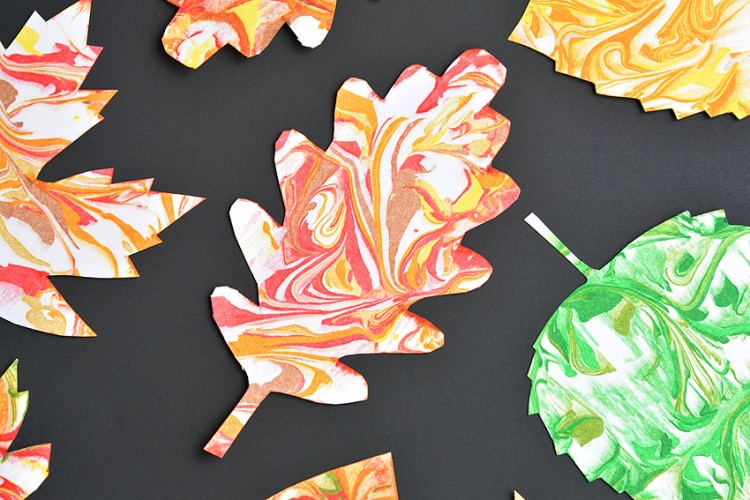
Marbled Fall Leaves
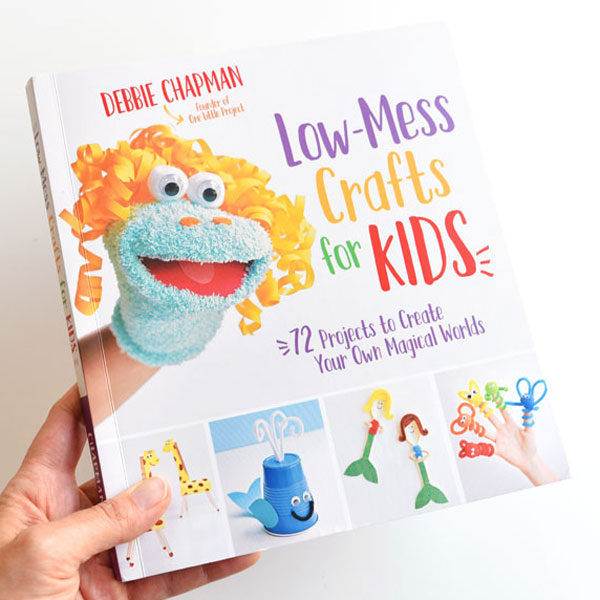
Our book Low-Mess Crafts for Kids is loaded with 72 fun and simple craft ideas for kids! The projects are fun, easy and most importantly low-mess, so the clean up is simple!
Where to buy: