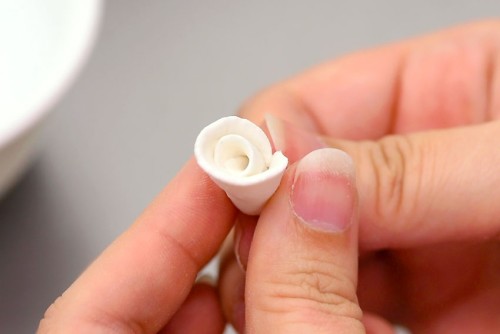
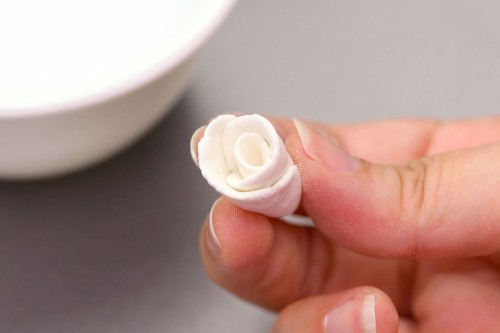
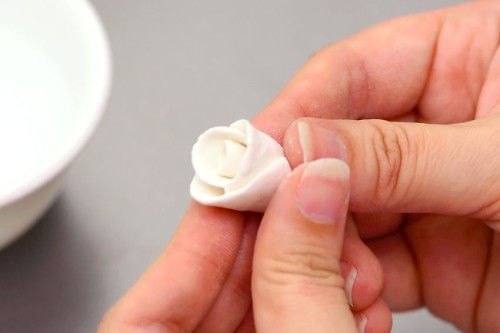
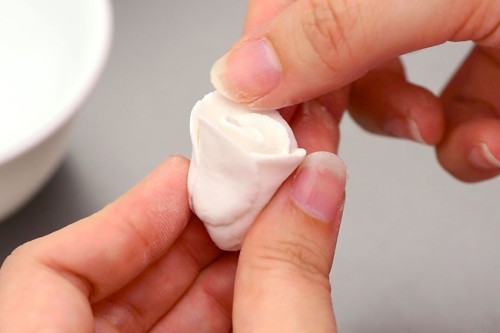
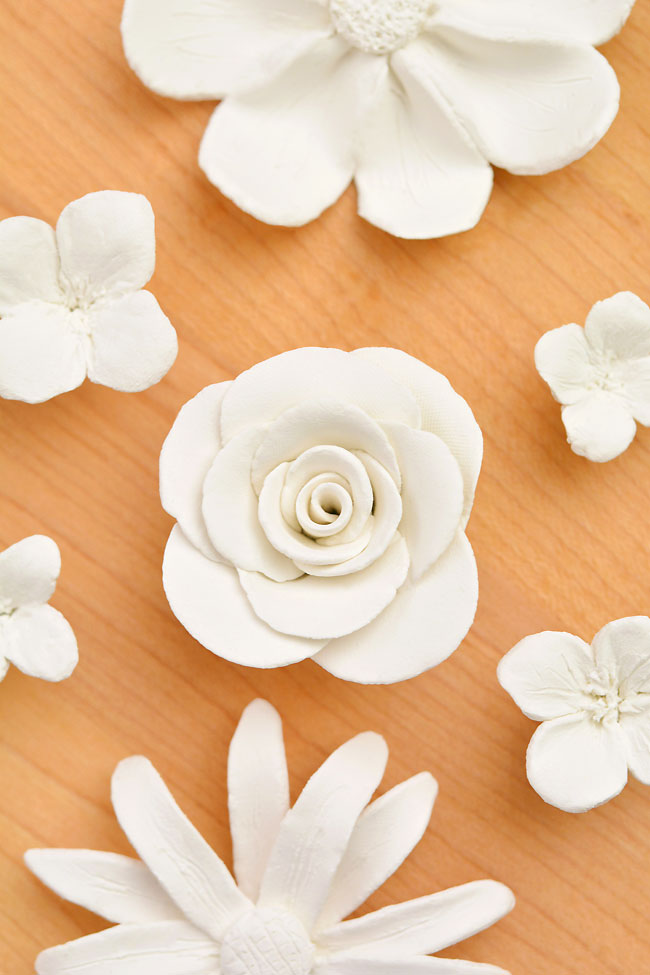
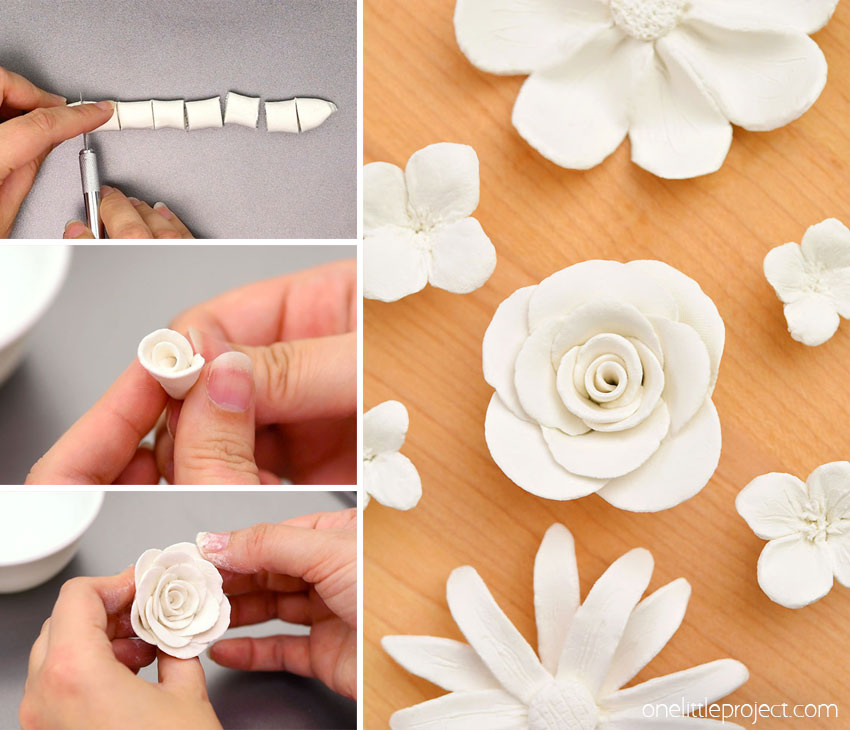
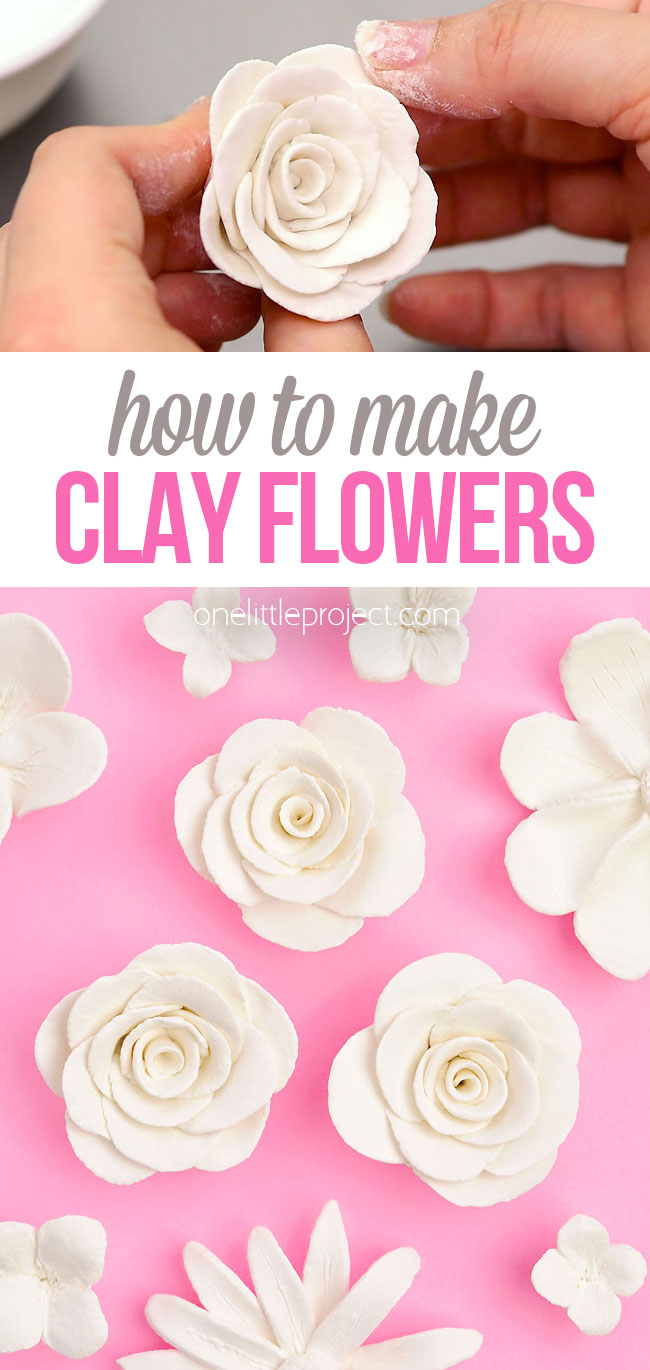
Follow our step by step tutorial to make a clay rose, or adjust the method slightly to make a daisy or another pretty flower. It’s such a fun and easy craft, perfect for beginners to working with clay!
This post contains affiliate links. If you use these links to buy something we may earn a small commission which helps us run this website.
Helpful Tips:
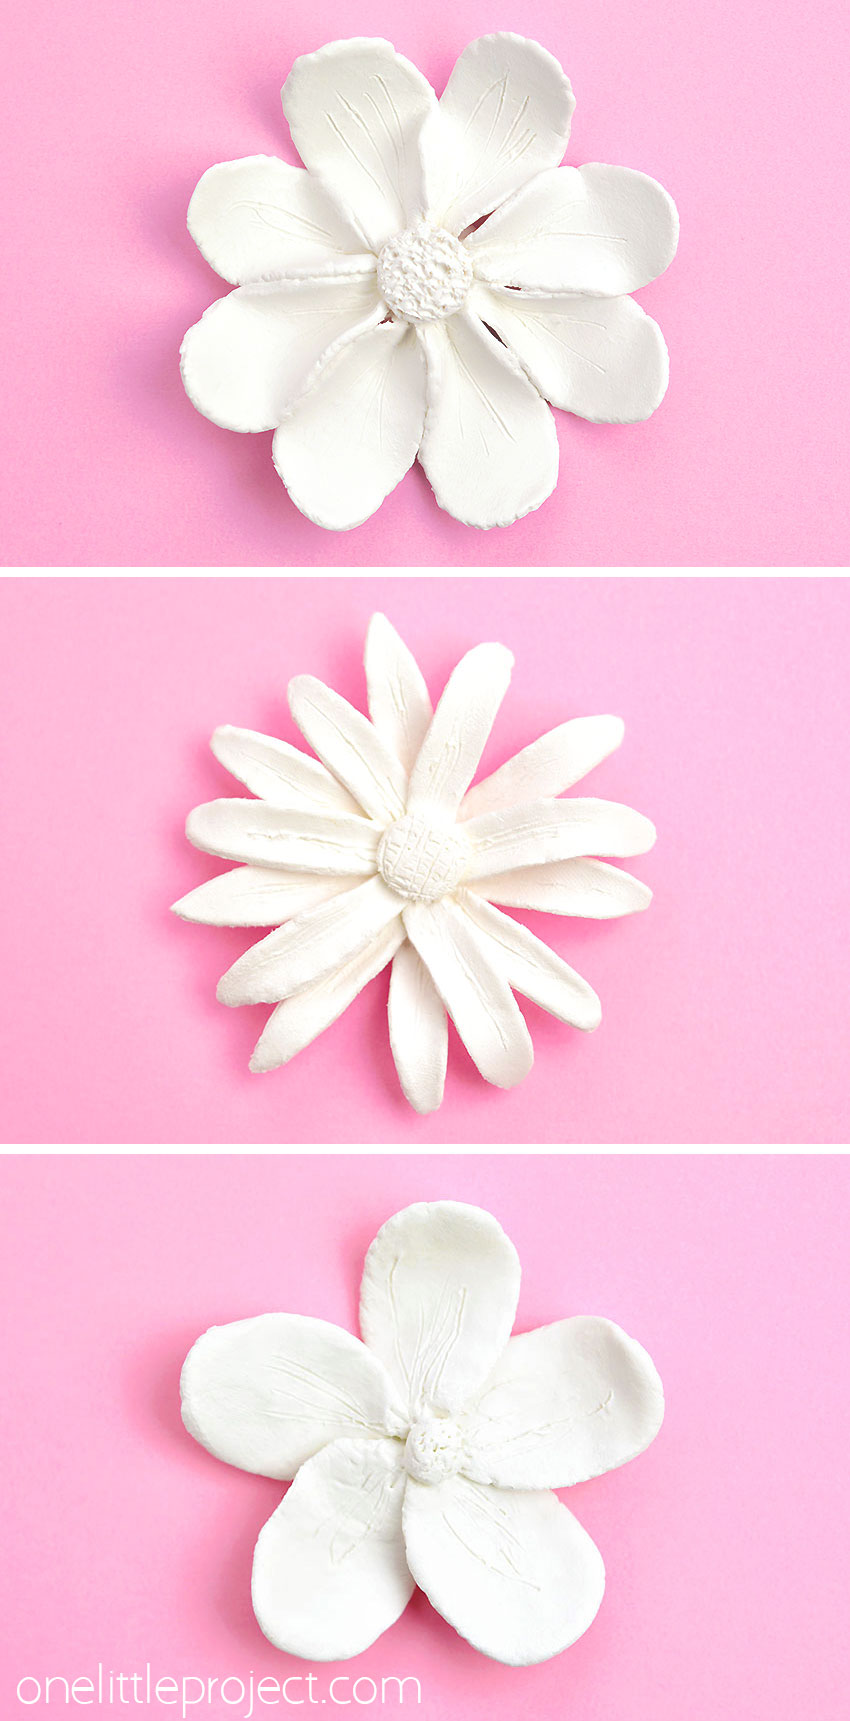
How do I make daisies and other clay flowers?
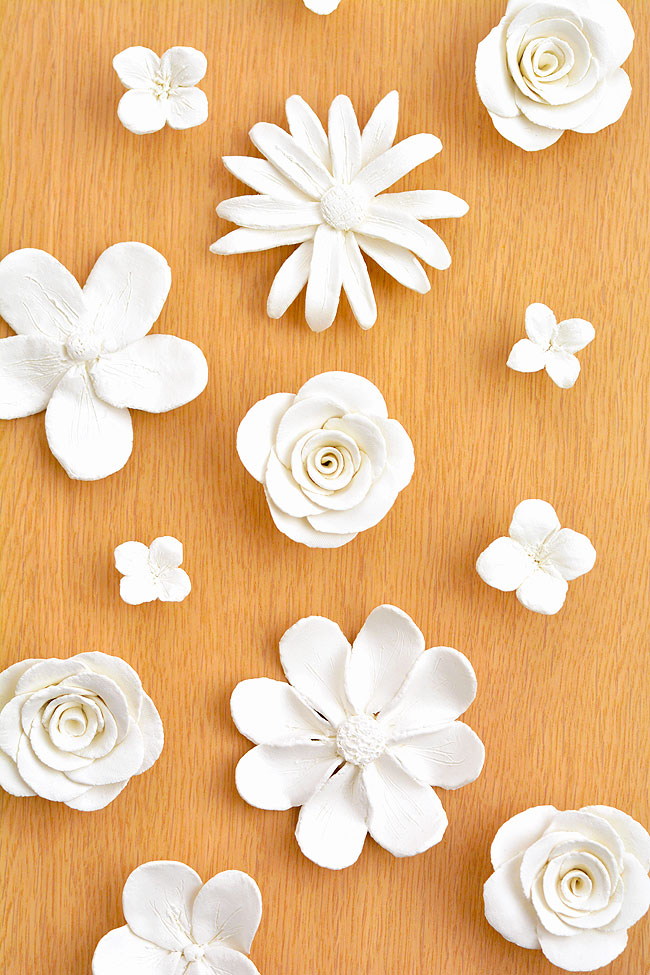
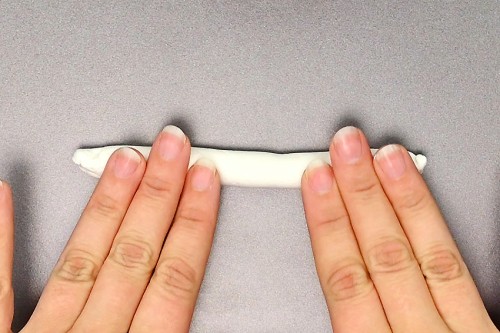
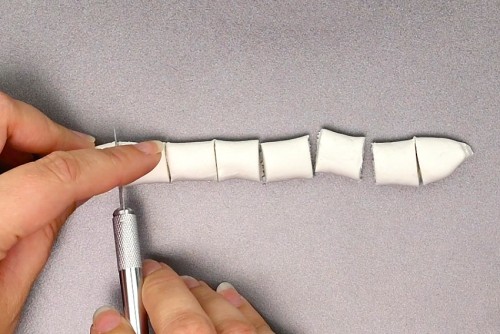
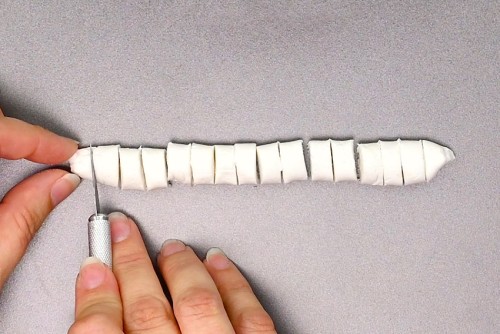
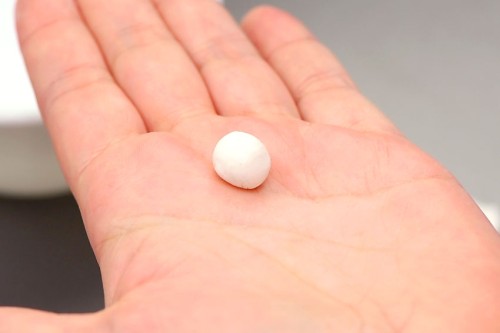
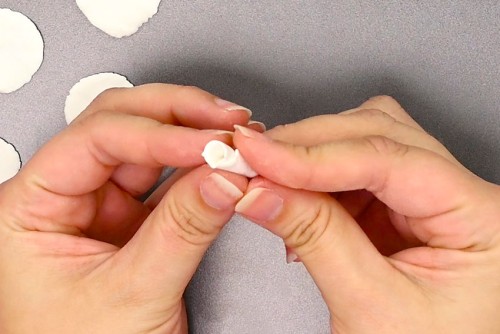
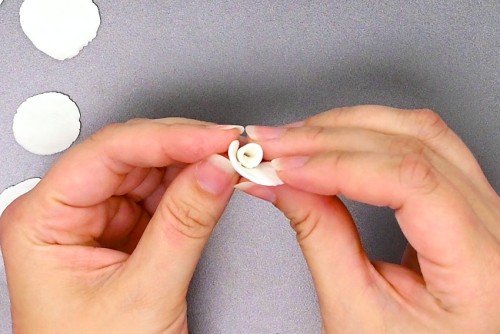
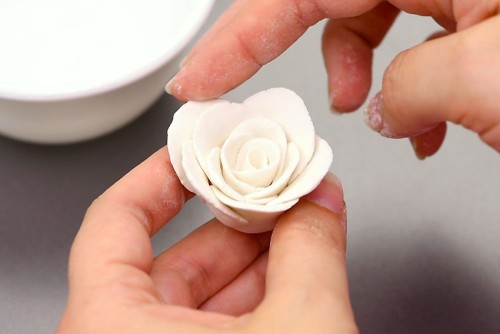
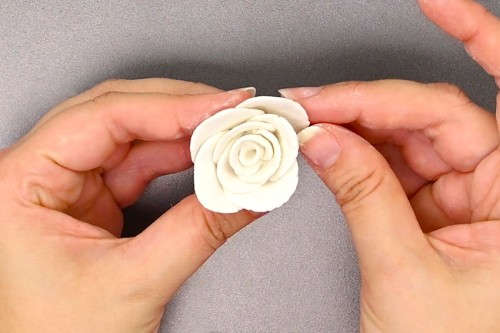
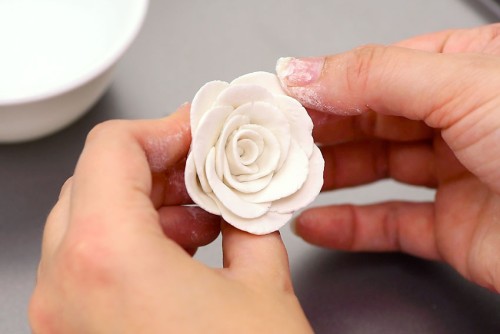
Watch our video tutorial (at the beginning of the photo tutorial above) to see how to make other clay flowers! The 3 flowers in the image above are made in a very similar way – they all have a middle section, with petals around them. Follow the beginning steps of the clay rose, rolling a snake of clay and cutting it into equal sized pieces. Then roll the pieces into balls (or ovals, depending on the petal type) before flattening them. Roll another ball and flatten it slightly to make the center of your flower. Start adding petals to the ball, one by one, meeting at the center. Overlap one side of each petal with the petal beside it. Use a toothpick to press the tip of the petals onto the round base. Add another little ball of clay on top of all the petals to connect them, and then use the toothpick to add details to the center and the petals. To bend the clay daisy’s petals slightly we set it to dry over top of a small bowl. Finally, to make the small four petaled flower, roll a piece of clay into a lightbulb shape – with the top wider than the bottom. Cut this top section into four separate petals using a craft knife. Shape and flatten the petals with your fingers, and then use a toothpick to create texture in the middle of the flower and on the petals.
What type of clay is best for sculpting flowers?
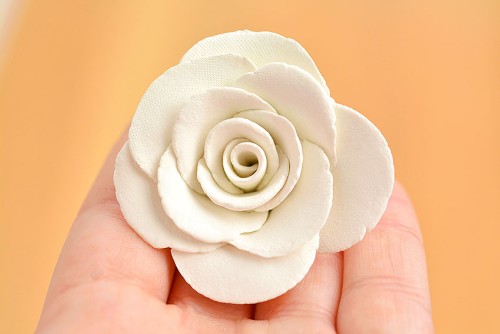
We used Sculpey air dry clay to make these clay flowers. We liked the crisp white colour, and that it’s so flexible and easy to work with. It allowed us to make thin petals without the clay cracking. We’ve used DAS air dry clay in the past, to make our clay monsters and our clay bear, and it was really nice to smooth out the details of the flowers, but it was harder to make small, thin petals. If you don’t want to buy clay you can also use our recipe for homemade clay. It’s so easy to make and it dries a beautiful, crisp white!
What tools do you need for clay flowers?
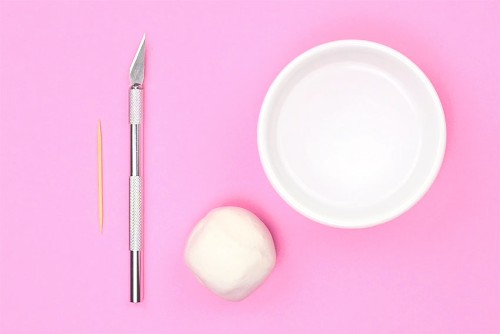
We made these clay flowers using only our hands, a craft knife, and a toothpick to help with rolling and to add texture. Sculpting tools can be helpful for shaping, but you definitely don’t need anything fancy to make a beautiful clay flower!
Can you add colour to these clay flowers?
Yes, you can paint the clay after it dries with acrylic paint, or you can knead a few drops of paint into the wet clay to create a pastel look. You can also add dry colour, like mica powder or crushed chalk pastels. Work these into the clay before sculpting, or brush them on just after sculpting the flower, before it dries.
Turn your clay flowers into jewelry, magnets, hair accessories, or display them in a bowl. Air dry clay is so easy to work with, and it’s the perfect craft for summer, with no need to turn the oven on!
Here’s even more clay craft ideas:
DIY Clay House
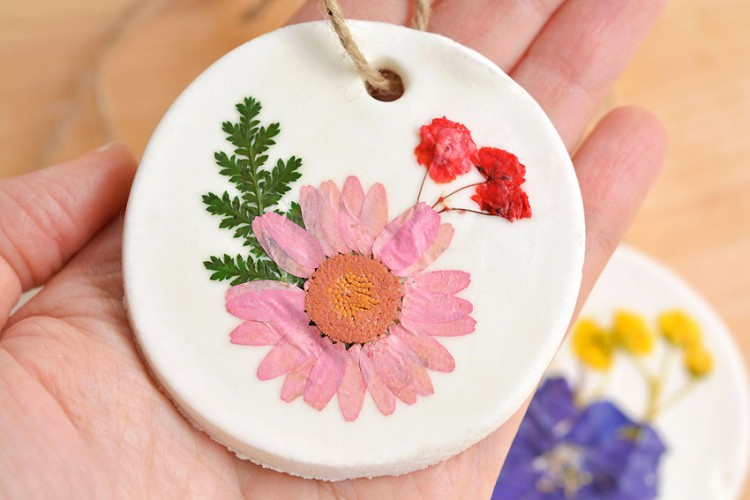
Dried Flower Ornaments
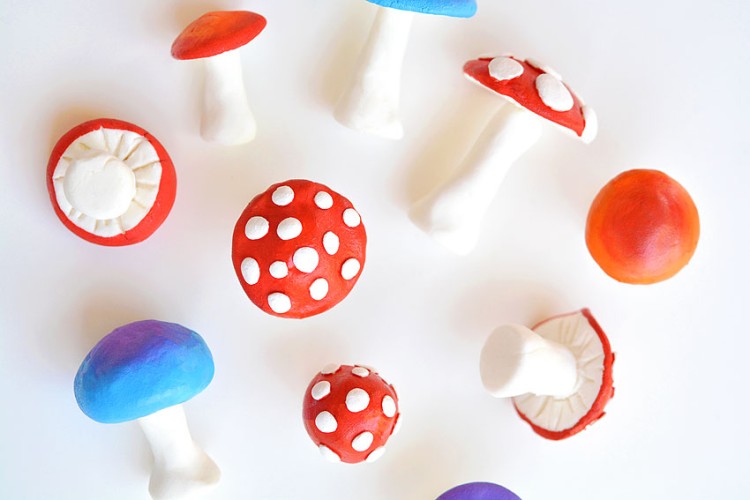
How to Make Clay Mushrooms
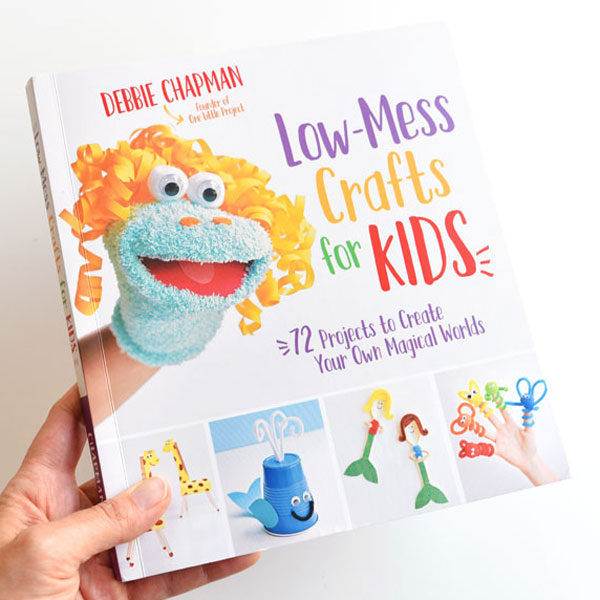
Our book Low-Mess Crafts for Kids is loaded with 72 fun and simple craft ideas for kids! The projects are fun, easy and most importantly low-mess, so the clean up is simple!
Where to buy: