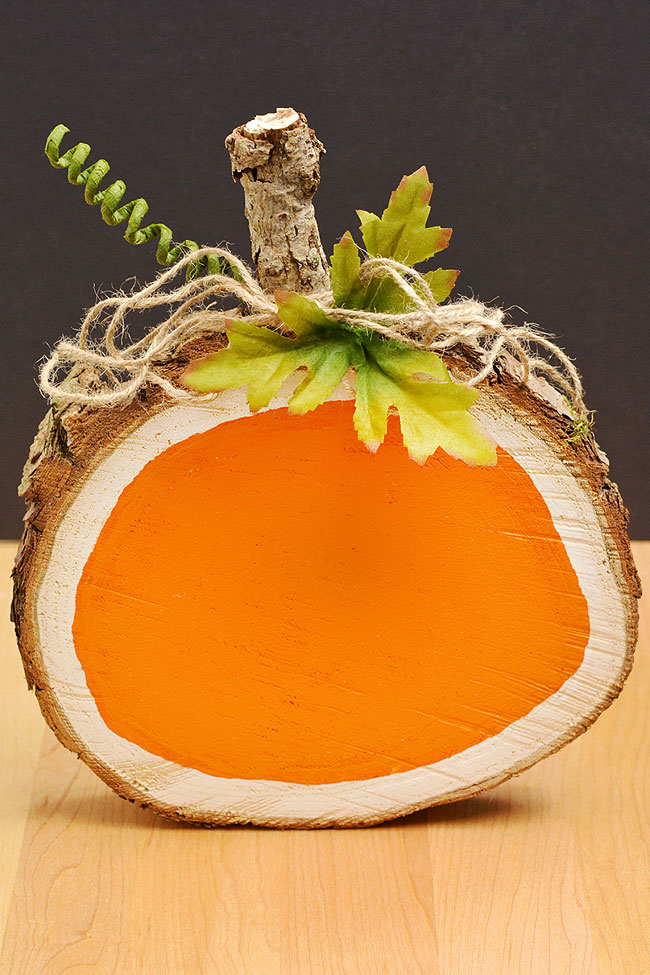
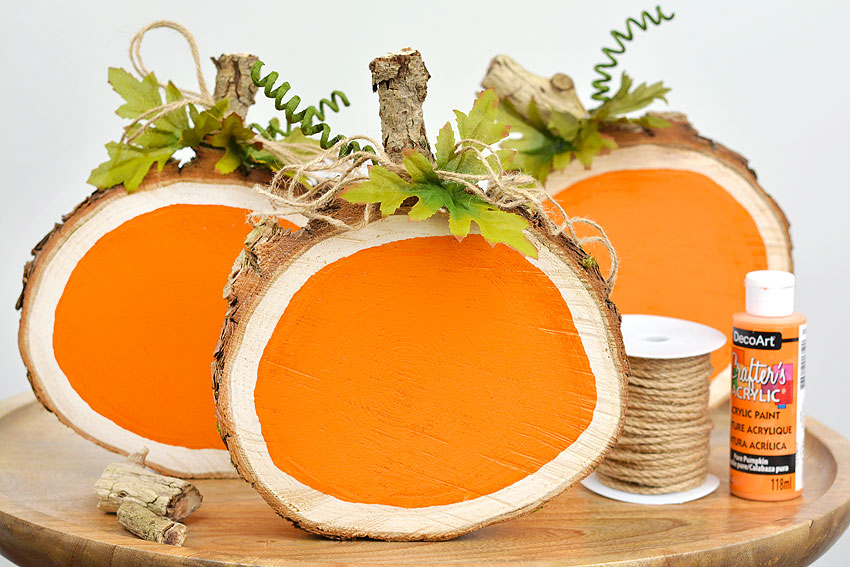
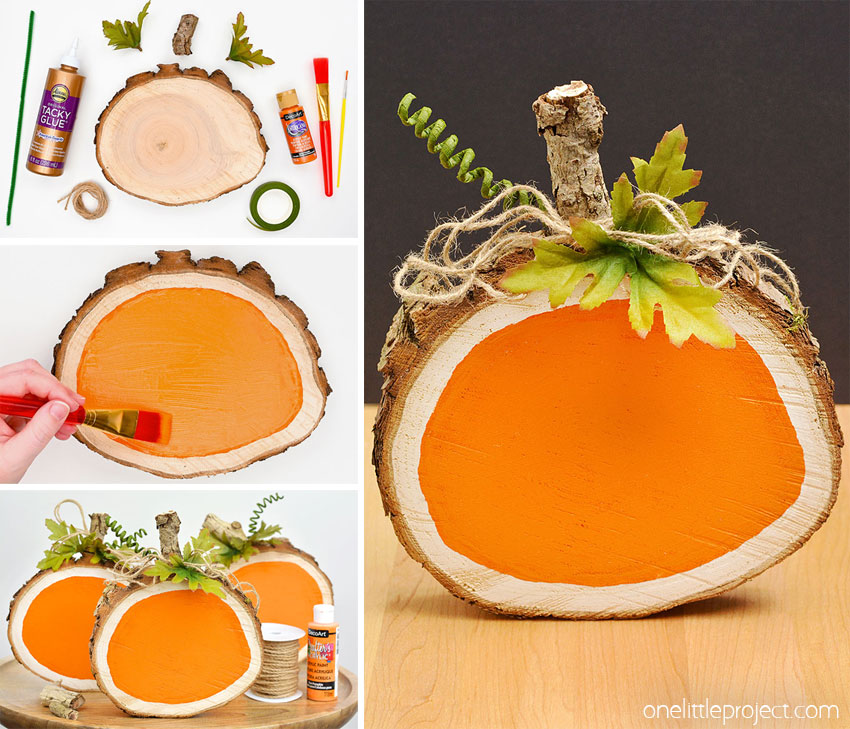
Add a bit of rustic farmhouse style to your holiday decor with these DIY pumpkin wood slices. They’re super easy to make, using only a few simple supplies, and they look great on the mantle or side table!
This post contains affiliate links. If you use these links to buy something we may earn a small commission which helps us run this website.
Helpful Tips:
- Paint both sides of the wood slice to make a fun and festive centerpiece.
- Screw a picture frame hook on the back of the pumpkin to hang it on the wall.
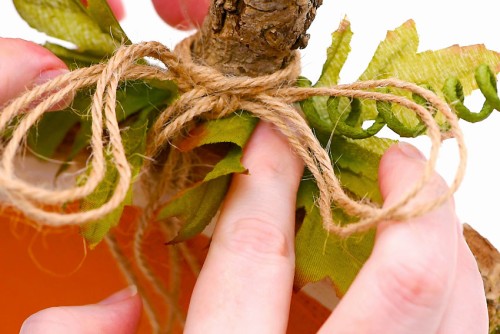
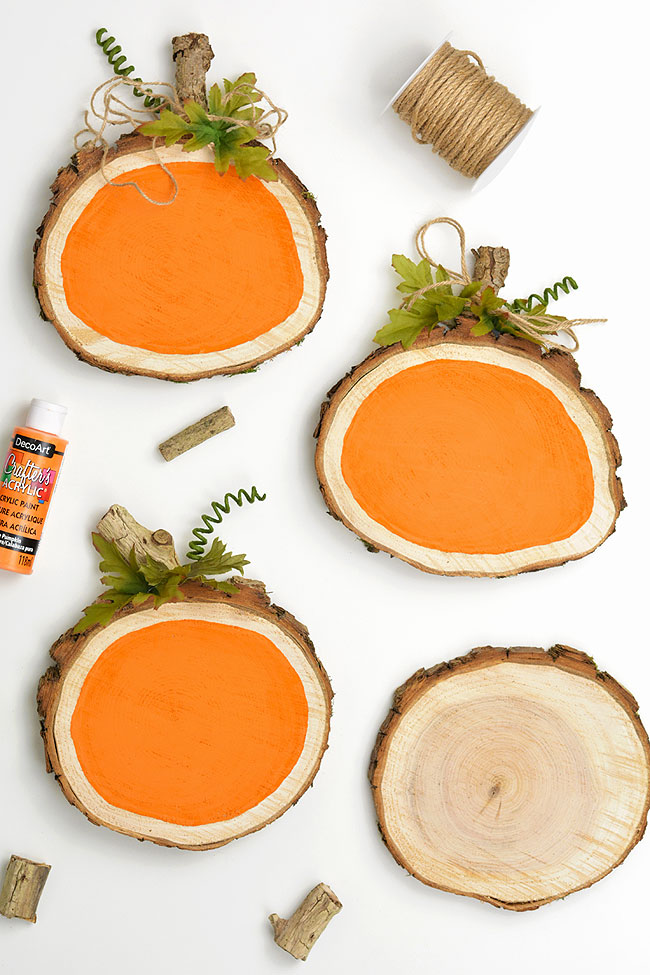
- If your twine is very straight you can make it curly by wetting it and wrapping it around the tacky glue bottle, paint bottle, or a skinny glass. Then let it dry overnight.
Where can I buy a wood slice to make this pumpkin decor?
Also check your local online classifieds or wedding groups on Facebook. Brides often use wood slices for centerpieces and then sell them afterwards. This is a good way to get wood slices for a lot cheaper than at the store. And if you have access to a fallen tree and a chainsaw you can also cut your own wood slices!
How to prepare fresh wood to make wood slice pumpkins?
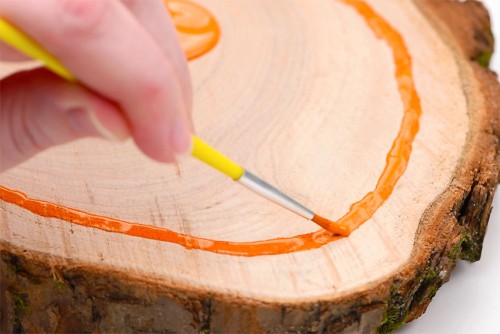
Wood slices can be expensive, so it’s great if you can cut your own (or know someone who can cut some for you). We used a chainsaw on a fallen tree to cut our wood slices. Normally you would need to wait weeks, or even months, for wood to properly dry out. So we placed the wood slices in a 200F convection oven. It will take anywhere from 3 – 6 hours in the oven to dry the slices enough to work with them. The time needed will depend on how thick the wood slices are and how wet they were to start with. Once the slice is dry enough, sand one side just enough to get rid of the chain saw marks. You can also leave the wood slice with a rough finish, but it’s a lot harder to paint with the chainsaw grooves on the surface.
What size are these wood slice pumpkins?
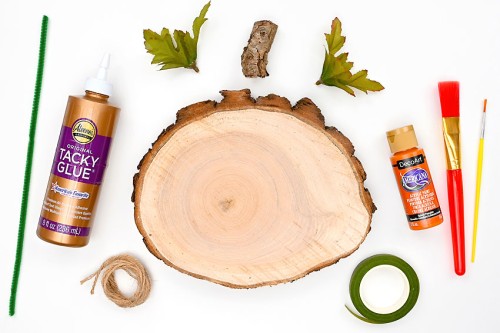
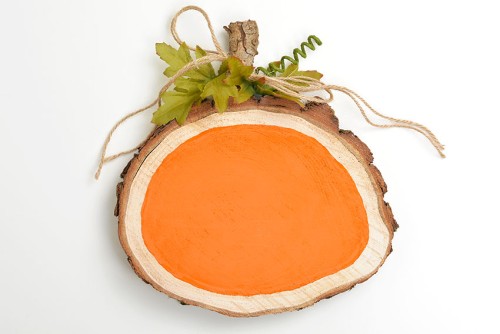
We used wood slices that are roughly 8 inches in diameter. The ideal thickness for the wood slice is about 1 inch, since they will stand on their own, even after adding a stem and decorating them.
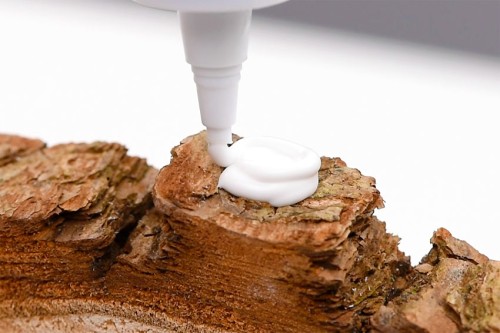
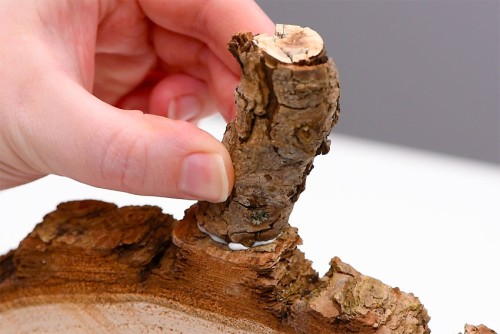
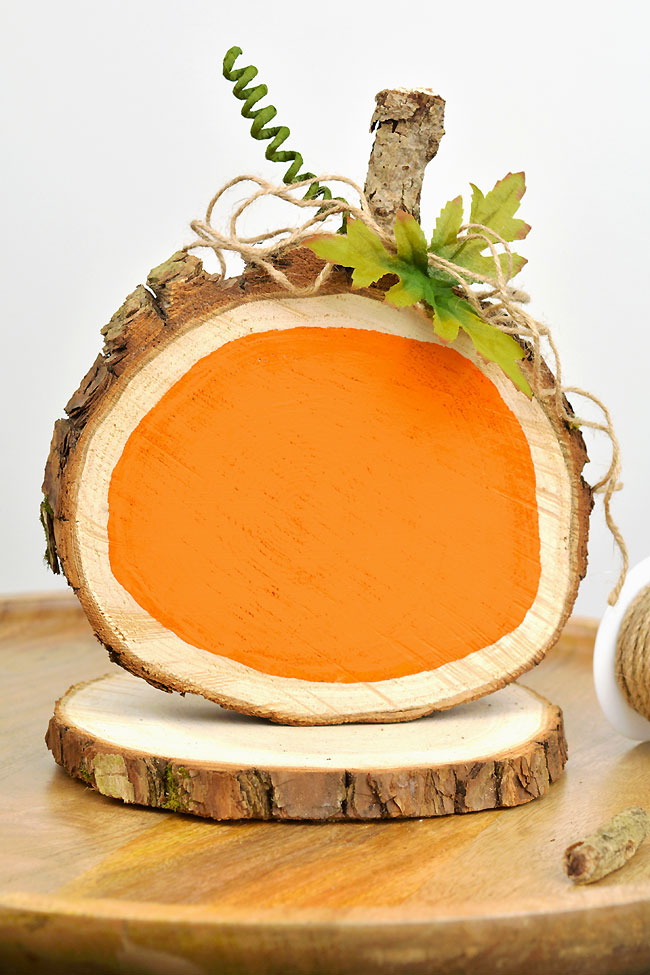
How to get pumpkin wood slices to stand up?
If your wood slice is too thin, or if it’s cut on a bit of an angle, it might have trouble standing up after the stem and decorations are added to the top. There are several ways to fix this. First, you can attach the bottom of the wood slice to the center of another wood slice, with glue or a screw. Paint the stand brown or add more leaves, pinecones, and/or acorns along the base. Another option is to cut the wood slice to be flat on the bottom. Or drill a hole in the back and support the pumpkin with a dowel. You can also set the wood slice pumpkin on a plate/picture stand. Or, simply rest the pumpkin up against a wall or in a windowsill. Even if your wood slice pumpkin needs to rest against something to stand, it will still look great!
How else can I paint my wood slice pumpkins?
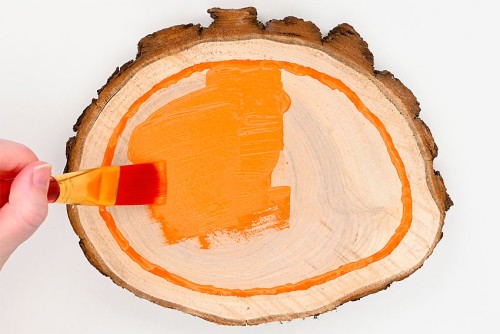
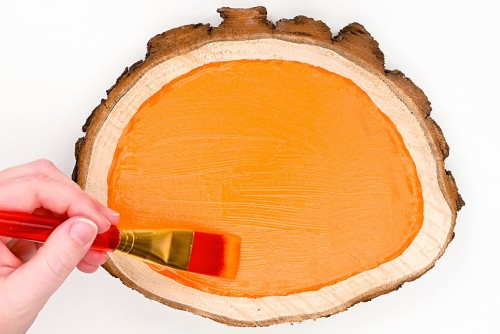
Write a message on the pumpkin wood slice, like “Hello Fall”, “Grateful”, or “Happy Thanksgiving”. You can use a thin brush or paint markers to do this. You can also paint veins on the pumpkin with a darker (or lighter) shade of orange, or add glitter on top of the paint for a fancier, sparkling look. Paint a jack-o-lantern face on the wood slice for Halloween, or cut the facial features out of black felt.
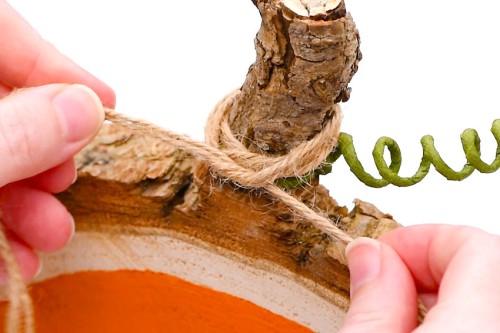
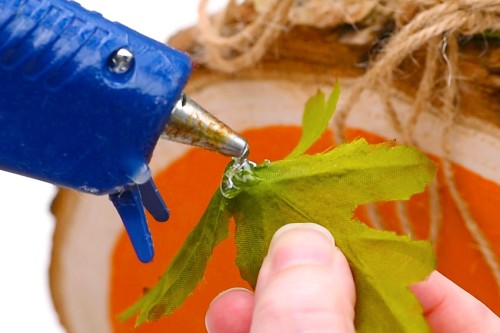
What if I don’t have twine or fake leaves?
You can decorate the wood slice pumpkins with ribbon and/or raffia instead of twine. Instead of fake leaves you can also cut a leaf shape from green burlap or another rustic fabric.
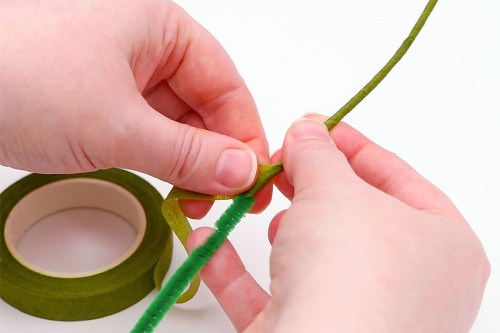
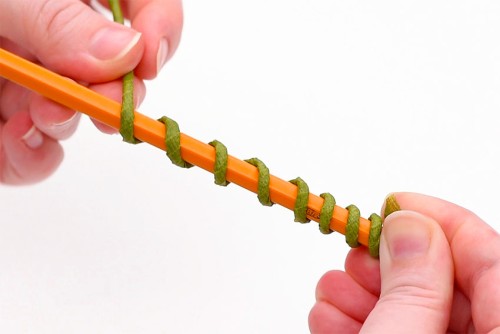
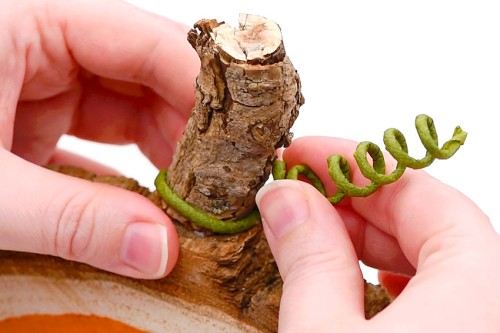
How else to create tendrils for the wood slice pumpkin?
You can use floral wire or twine to make the pumpkin tendrils. To coil twine into a spiral shape, first wrap a pencil with plastic wrap. Then dip the twine into glue. Use your fingers to remove the excess glue and wind the twine around the covered pencil. Allow it to dry overnight.
We love how easy these wood slice pumpkins are to make, and they turned out so nicely! Make one, or make a group of them to create your own pumpkin patch. So fun!
Here’s even more pumpkin craft ideas:
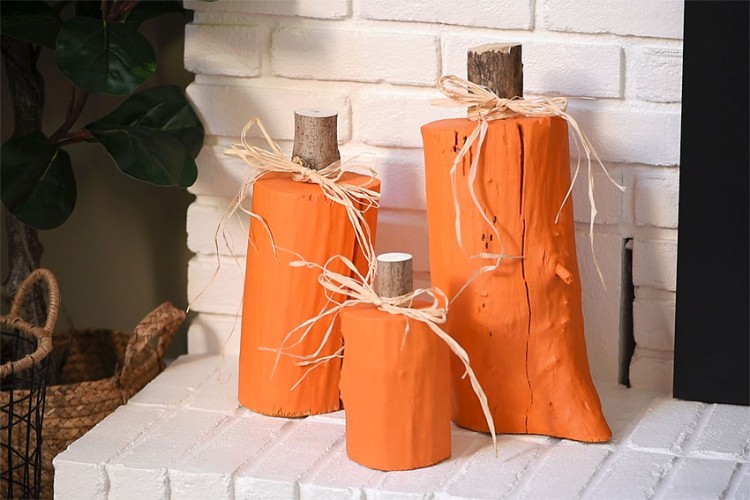
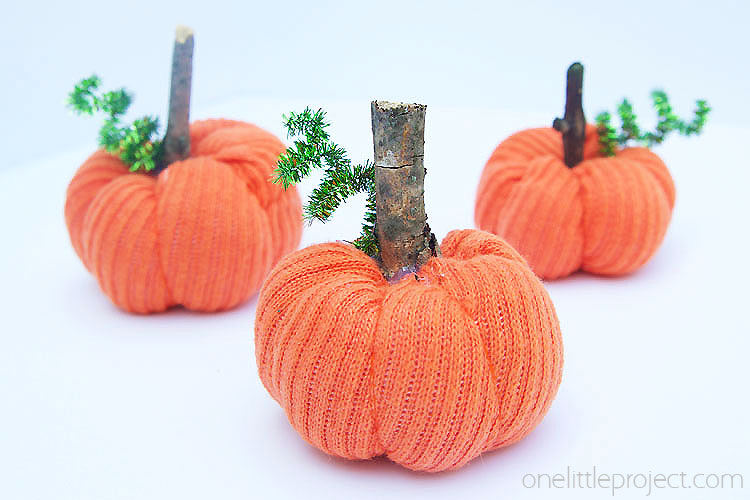
Tree Stump Pumpkins
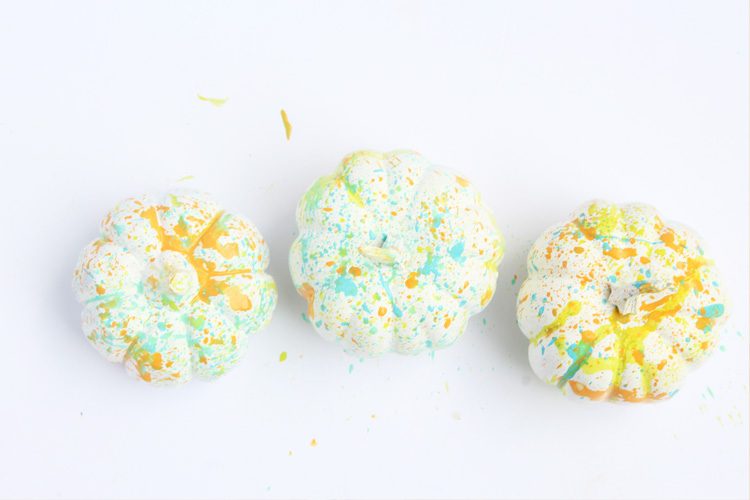
Paper Mache Pumpkins
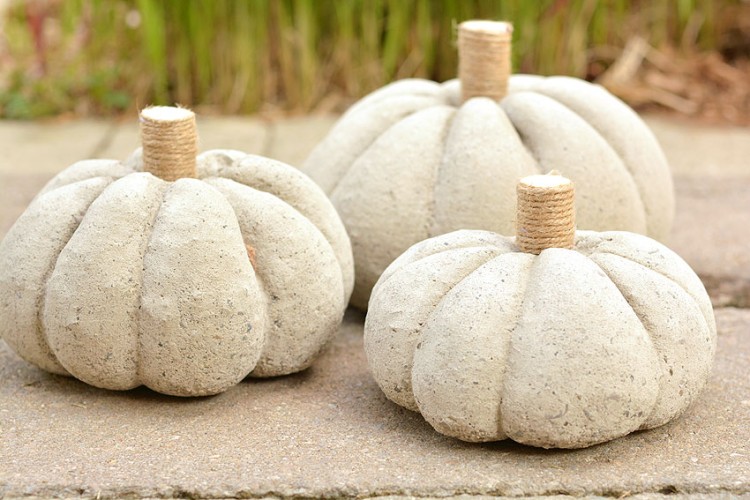
DIY Concrete Pumpkins
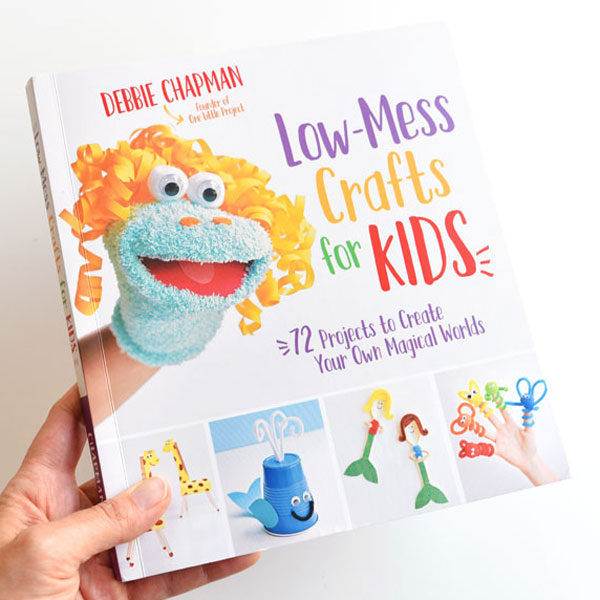
Our book Low-Mess Crafts for Kids is loaded with 72 fun and simple craft ideas for kids! The projects are fun, easy and most importantly low-mess, so the clean up is simple!
Where to buy: