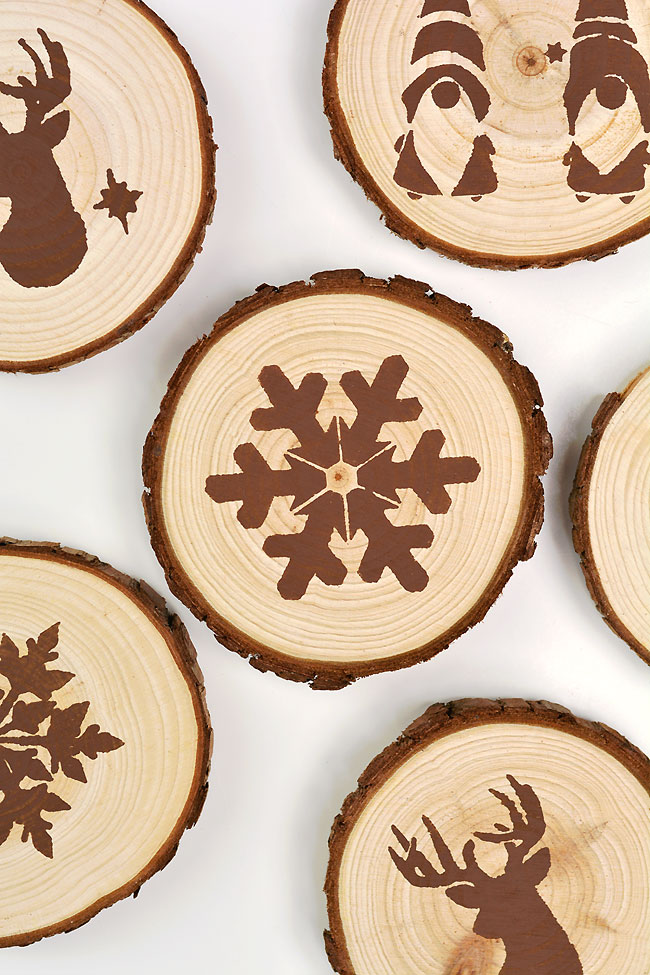
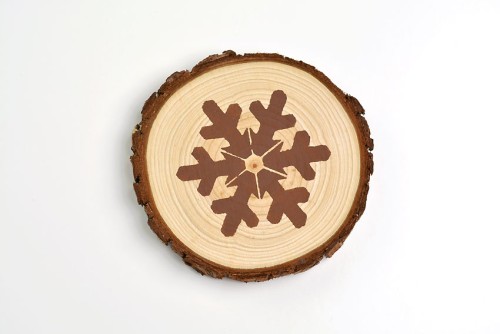
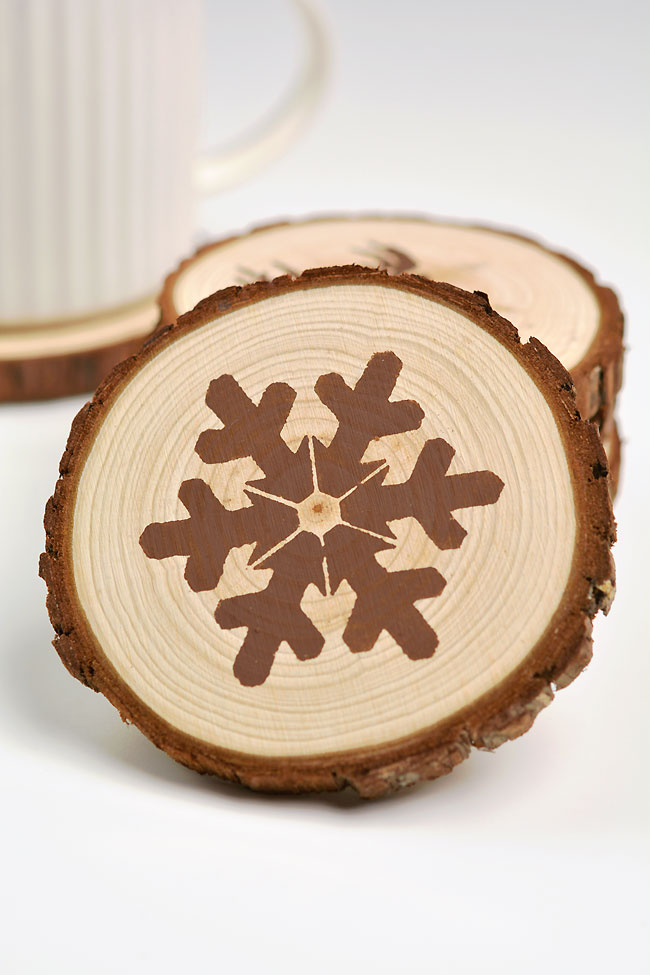
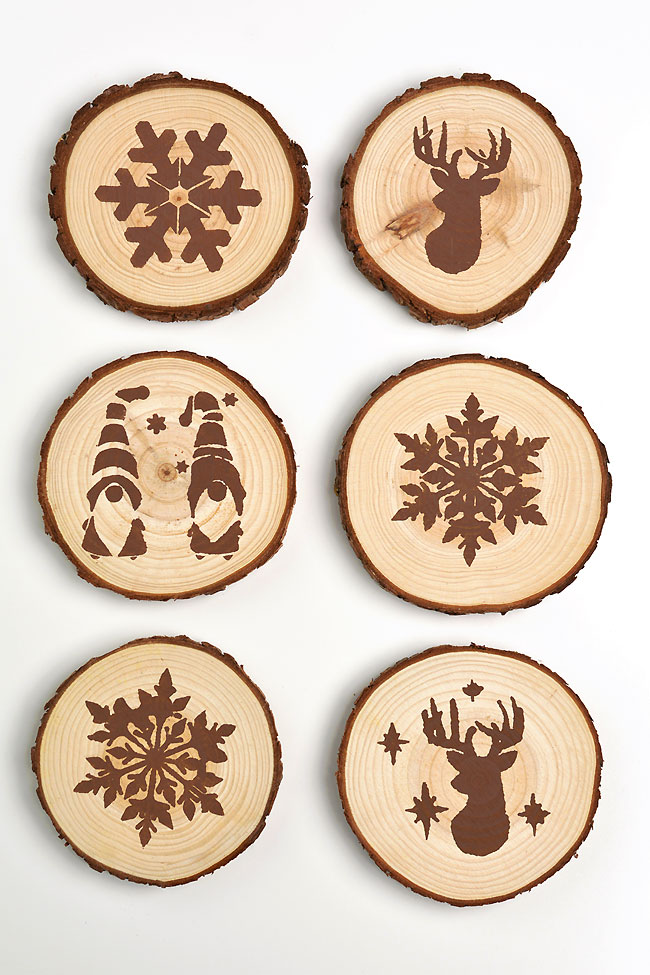
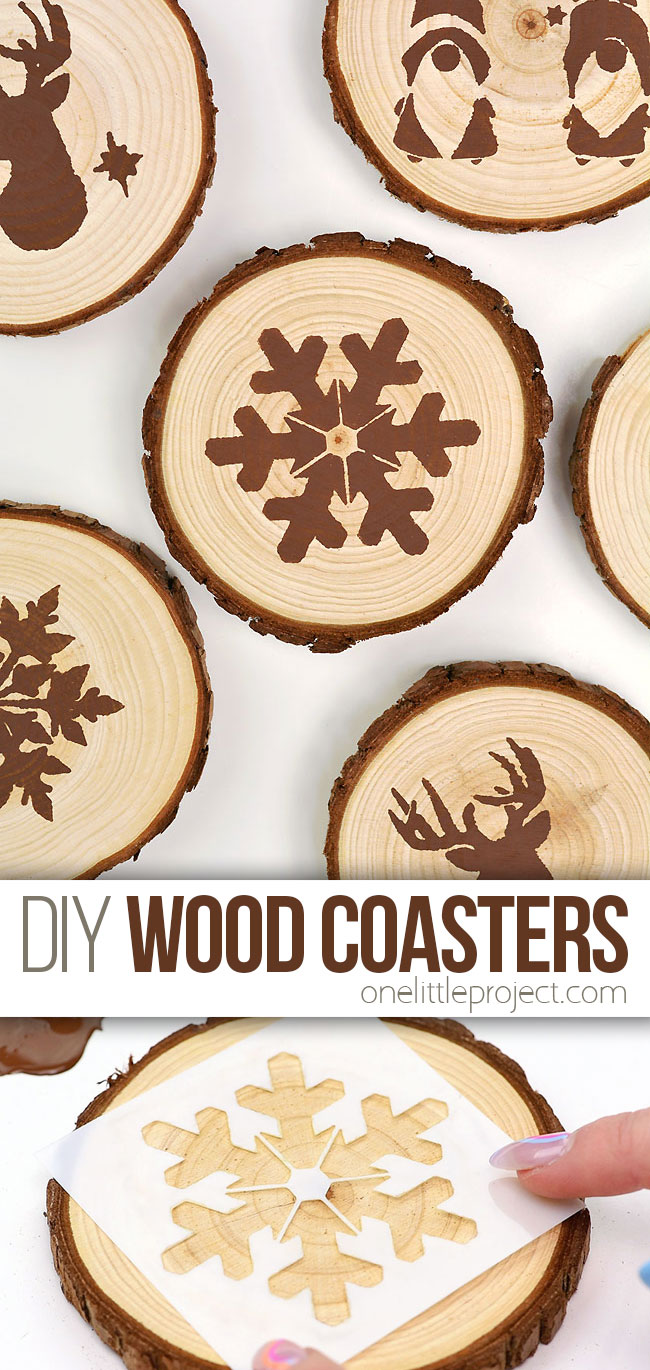
Choose your favourite stencils and make a set of wood slice coasters for yourself, or to give as homemade gifts. These cozy coasters are such a fun DIY project — they’ll make you smile every time you use them for your mug of coffee or tea!
This post contains affiliate links. If you use these links to buy something we may earn a small commission which helps us run this website.
Helpful Tips:
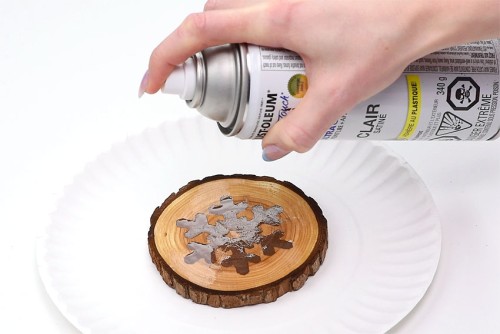
What do you use to seal DIY wood coasters?
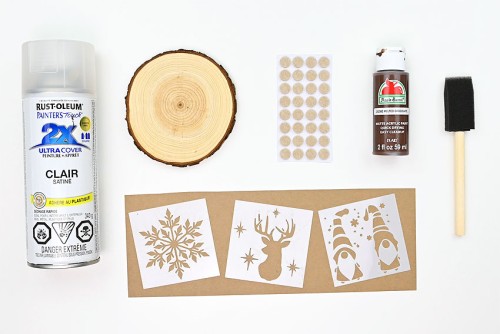
We used a clear Rust-oleum spray sealer to cover our coasters. You can also use acrylic spray sealer, laquer, varnish, or polyurethane. You can even cover the coasters in epoxy resin.
How do you keep wood coasters from cracking?
To prevent cracking, make sure that the wood slices you use are completely dry. If you’re using your own wood, make sure it’s dried in a cool, dry environment (this could take 6 months!). To speed up the process, the Split Wood Club has a helpful guide on how to dry wood in an oven. When you buy wood slices you can’t be sure how long or how they’ve been dried, and painting the wood slices can sometimes make them crack. There’s no way to tell when this will happen, so be sure to buy a few extra wood slices, just in case. To stop cracking after painting, make sure you fully seal the top of your coaster. Oil based polyurethane is especially recommended to stop moisture from entering the wood.
What size should a coaster be?
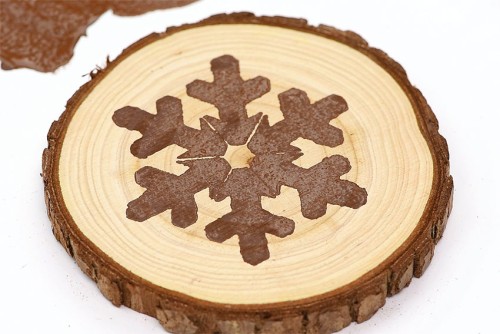
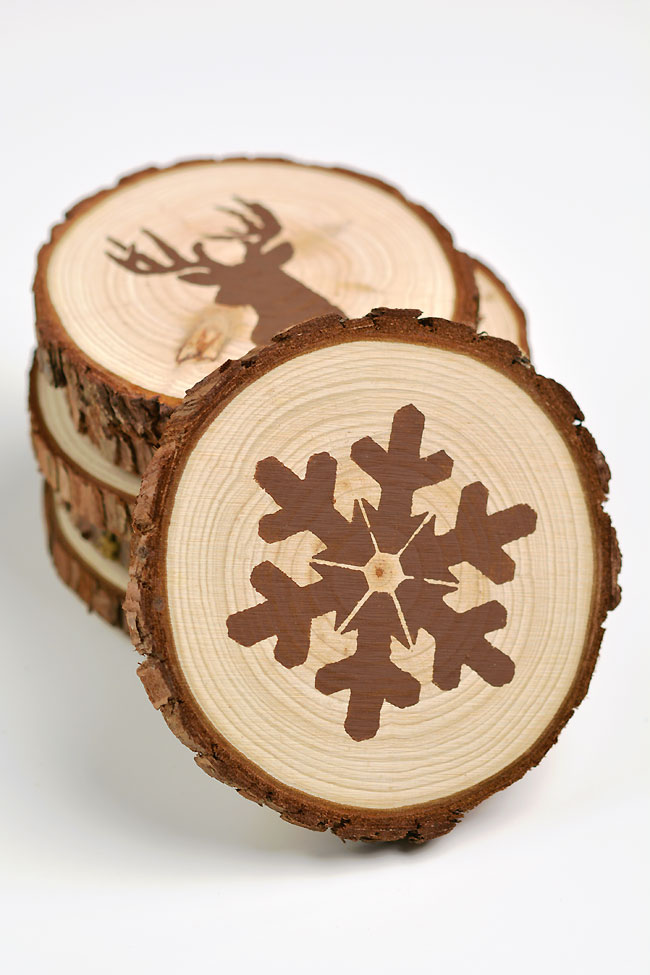
Whether you’re buying wood slices or cutting your own, try to get a piece of wood that has at least a 3-1/2 inch diameter. The wood cookies that we used are 4 inches across, making them perfect to hold a wide glass or mug.
How thick should a wood coaster be?
Try to use wood slices that are close to 1/2 inch thick. 3/4 inch would probably work as well, but I wouldn’t use wood slices any thicker than that. On the opposite end, 1/4 inch is probably too thin for a wood coaster.
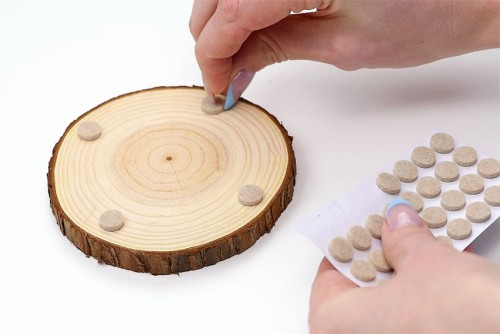
What can I put on my wood slice coaster to protect the table?
We used small felt furniture pads, but you can also cut felt or cork to size and glue them on the back of the coaster. Cork, felt, and foam are all good options to add onto the bottom of the wood slice to protect your tabletop.
Where can I buy winter themed stencils?
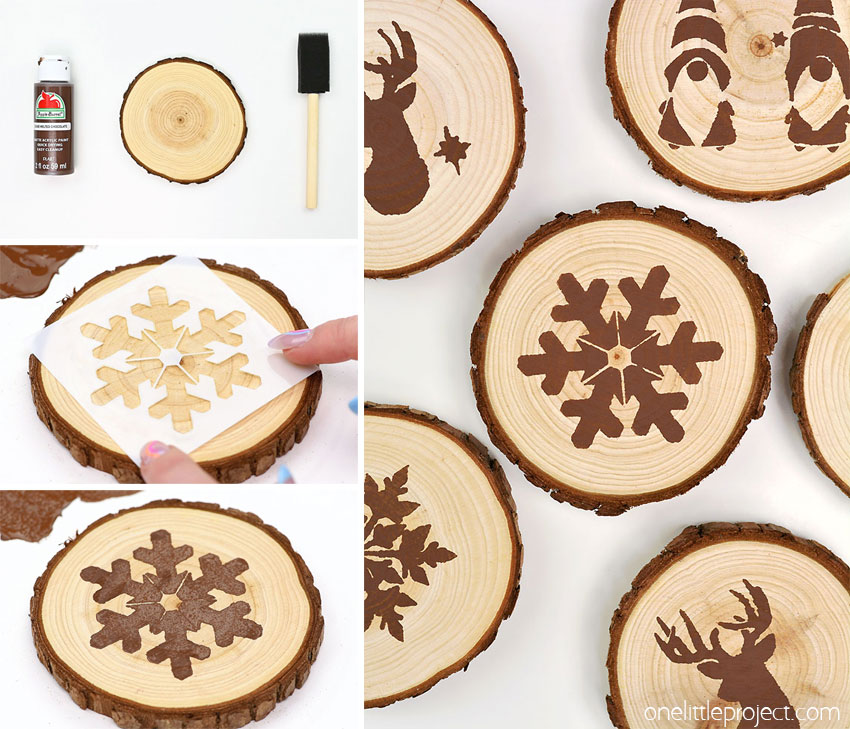
I love decorative crafts that actually get some use around the house! Paint wood slices and turn them into DIY wood coasters in just a few minutes. Who knew it was so simple to make something so pretty AND practical?!
Here’s even more DIY coaster ideas:
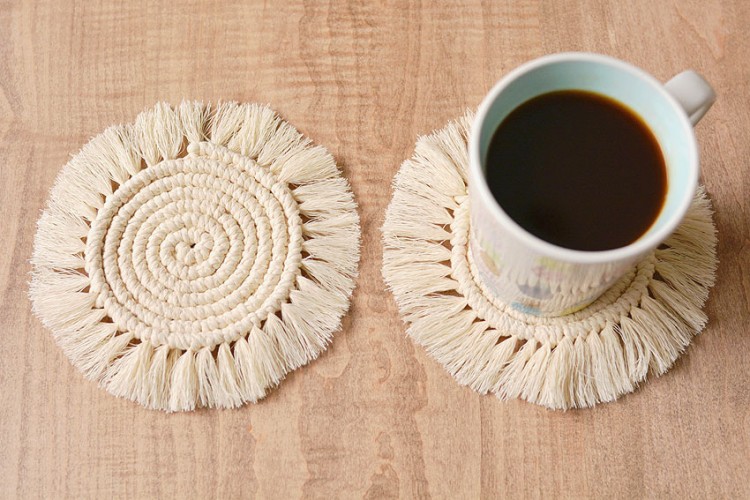
How to Make Macrame Coasters
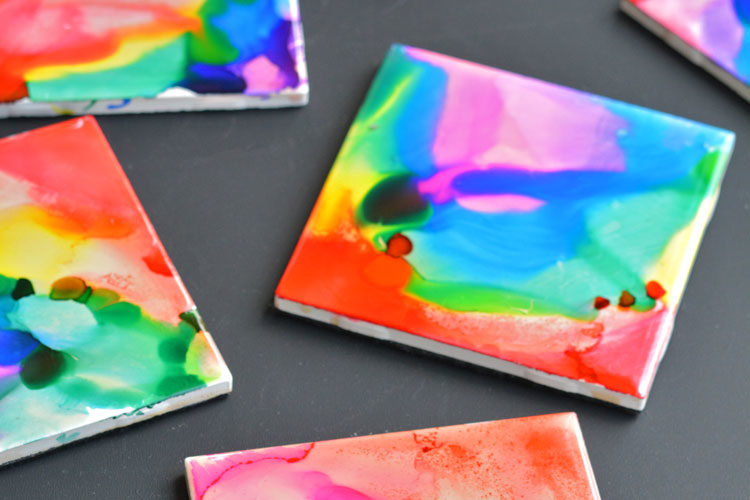
Sharpie Dyed Tile Coasters
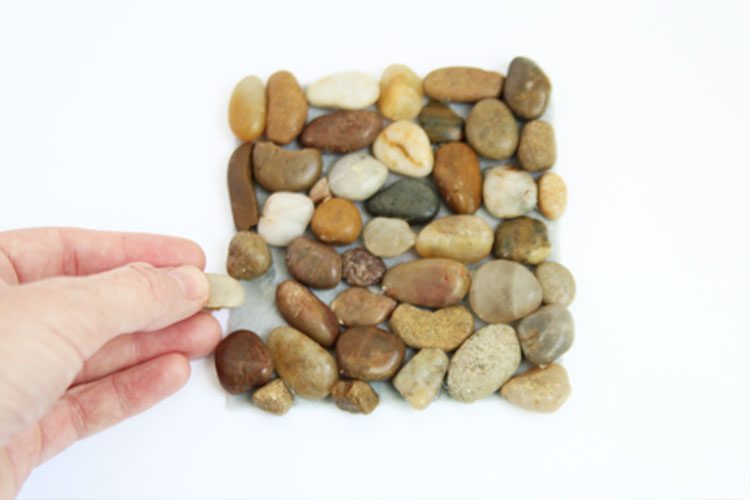
Stone Coasters
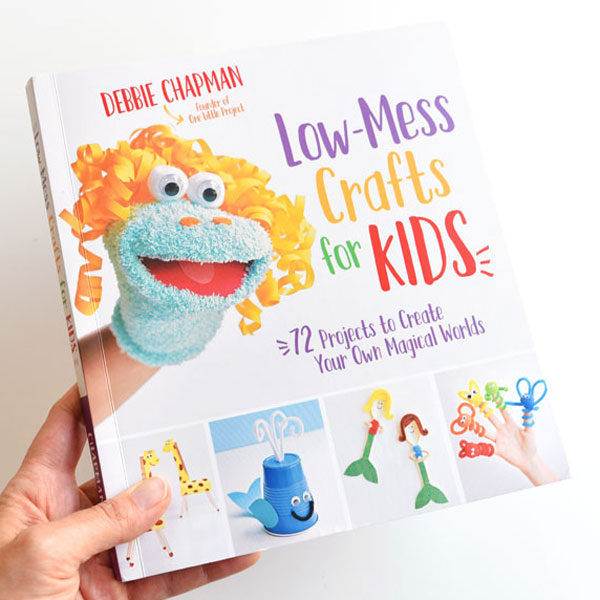
Our book Low-Mess Crafts for Kids is loaded with 72 fun and simple craft ideas for kids! The projects are fun, easy and most importantly low-mess, so the clean up is simple!
Where to buy: