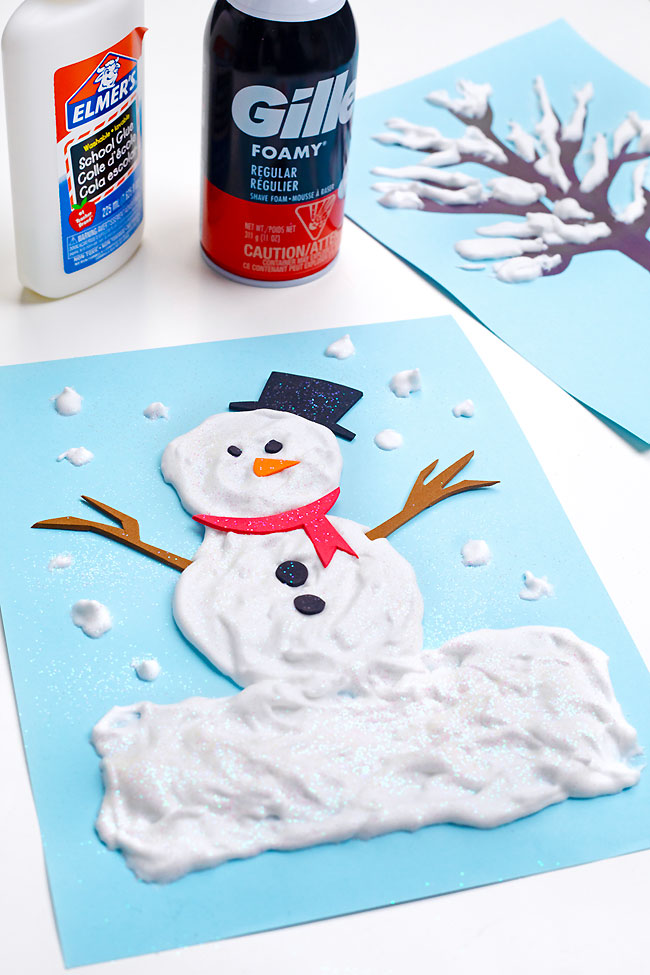
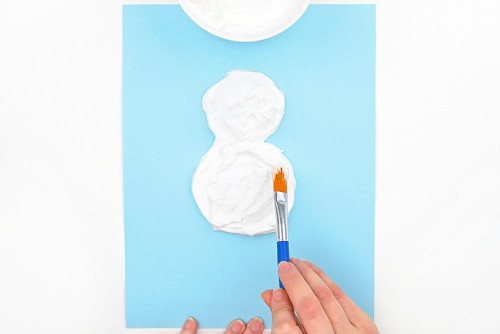
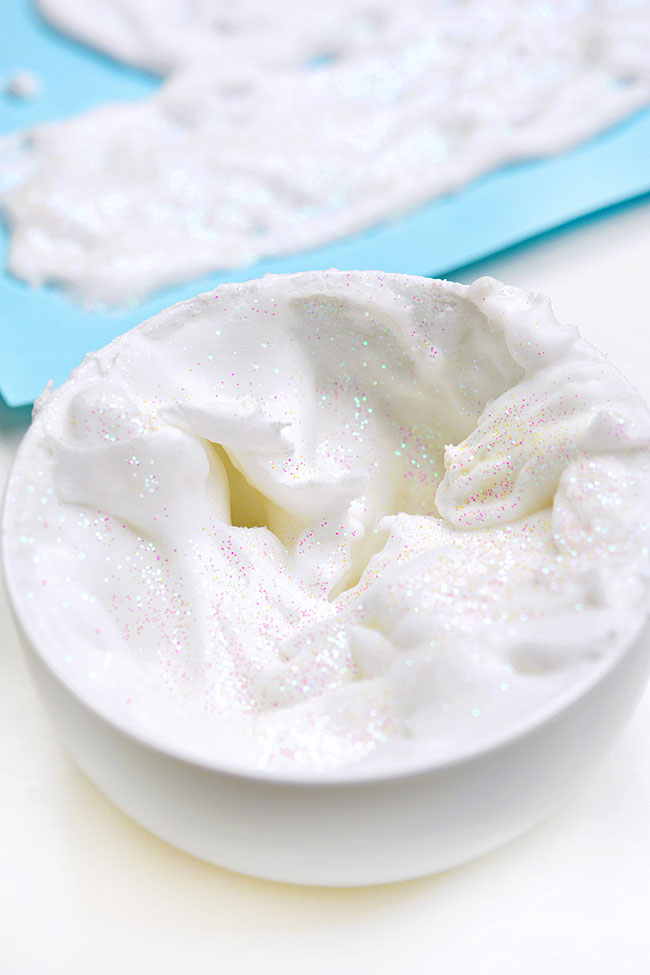
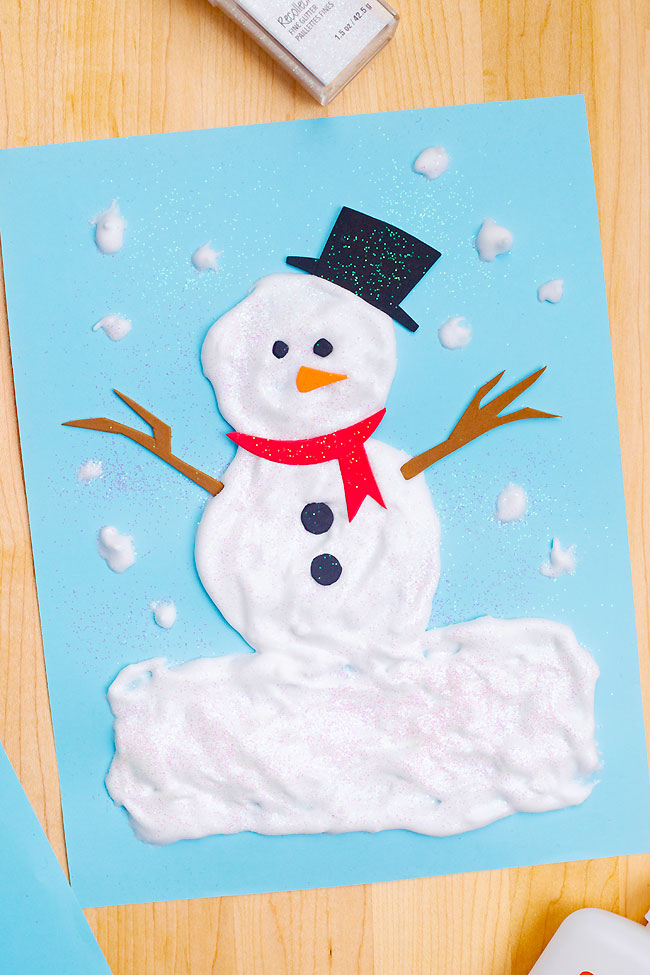
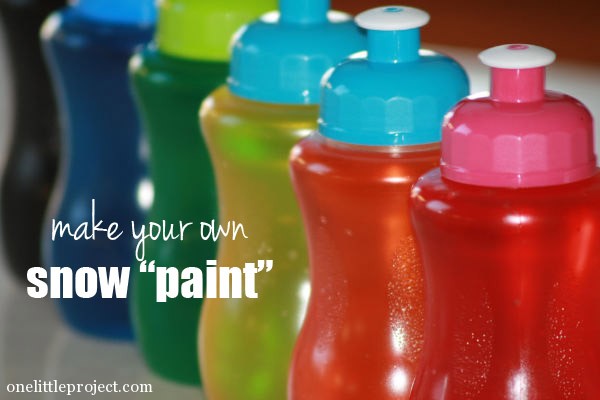
This snow paint actually dries puffy without losing its raised texture. And the glitter in the paint makes it look like ice crystals, which makes it even more fun! It’s such a cool winter craft, and a great sensory experience that allows kids to create 3D paintings.
This post contains affiliate links. If you use these links to buy something we may earn a small commission which helps us run this website.
Helpful Tips:
Free printable templates to use with snow paint:
Click the links below to find the templates we used with our DIY snow paint! The templates are free to download and print.
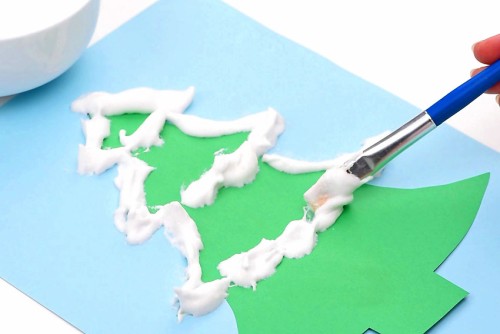
»> Christmas Tree Template «<
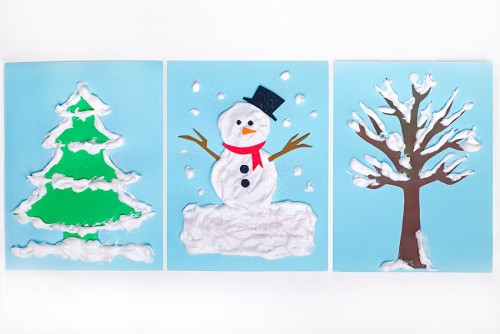
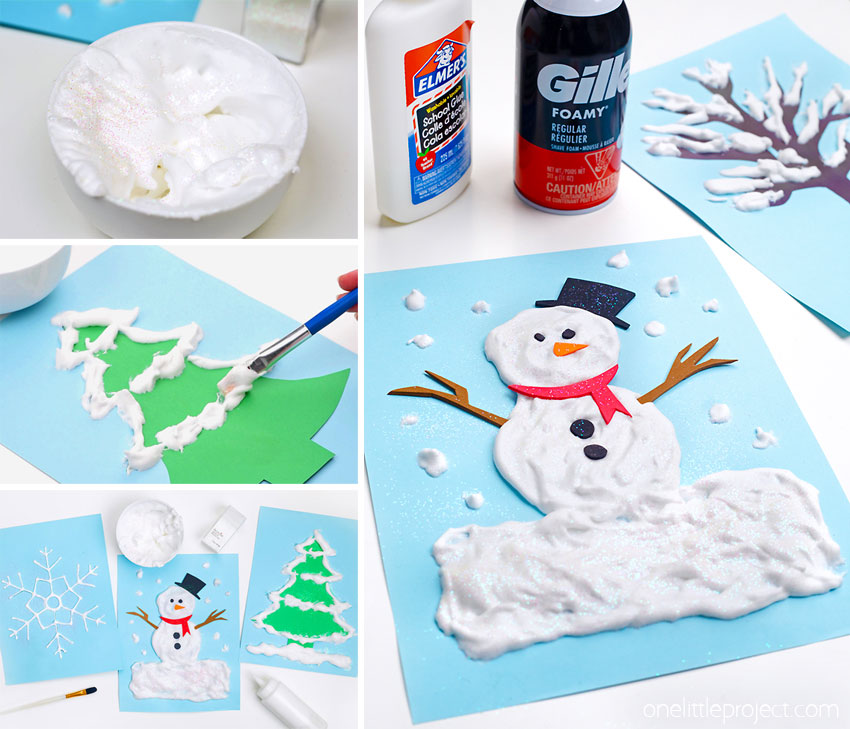
We traced the large Christmas tree outline #1 on green paper before adding it to the blue paper and painting around it.
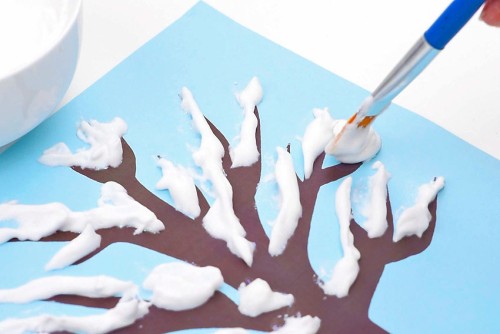
»> Tree Template «<
We used this tree outline last year for our easy tree painting post! It was so fun see our autumn tree turn into a snow covered scene.
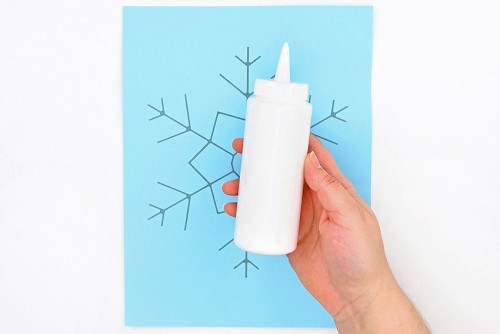
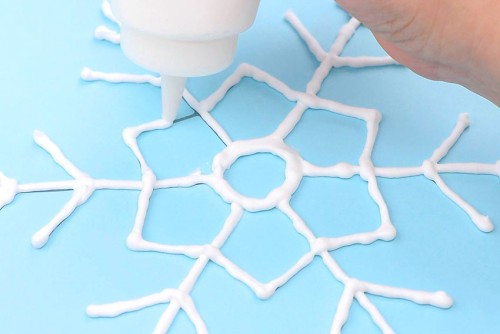
»> Snowflake Template «<
Snow paint is the perfect paint to use for making snowflakes! We used a squeeze bottle to paint the fine lines on Large Line Snowflake #1.
How long does this snow paint last?
This DIY snow paint is definitely best if used within the first few hours after making it. After that, the shaving cream begins to lose its foaminess. You can probably cover the snow paint and use it again the next day, but it won’t be as nice to work with.
Does the snow paint stay puffy?
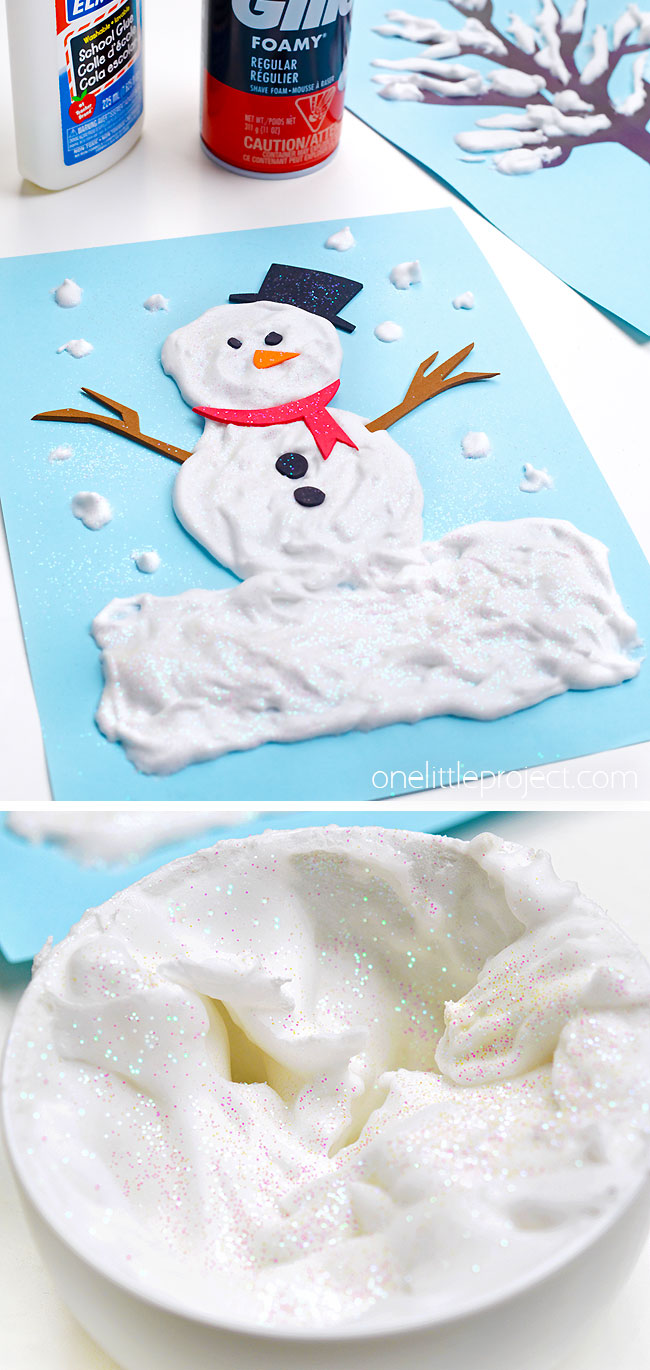
This snow paint stays completely puffy after it dries, though it does shrink a little bit. We made our snow art a week ago, and it’s still nice and puffy. The paint becomes hard after it dries, but it stays raised and fluffy looking!
What’s the best paper to use with snow paint?
We definitely recommend painting on cardstock or cardboard, especially if you need to move the painting while it’s still wet. Cardstock can handle the moisture from the paint a lot better than thinner paper. Regular printer paper will work if that’s all you have, but the snow paint does make the paper a bit soggy. Only use printer paper if you can leave the painting in place until it dries. And keep in mind that thinner paper will warp and wrinkle a bit as it dries.
How to paint with puffy snow paint?
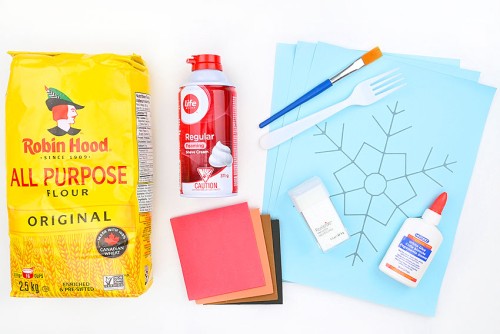
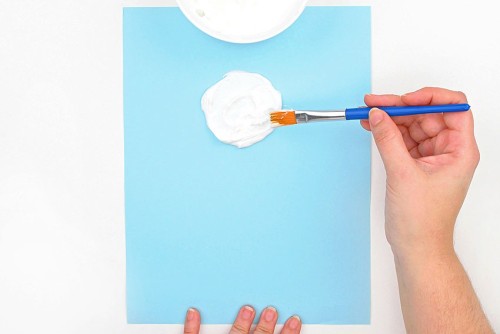
We mostly used a large paintbrush with our snow paint. A bigger brush allows you to add a larger amount of paint to the page at one time. If you want to paint in smaller areas, either use a fine point paintbrush, or put the paint in a squeeze bottle, like we did for tracing the snowflake template. You can also add the snow paint onto paper with a sponge, a spoon, or even your hands!
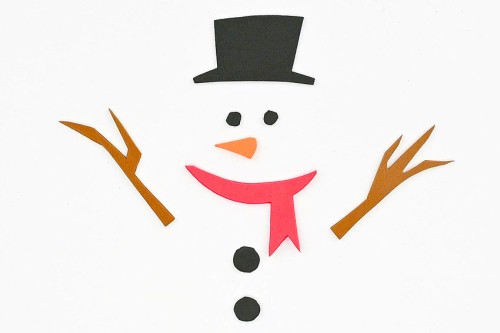
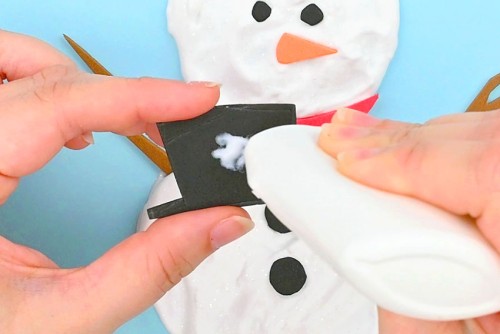
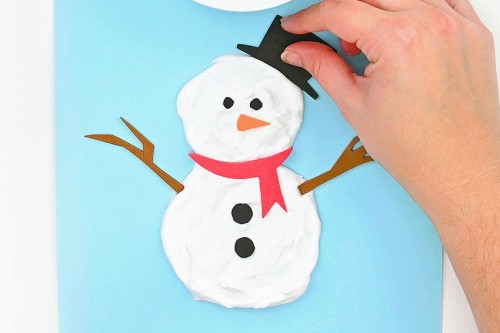
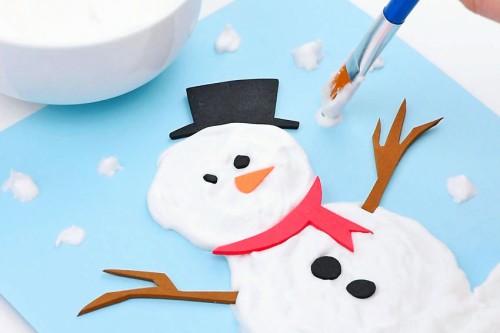
This snow paint is soft, squishy, and so much fun to experiment with! Use this snow paint on templates or create your own drawing. You can even add accessories to your snow painting, like we did with our snowman. Craft foam pieces look great, but you can also add buttons, pipe cleaners, pom poms, googly eyes, or felt!
Here’s even more winter craft ideas:
Easy Winter Painting
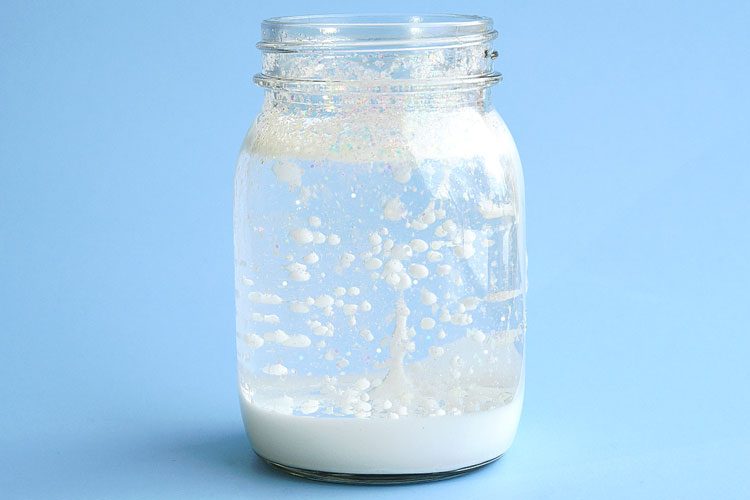
Snowstorm in a Jar
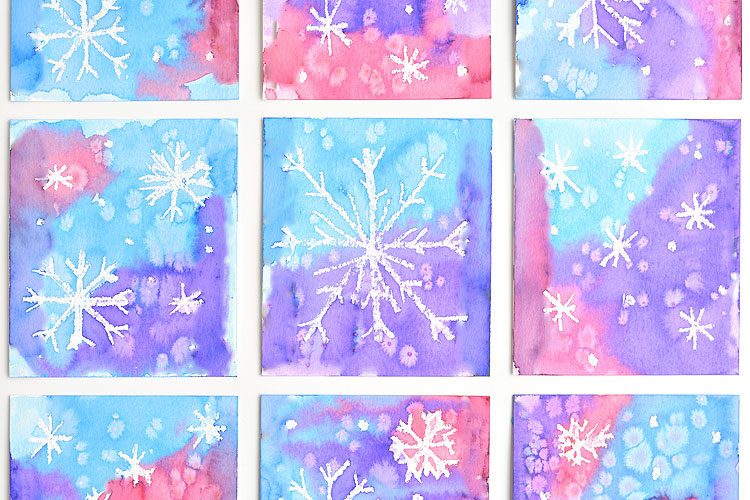
Salt and Watercolor Snowflake Art
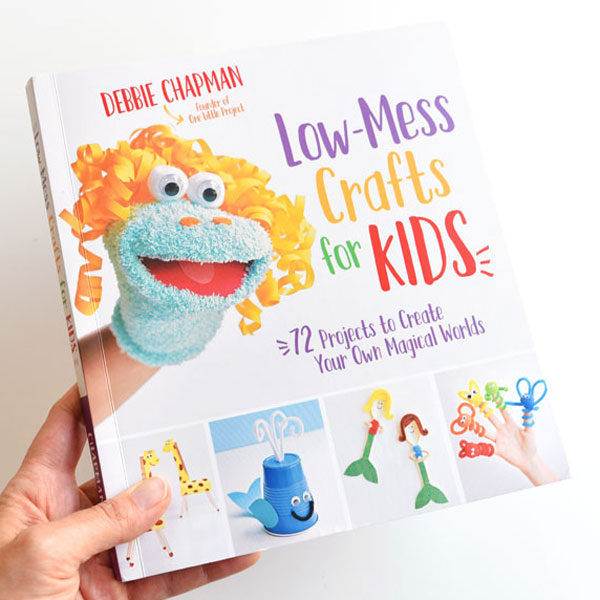
Our book Low-Mess Crafts for Kids is loaded with 72 fun and simple craft ideas for kids! The projects are fun, easy and most importantly low-mess, so the clean up is simple!
Where to buy: