Creating your own resin tray is a really creative project, and it results in a beautiful and functional piece. Display it in your home or give it as a personalized gift for weddings, housewarmings, or other special occasions. Let’s get pouring!
This post contains affiliate links. If you use these links to buy something we may earn a small commission which helps us run this website.
Helpful Tips:
How much resin do I need to make a resin tray?
You definitely need a large amount of resin to make a tray. The exact amount needed will depend on the size of your mold. The easiest way to figure how much resin you’ll need is to fill the mold with water and measure the amount. Normally we fill our molds and then pour that water into a measuring cup to find the amount. With a larger mold like this it’s easier to start with a measuring cup full of water and then see how much you have left after filling the mold. Subtract the amount you have left from what you started with to figure out the amount of resin needed. Our tray mold is about 11-1/2 by 7 inches and is 1/2 inch thick, and it required 500 ml of resin for the main pours and 100 ml for the top coat. This gives you a small amount extra, but it’s always better to pour a little bit more than you think you’ll need.
How else can I attach the handles to my resin tray?
If you want to use the “wrong” side of the resin tray (the side you see on top while the tray is in the mold) as the top, you can leave a couple millimeters of space at the top when filling the tray. Then leave the tray in the mold after it hardens and add your top coat. Place the handles like usual and let this resin harden before demolding. Or, drill holes into the tray and attach the handles with screws. Wait at least 72 hours and make sure your resin is completely cured before doing this.
How can I avoid the resin top coat spilling onto the side of the tray?
Be careful when you’re pouring your resin. Add just enough to coat the top to the edge without it overflowing the side. This is when a level table is very important, because it will stop the resin from sliding off one side. You can also take extra steps to prevent the top coat from making a mess on the sides of the tray. Once your base tray is hardened, demold it and paint a thick layer of white glue or Mod Podge on the sides and bottom edge of the tray. Prop the tray up on something, lifting it above your silicone working surface. Allow the glue to dry completely and then carefully do the top coat pour. If any resin spills over the edge it will drip off the side, instead of pooling next to the tray. When the resin is dry you can peel off the glue and the excess resin will be removed with it.
How can I fix the resin tray if the top coat has pooled on the side?
If your top coat of resin did pool on the sides of the tray you can use scissors or a craft knife to remove as much of the excess as you can. Then use sandpaper or a metal file to remove the rest and smooth the sides.
How else can I decorate my resin tray?
We used gold foil flakes and mica powder to add colour to our marbled resin tray. We love the shimmer that mica powder adds, along with the colour. But you can also use acrylic paint to colour resin, or buy special resin dyes, both powder and liquid. You can also add glitter to resin for a fun shine. Or keep your resin clear and insert add-ins like pressed flowers, beads, or polymer clay charms.
Is a resin tray food safe?
Yes, epoxy resin is food safe after it has fully cured. So you can use your resin tray to hold food safely. However, we don’t recommend cutting anything on the tray, since it can damage the surface.
Showcase your creativity with a beautiful, one-of-a-kind resin tray! Use this DIY resin tray as part of a vanity set or as a serving tray for your favourite drinks or charcuterie. Either way, your resin tray is sure to impress! And remember that the possibilities with resin are endless, so don’t hesitate to experiment with different colors, designs, and embellishments!
Here’s even more resin craft ideas:
DIY Resin Keychain
Mother’s Day Resin Craft
DIY Resin Ornament
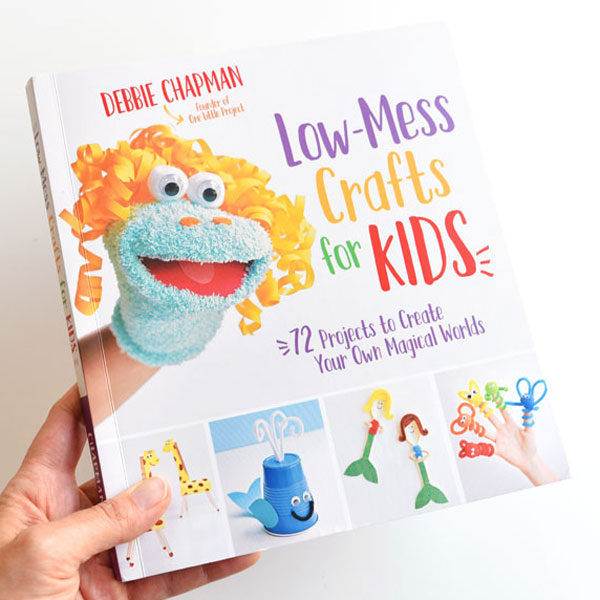
Our book Low-Mess Crafts for Kids is loaded with 72 fun and simple craft ideas for kids! The projects are fun, easy and most importantly low-mess, so the clean up is simple!
Where to buy:


