My 4 year old is starting junior kindergarten next month and I am soooooooo excited for her. She’s a little nervous though. Last night when I was tucking her in, she asked if her older sister would be in the same classroom as her, and when I said no, she turned white as a ghost. It was one of those parenting moments when you realize a moment too late that you’ve said something that’s going to upset them. I told her not to worry because she’d make other good friends. But she was still looking really stressed and she said, “But there’s going to be boys in my class!? I don’t want to play with boys!” Ha! The poor thing! I had to get my 6 year old to chime in to tell her all the fun things about kindergarten. About how great the craft center is, and how fun it is to do gymnastics in gym class and play soccer and how you get to learn to read. It made me so proud to listen to my 6 year old go on and on about how awesome school is. I love that she loves school!
My girls looooooooooove crafts. And I love doing activities with them where they get to explore using materials in a new or different way, so this was a super fun project for us to try! I was inspired by the awesome blog posts over at Growing a Jeweled Rose and Design Dazzle.
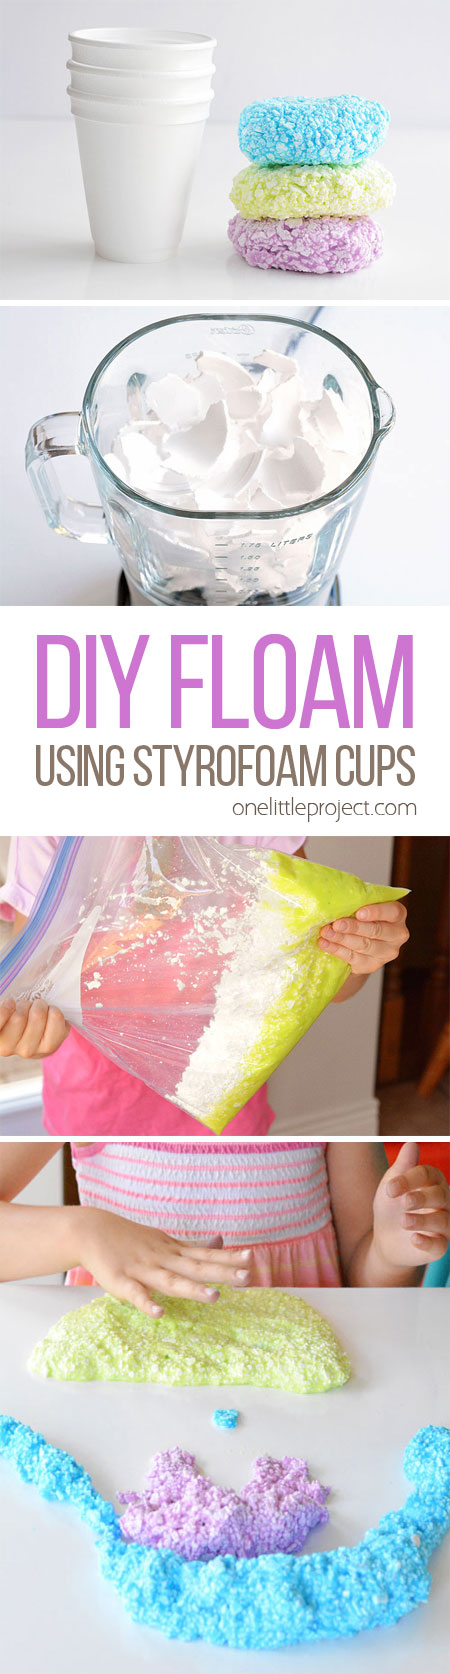
DIY Floam Using Styrofoam Cups | Homemade Floam
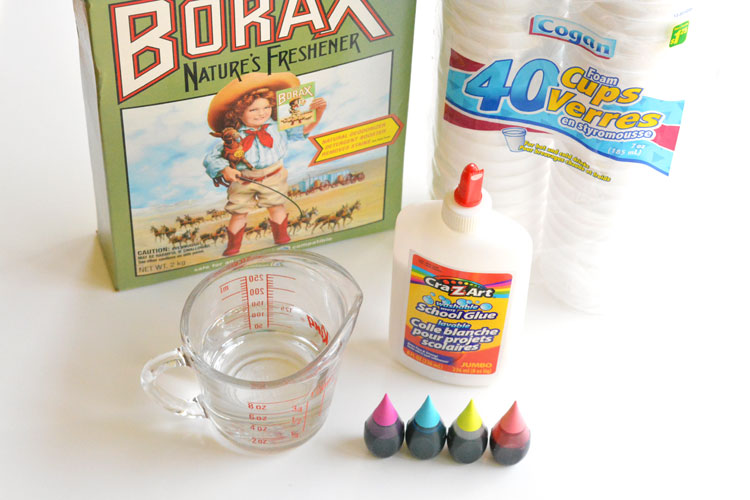
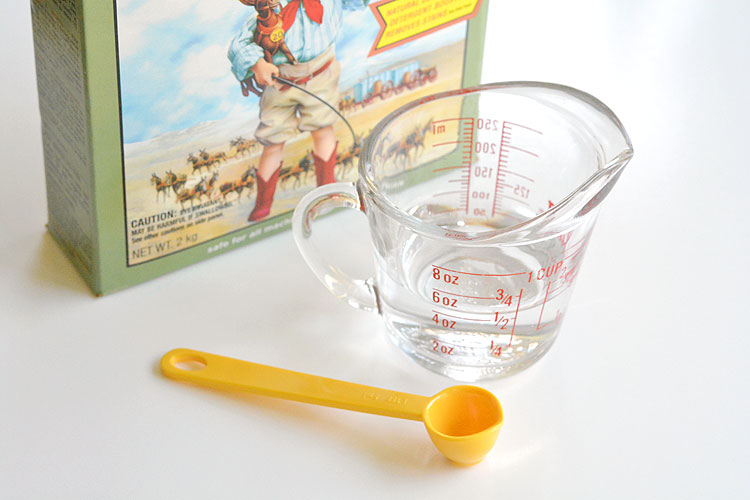
The full printable recipe is at the end of this post, but here’s what you’ll need:
Styrofoam Cups (or Styrofoam Beads) White School Glue Water Borax Food Colouring Large Freezer Bags
My kids are really good about not putting things in they’re mouths, but if you’re worried, you can check out our edible marshmallow play dough here which is totally meant for safe taste testing!
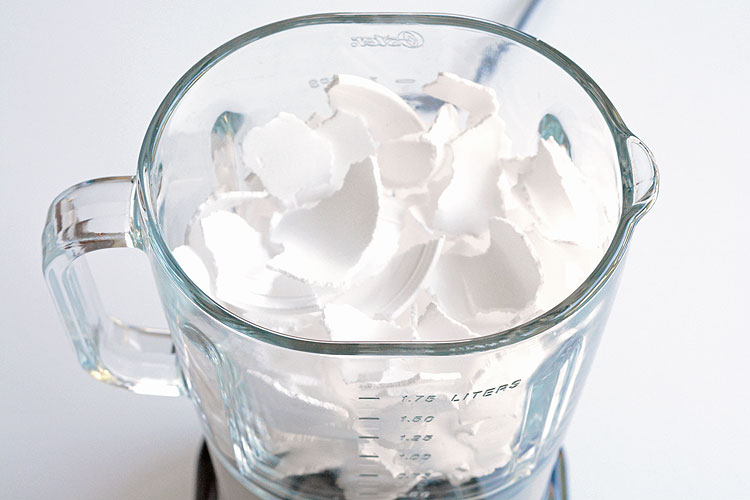
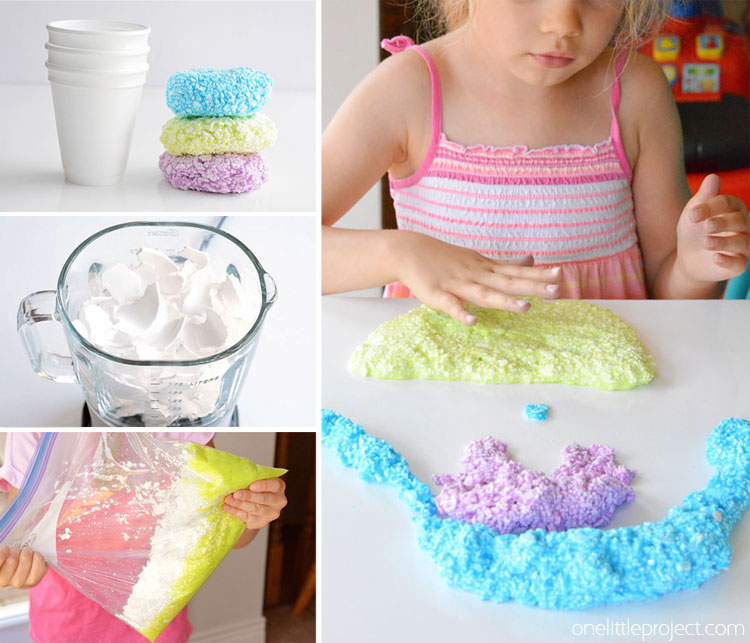
Breaking up the styrofoam cups into small beads was definitely the most time consuming part, but I think I figured out the best and quickest method (for my blender anyway). Break the cups into small pieces and put about 1/4 of the bag into the blender (about 10 cups). Add about 1 Tablespoon of water to the cups, cover it and then blend it on high for about 2 minutes. Take off the lid, push down the beads from the side and see if it needs more time. It might just need to be pulsed a little more, or it might need another minute or two on high again. If you find it’s not working, remove some of the styrofoam from the blender jar and try again with a smaller quantity. Your blender might be a different size than mine, so you’ll have to see what works best for you.
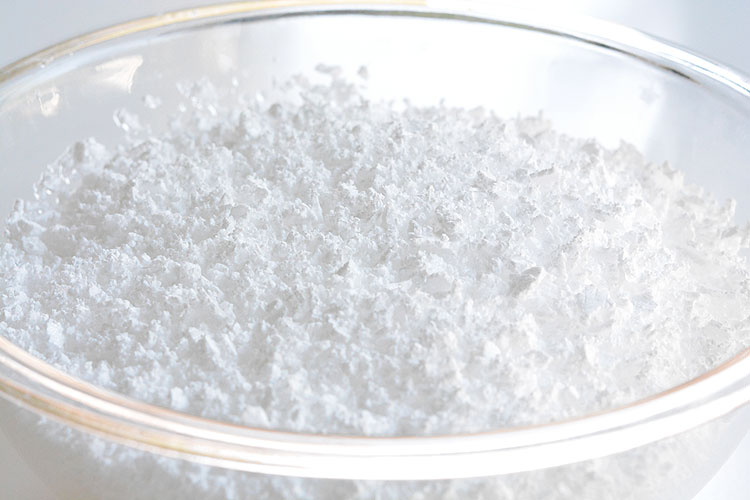
You’ll end up with some “snow” like styrofoam with some larger pieces in it. Mine definitely wasn’t perfect, so don’t worry if there are some larger chunks in there.
Dissolve the borax in hot water until the water is completely clear. I put mine in the microwave for 1 minute and it dissolved no problem.
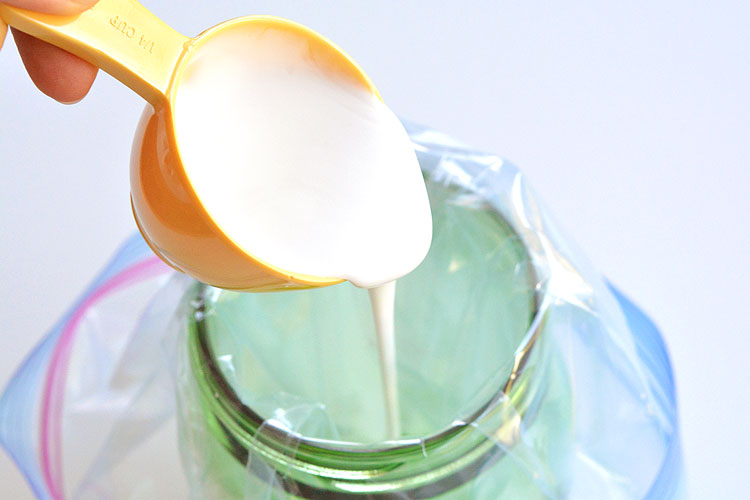
Next, pour the glue, more hot water and the food colouring into the freezer bag. I used a wide mouth mason jar to prop it open. Make sure you mix the glue, hot water and food colouring really well by squishing it with your fingers through the bag, before you add the borax mixture. It will turn into a clumpy mess if it’s not mixed well.
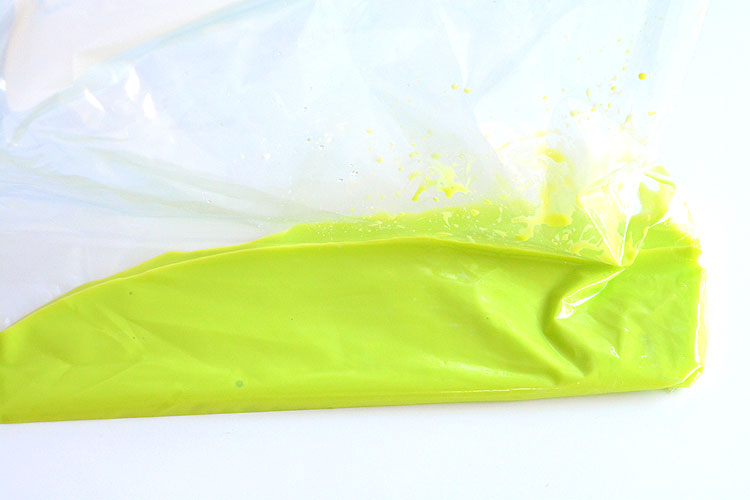
Next, add the water and borax mixture and mix it well. It will instantly get kind of stringy. Keep kneading it through the bag until it has a slime consistency. Mine had some stubborn water that I just couldn’t get to absorb, but it didn’t seem to matter in the end, so don’t worry if you are having trouble getting it to mix together.
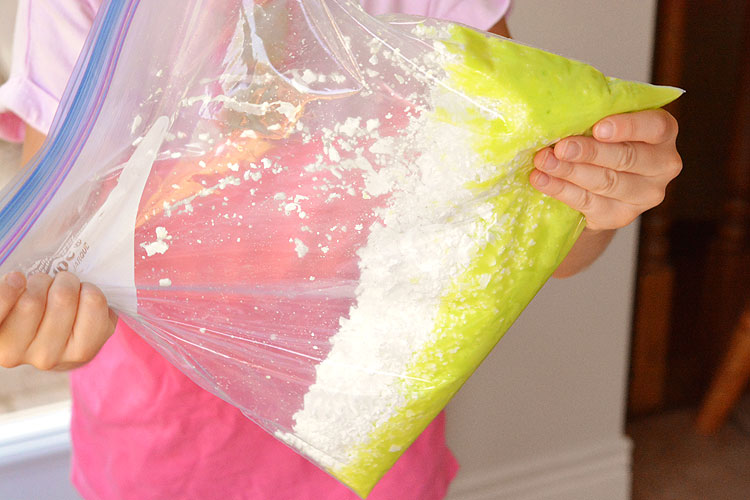
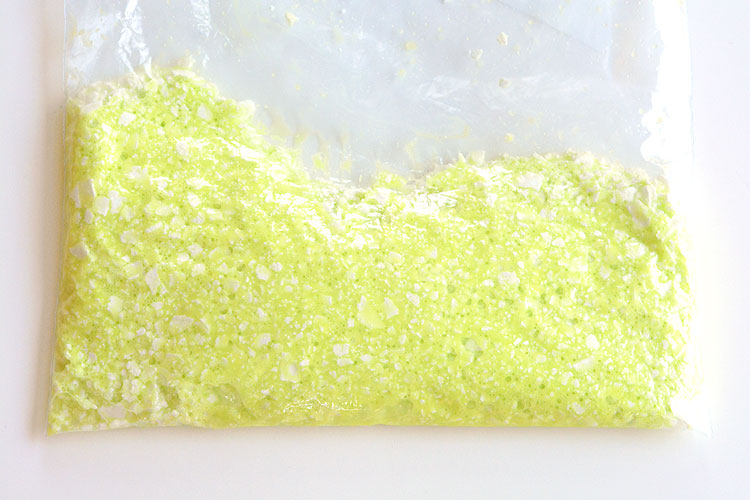
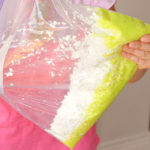
Next, add the styrofoam beads to the bag, zip it up and knead it all together. The kids really enjoyed helping with this part. It was fun to watch the slime slowly ooze and get absorbed by the styrofoam.
If it seems too watery, add more styrofoam. Then open the bag, and let it dry out for a few minutes.
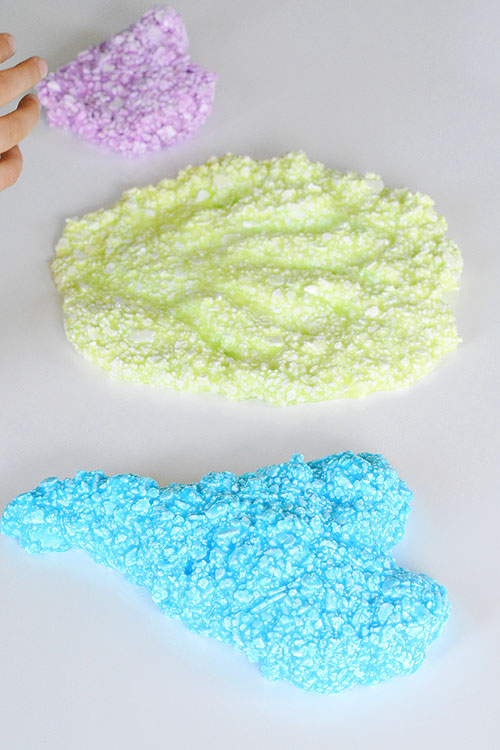
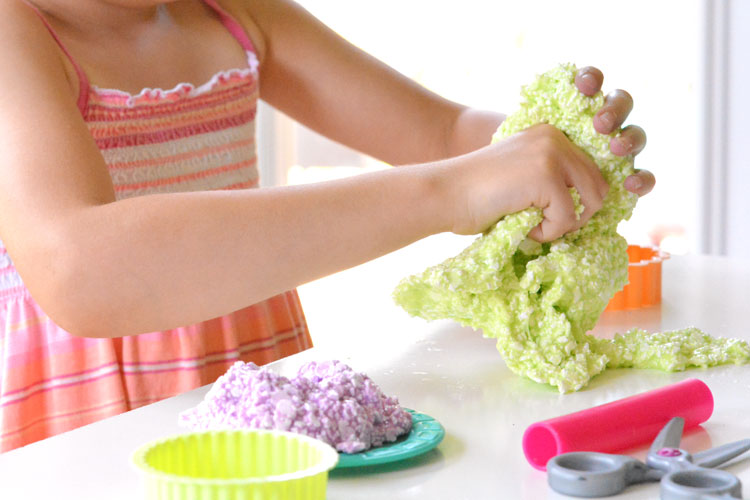
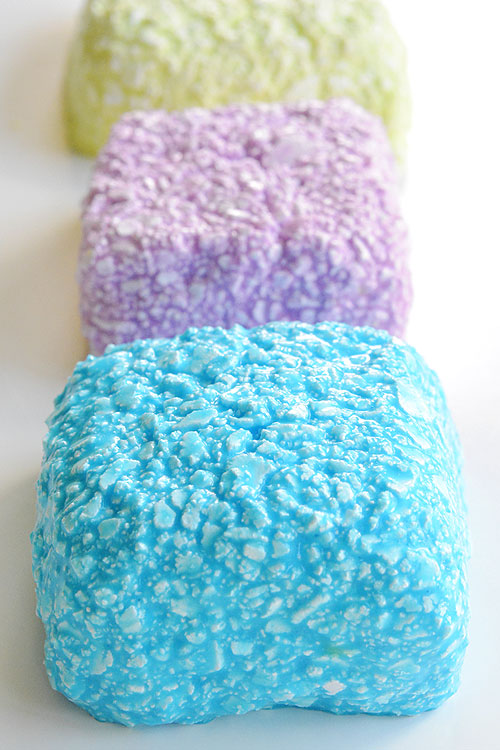
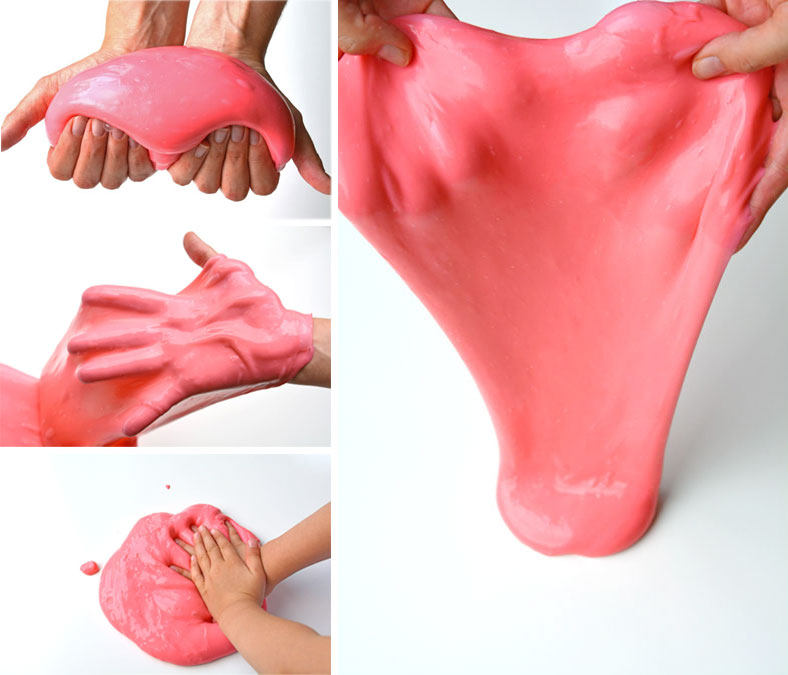
It might need a little bit more kneading when you take it out, but once it’s ready, it has a perfect floam consistency!
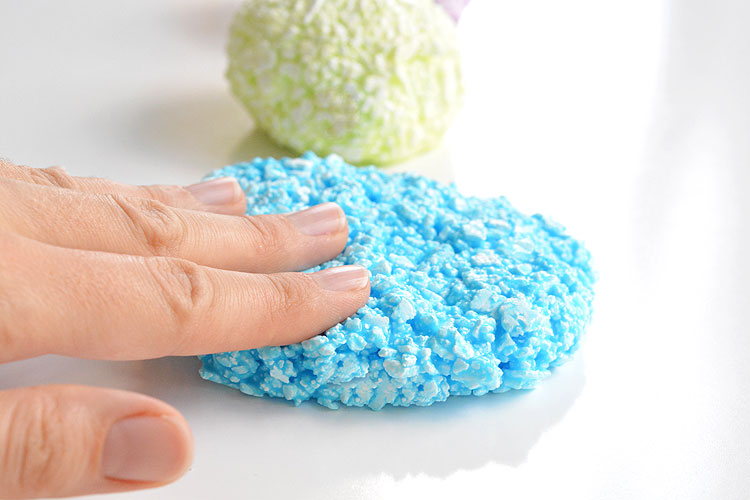
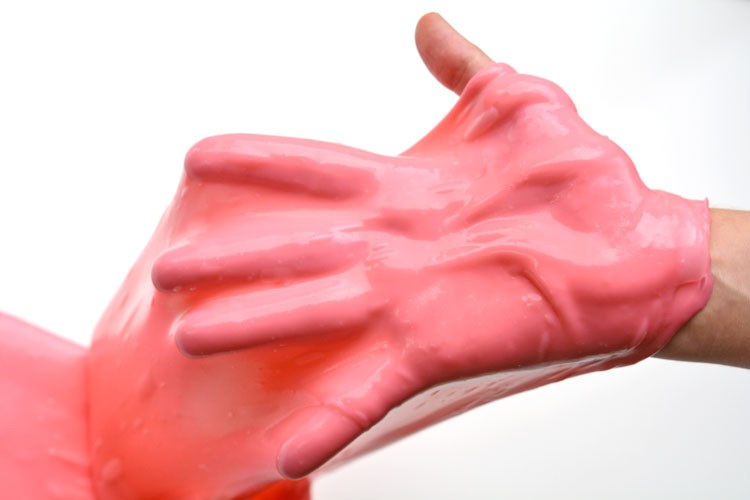
It’s completely moldable and it doesn’t stick to your hands!
It’s soft and foamy when you squeeze it, but it holds its shape really well.
We flattened it into pancakes, molded it into shapes, and rolled it into long snakes.
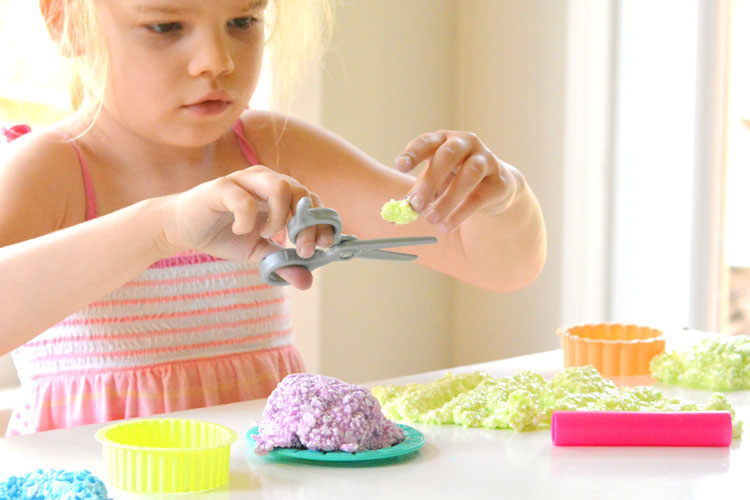
And then we realized that it would also work really well with the play dough accessories… although, I’d recommend only using things that are easy to wash.
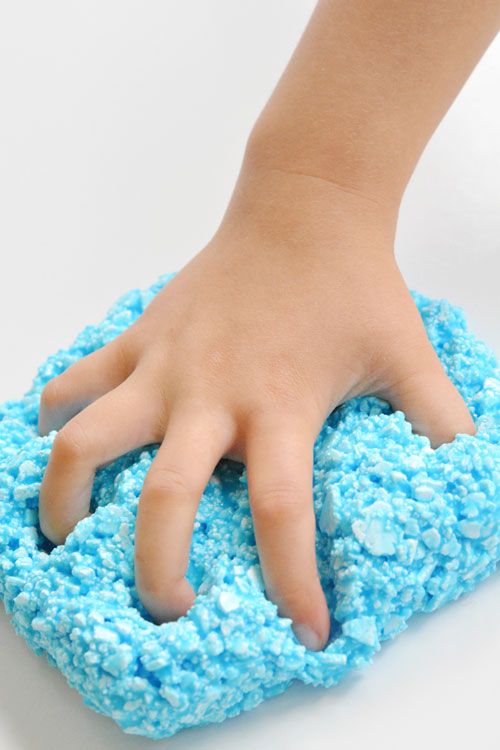
My four year old LOVED this stuff. She played with it just like play dough and had a blast.
If you want to change the consistency, all you have to do is play around with the amount of Borax that you add. You can make it slimier by adding less Borax and you can make it stiffer by adding more Borax.
This DIY floam is such a fun sensory activity to try with the kids! It ends up with a soft and squishy texture that’s completely moldable! It takes about half an hour to make and will last for at least a month, or even longer if it’s kept sealed in a zip lock bag. It’s a great activity to teach kids about using (or even reusing) materials in a new and different way. If you’re looking for more fun activities to try with the kids, check out our homemade gak recipe. It uses the same ingredients as this floam, but without the styrofoam, it makes the BEST slime! Definitely worth trying!