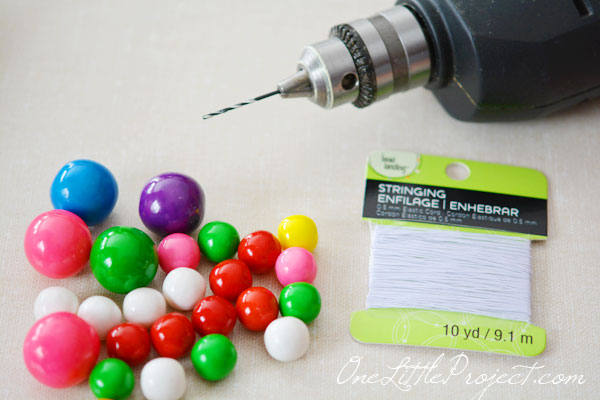
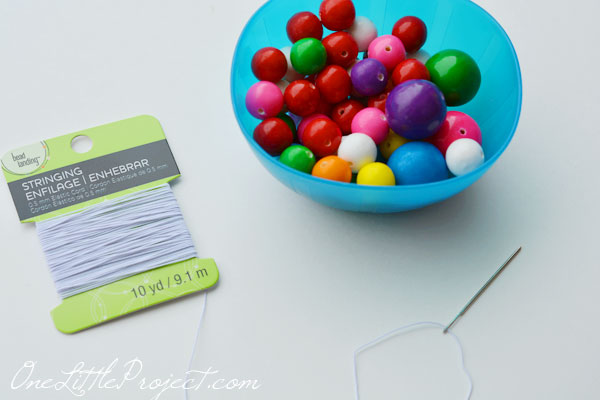
Get ready, you are going to need your drill for this project! And an ultra small drill bit (I used a 3/32″ drill bit), some stretch cording and of course a bunch of gumballs!
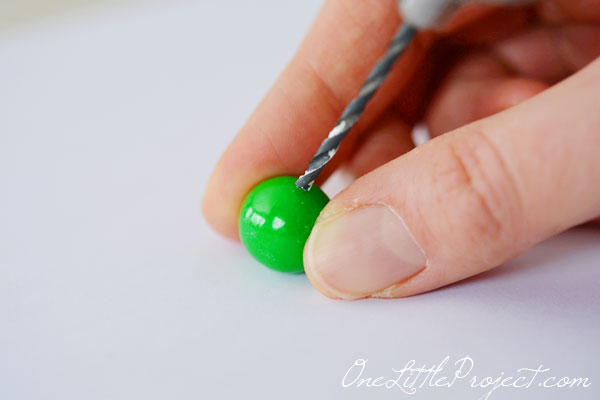
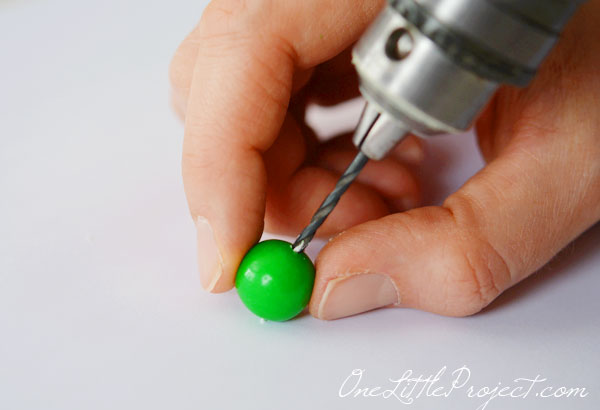
Holding the gumball steady, drill a hole through it. Go slow with the drill… you obviously want to avoid hitting your fingers. I bumped against my fingers with the drill bit a few times, but at the slow speed it was no problem.
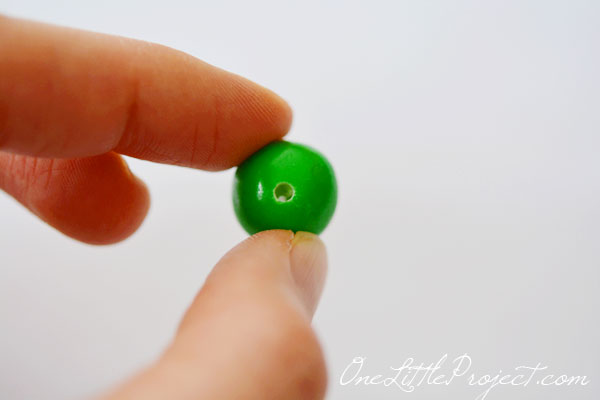
Yes, I am just pretending to drill the gumball here for the photo. When I actually drilled them, I had a piece of cardboard on top of a magazine on top of a plastic cutting board on my counter. You’ll want a lot of layers to make sure you don’t drill into your counter top.
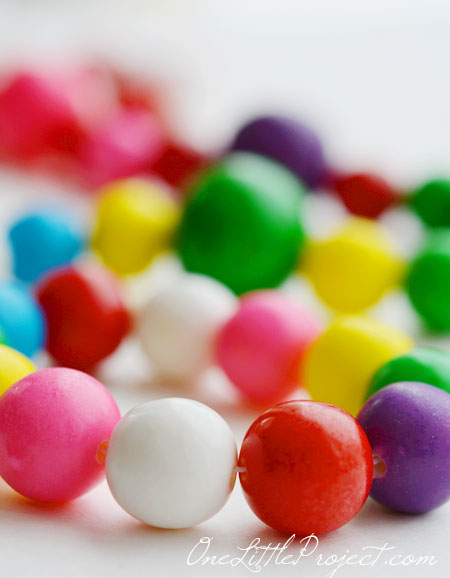
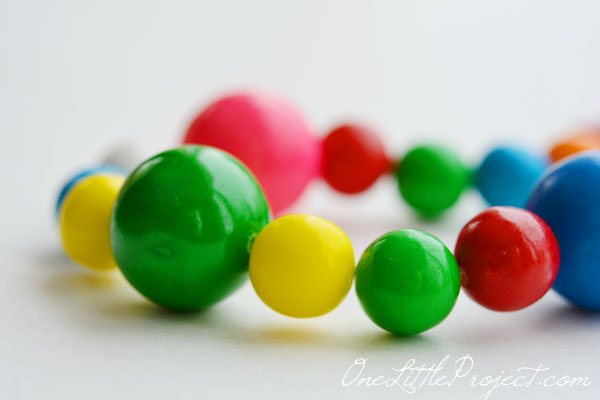
Once you finish drilling, you have created your first gumball “bead”:
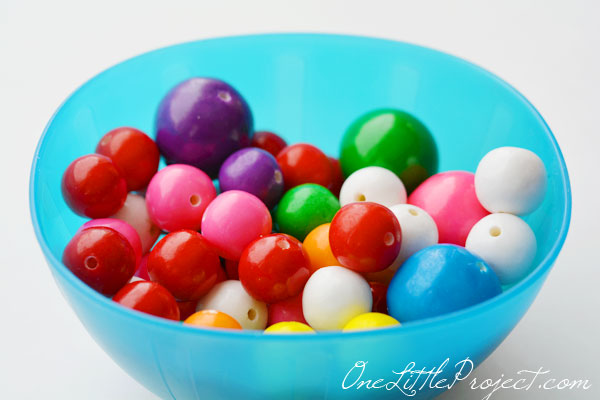
Repeat about 50 times until you have enough gumballs:
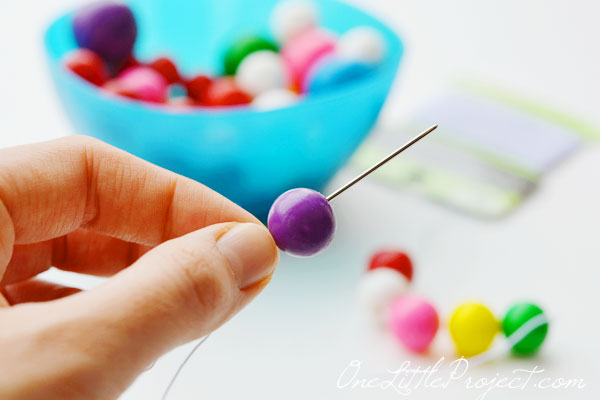
I was hoping to be able to thread the string through on it’s own, but it turns out I needed a needle to get it to go through. Surprise surprise, the inside of a gumball is kind of sticky, so it’s hard to make the string go through. It’s not impossible, but you really don’t want to be wasting that effort on every single gumball you have to thread if you don’t have to.
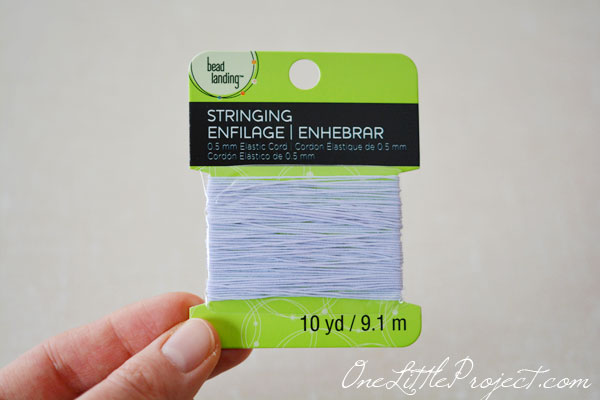
I used 0.5mm elastic cording meant for jewellery making so that the necklaces and bracelets would actually stretch. It was super strong, so I was confident the gumballs weren’t going to break apart and scatter all over the floor.
Thread the needle through the gumball. In order to keep the gumballs from falling off the other end, I threaded them before I cut the cord. Once I knew how long I wanted the bracelet or necklace I cut the cord at the end.
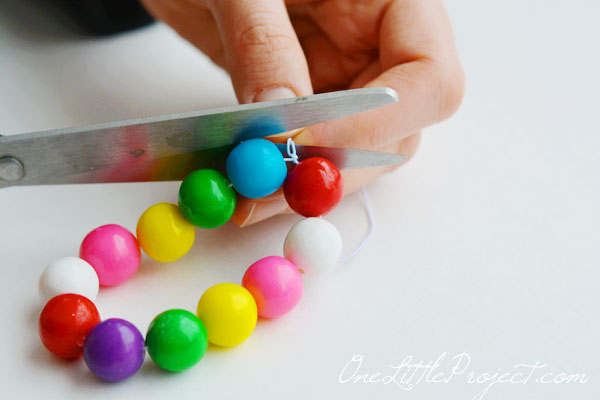
Tie a triple knot into the cord:
Snip off the dangling ends with a pair of scissors:
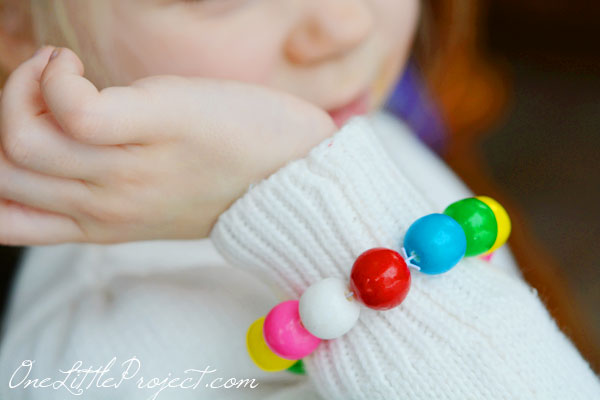
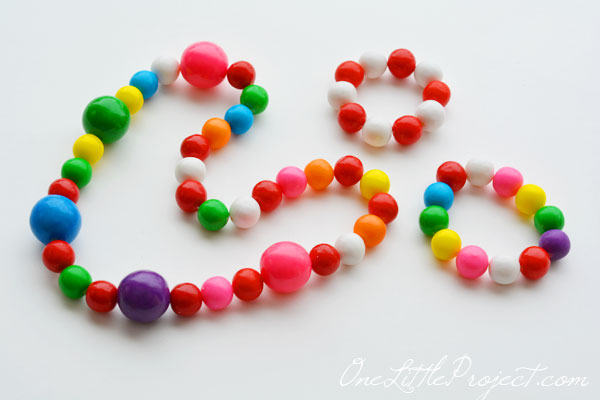
And give the necklace or bracelet to someone who will appreciate it:
Leah absolutely LOVED these. Seeing that she is still a couple weeks away from her 4th birthday, chewing gum is something we try to avoid in our house. She couldn’t even enjoy the fact that these were edible necklaces and bracelets (and I didn’t actually tell her), but she still adored them. She would have worn them every day if I let her:
We couldn’t fool 22 month old Kate though. She kept trying to lick her bracelet so we inevitably had to hide them. This is definitely a fun project I’ll pull out again in a couple of years!
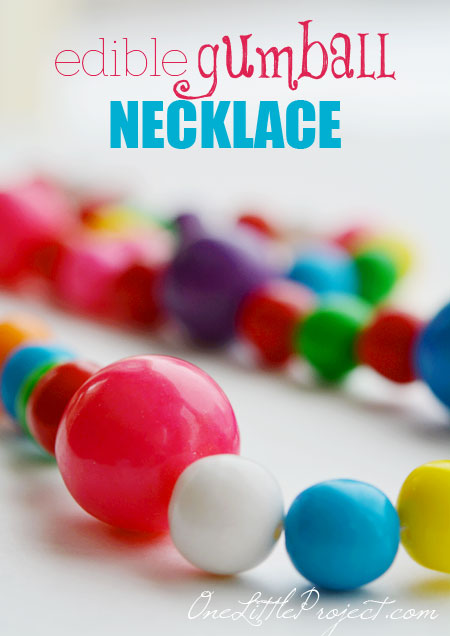
If you don’t know (or don’t smell them), you would really have no idea that these are made from gumballs. They just look like large round beads.
A heads up though, you’ll want to give the necklaces and bracelets a good shake before you give them to your kids. The inside of the gumballs flakes away a bit when the string goes through. Shaking them helps get rid of the gumball “crumbs” that are going to come out.
Making a gumball necklace is an easy project if you have a drill. You could probably do it without a drill, but pushing a needle through so many gumballs might hurt your hands by the end of it? It took about 45 minutes to drill all of the gumballs and bead them into bracelets and necklaces. Make these to give out as party favours or make them as a fun craft to do with your kids. Edible jewellery is tons of fun!