Add a family photo, a pet picture, or even a tiny piece of your own artwork to make this upcycled jewelry truly your own. This craft is simple enough for kids, sweet enough to give as a heartfelt gift, and unique enough to become a treasured keepsake.
Helpful Tips:
What kind of bottle caps work best for this bottle cap pendant?
Standard metal bottle caps (like those found on glass juice bottles) work perfectly for this Mother’s Day necklace craft. Just make sure the inside is clean and dry before starting. If you can’t find the right style cap in your local grocery store, you can order glass bottle lids online. This works perfectly for this craft, especially if you need a bunch for a group activity.
Can I make this necklace craft without a photo?
Definitely! Instead of a picture, add a piece of patterned scrapbook paper, an inspirational sticker, or a pressed flower. You can even do a little drawing on a piece of cardstock and add that to your bottle cap pendant! You can also add glitter, beads, or other small embellishments before sealing them with Mod Podge.
What else do I need to make my upcycled necklace craft?
A bail is glued to the back of the cap, creating a place for the necklace cord to go through. Bails are available at most craft stores or online, but an adult can also drill a hole through the cap instead. Once your bail is attached you’ll need to choose your necklace cord. You can pair your photo pendant with a leather necklace cord, a ribbon necklace, or a metal chain — whatever suits your style! This DIY bottle cap photo necklace is such a sweet way to turn a simple bottle cap into something beautiful and heartfelt. Whether you make it for yourself or give it as a gift, it’s a fun, sentimental craft that’s full of personality. So grab your favourite photos and start creating your own wearable memories!
Here’s even more DIY jewelry ideas:
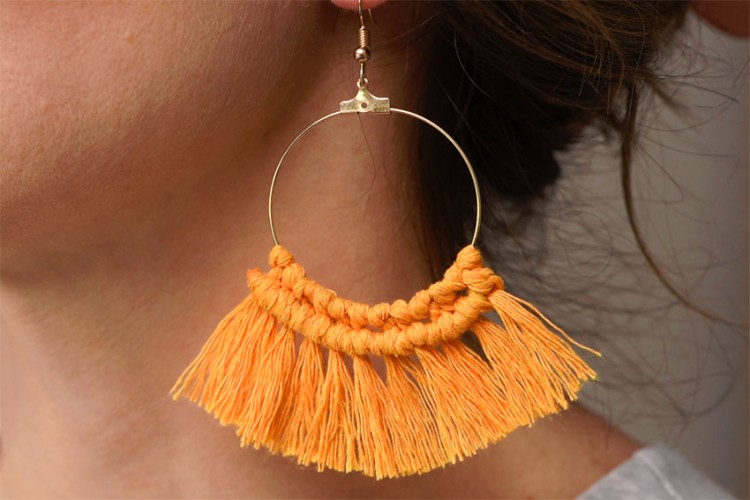
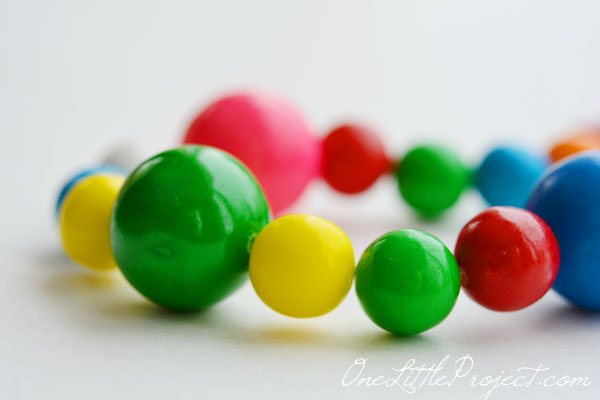
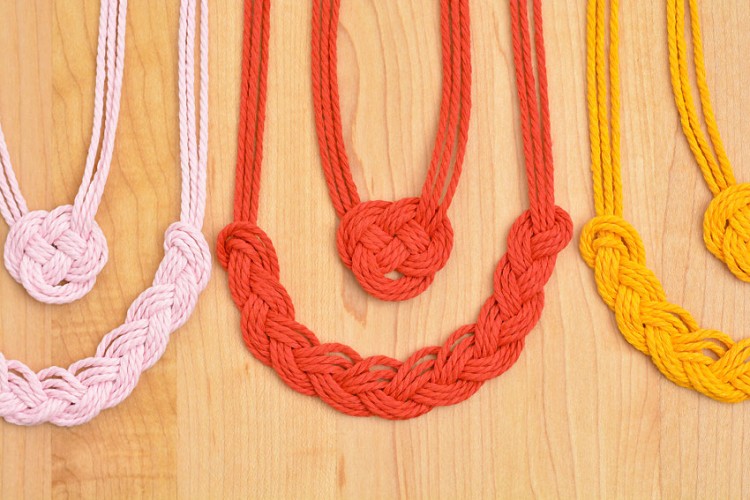
DIY Initial Bracelet DIY Wire Wrapped Rings How to Make Macrame Earrings
Where to buy: