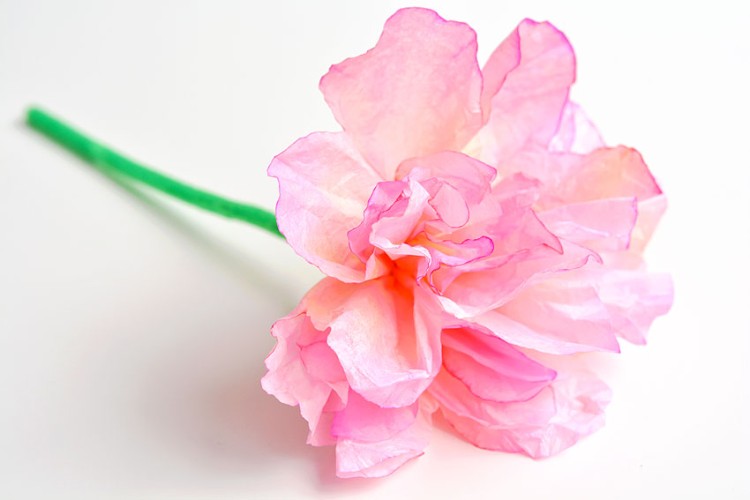
This fun and creative project is surprisingly beginner-friendly and perfect for older kids, teens, adults, and seniors. Whether you’re making a full bouquet for a handmade gift or crafting a single bloom to dress up your desk, these paper roses are a satisfying way to spend an afternoon.
Helpful Tips:
Do I need liquid watercolour paint to make realistic paper roses?
No, food colouring also works well for making a coffee filter flower bouquet! Just dilute the food colouring with a bit of water and use the same eye dropper technique. For a bolder look, use less water and more colour. You can also colour dry coffee filters with washable markers and drop water on them (or use a spray bottle) to spread the colour.
What type of coffee filters should I use for my DIY coffee filter roses?
For this coffee filter rose tutorial, flat-bottom, basket-style coffee filters work best. We use the 4 cup size. These coffee filters are easy to fold and cut, and the paper absorbs colour beautifully. Avoid cone-shaped filters, which are harder to shape into petals.
How can I display my coffee filter roses?
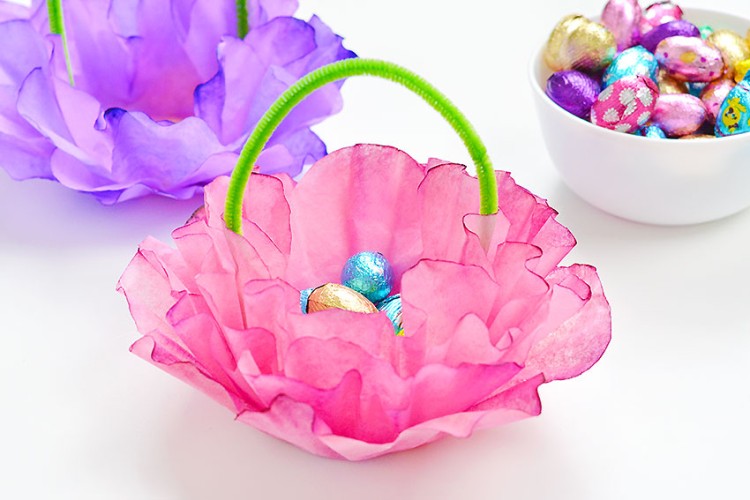
You can arrange your DIY coffee filter roses in a vase, use them in a bouquet, or attach them to a wreath. For extra flair, try mixing them with faux greenery or wrapping a few stems with ribbon for a handmade gift. For an extra sensory element, add a drop or two of your favourite essential oil to the inside of the flower or the stem after it’s fully assembled and dry. It’s a simple way to make your rose smell as lovely as it looks! These DIY coffee filter roses are surprisingly realistic and simply gorgeous! With just a little time and a few craft supplies, you can create beautiful blooms that never wilt. Whether you’re decorating for a special event or just adding a bit of floral fun to your space, these paper roses are a budget-friendly way to brighten any room.
Here’s even more coffee filter flower ideas:
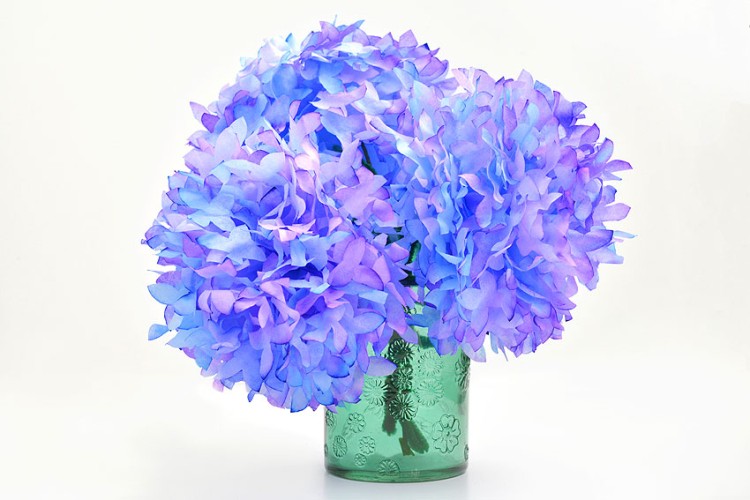
Coffee Filter Hydrangeas DIY Coffee Filter Flowers Coffee Filter Poppies
Where to buy: