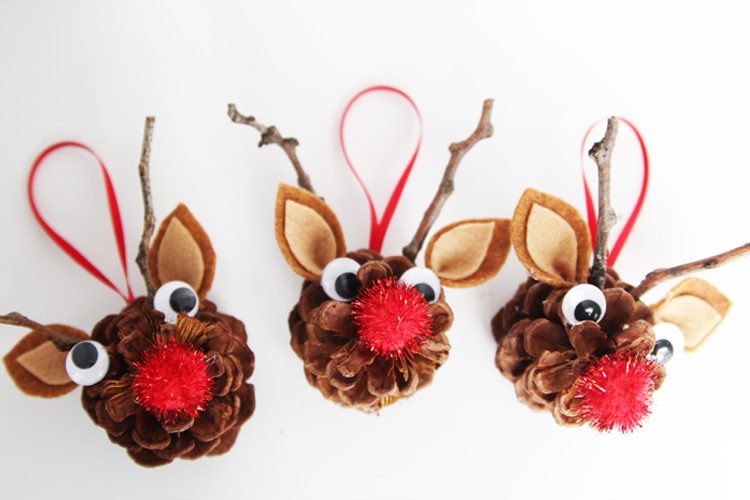
Each one takes about 5 minutes to make so they’re also really quick. And the kids can probably make most of this craft on their own… depending on how old your kids are. My 5 year old saw these on my office floor (because that’s where I do my best crafting) and he immediately started to make his own… from a pine cone instead of a clothespin! Not quite what I had planned, but it was awesome and he was SO PROUD!
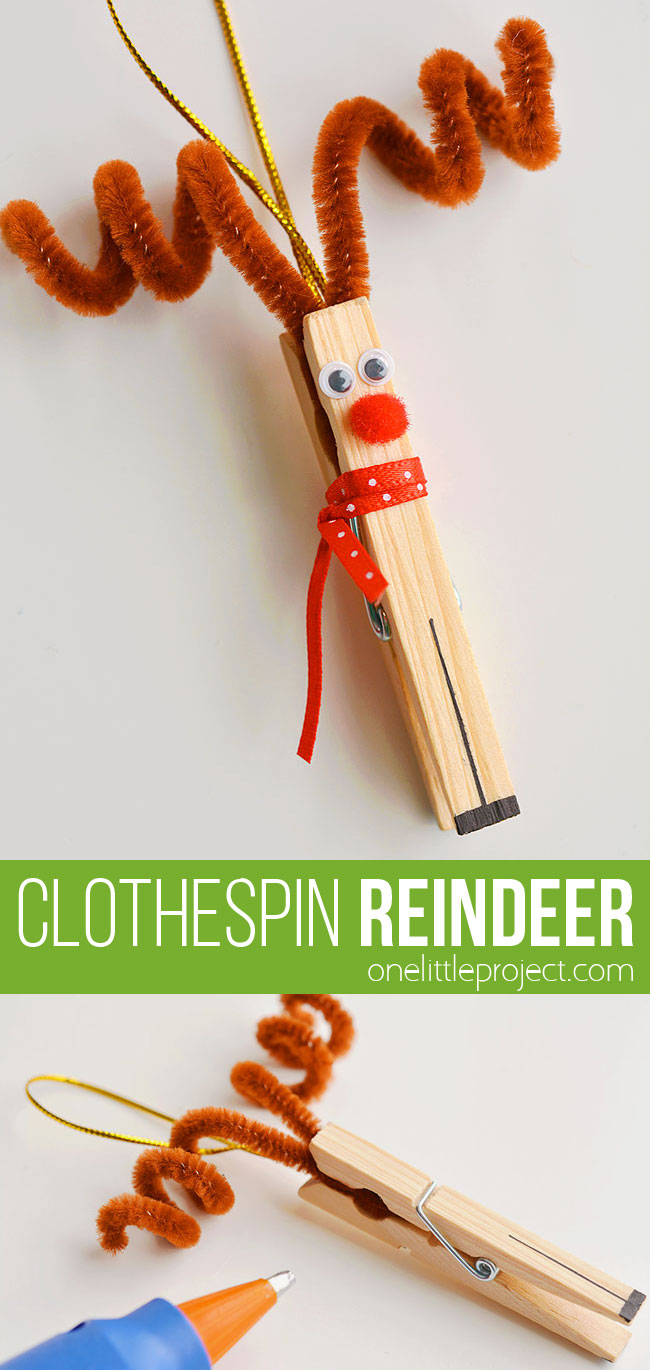
Do your kids play with the ornaments on the Christmas tree? My tree is FULL of kid friendly, play friendly ornaments. One of my favourite Christmas memories is playing hide and seek on the Christmas tree with 3 little red cardinal ornaments with my sister. Those little cardinals got pretty beaten up by the time we were teenagers, but they were so special. As soon as our tree goes up, our kids suddenly replace (some) screen time with playing-with-the-tree-time. Win! Sometimes things get a little broken, but we just glue them back together. I like to think they’ll have the same special memories that my sister and I had with those little red cardinals. I love these clothespin reindeer ornaments because you can hang them on the Christmas tree (obviously). And then the kids can pull them down and play with them without worrying about breaking anything. They even stand on the table!
Check out our video for how to make Clothespin Reindeer Ornaments:
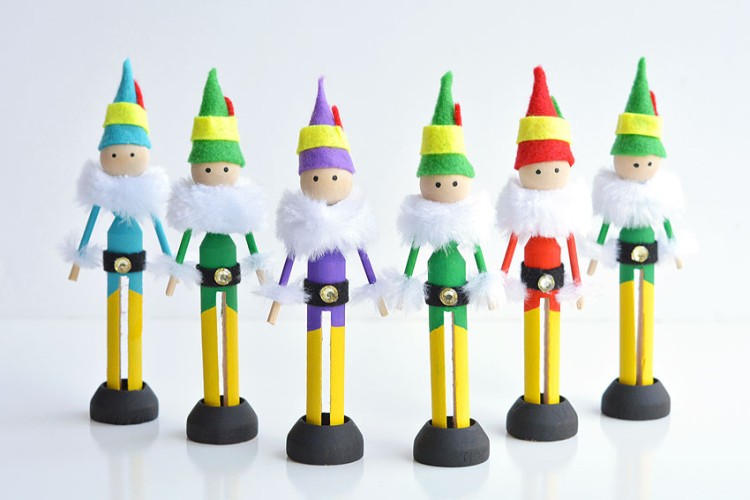
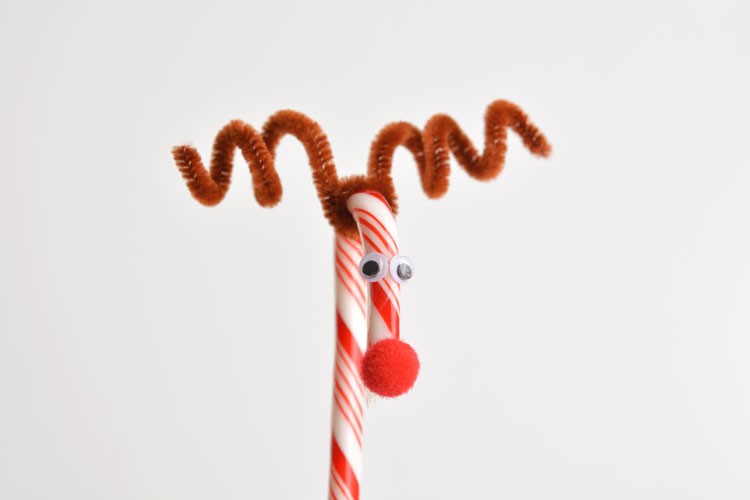
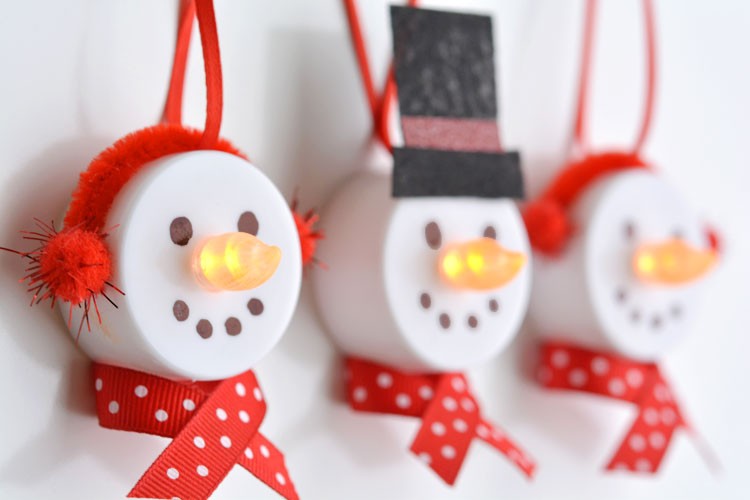
If you’re looking for more easy ornament ideas, here’s a few more of our favourites: Pine Cone Reindeer Clothespin Elf Craft Candy Cane Reindeer Tea Light Snowmen
How to make Clothespin Reindeer Ornaments:
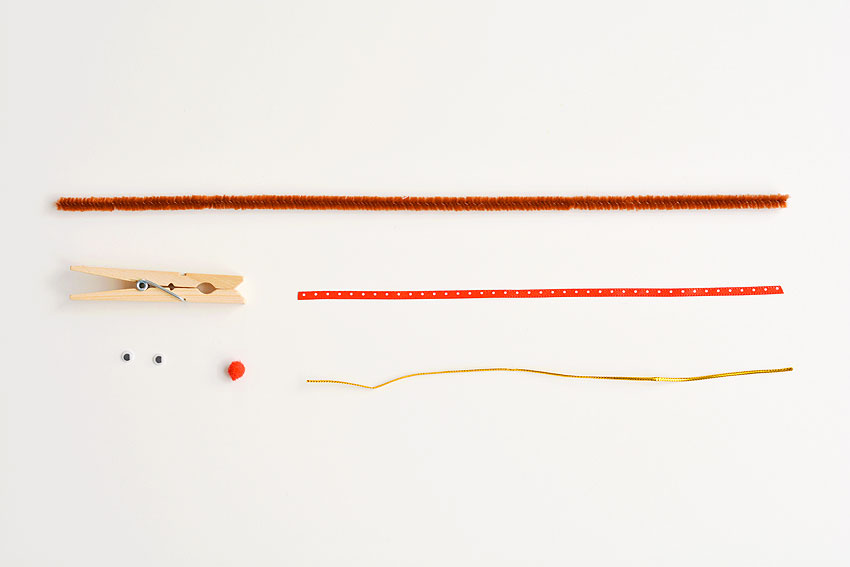
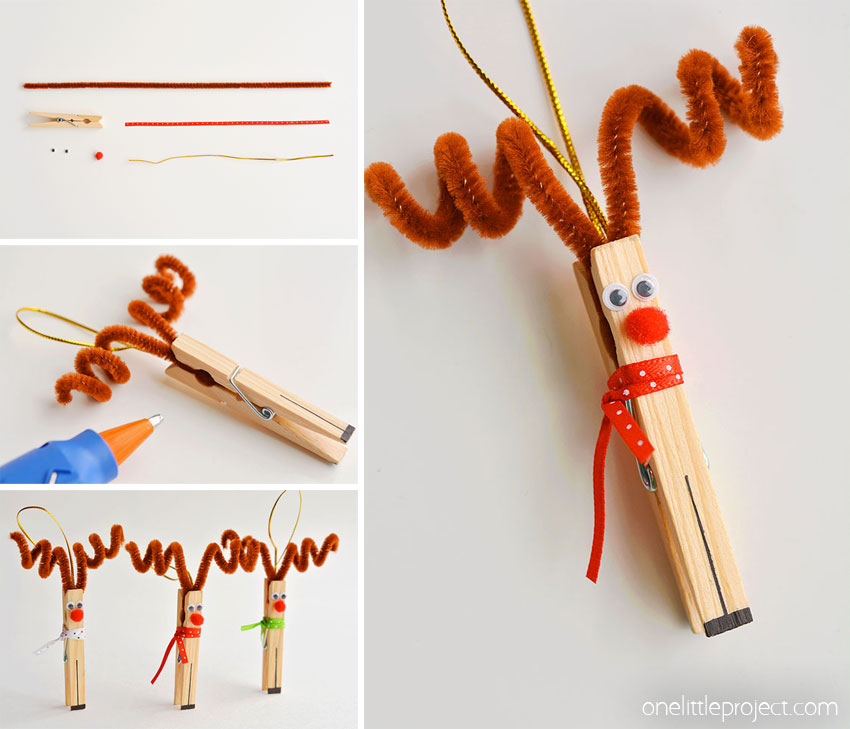
Clothespin Pipe Cleaner (12 inch, brown) Polka Dot Ribbon (1/8 inch) Mini Pom Pom (1/4 inch, red) Mini Googly Eyes (5mm) Gold Cord Gel Pen (Black)
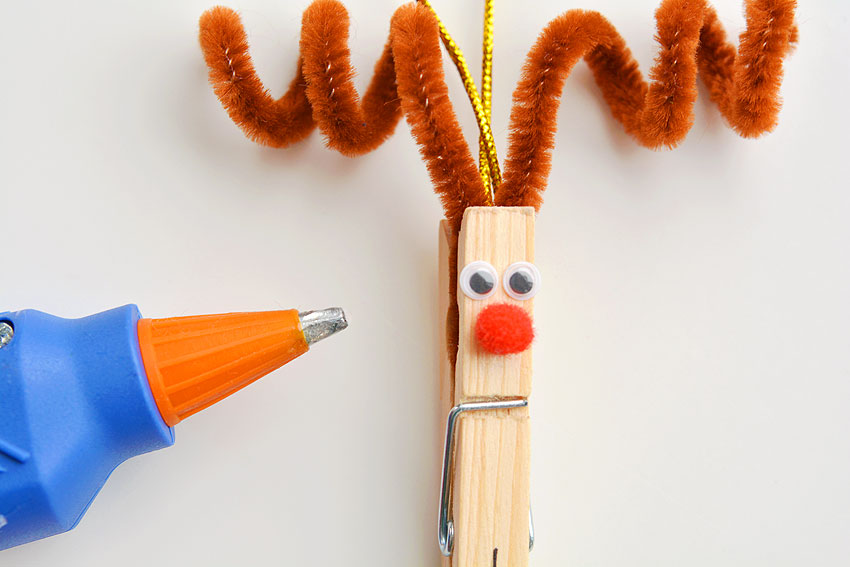
I got every single supply we used from the dollar store. Even the cute little polka dot ribbon! I used a glue gun to make this craft because I just find it easier and quicker to work with. If you’re not comfortable letting your kids use a glue gun, I’d recommend using Aleene’s Tacky Glue. It’s sticky enough that it really holds things in place without shifting while you’re working on it.
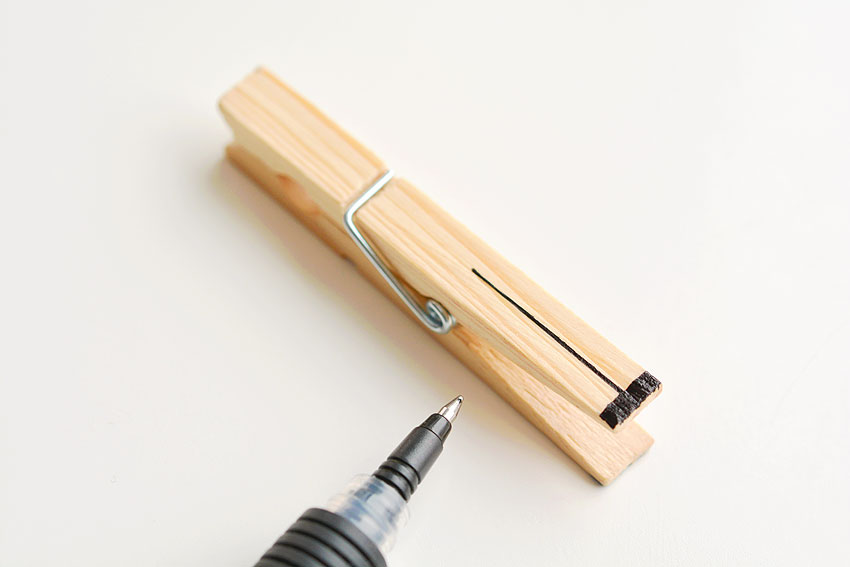
Using a black gel pen (again from the dollar store!) and a ruler, draw a straight line on the bottom of the clothespin. The line should be about 1.25 inches long, and go roughly to the “spring” part of the clothespin, as shown in the photo below. Then colour in a rectangle about 1/8 inch thick at the very bottom of the clothespin to make the reindeer’s hooves. When the ink is dry, flip over the clothespin to draw the legs and feet on the back side.
How to Keep the Ink From Bleeding
Sometimes ink will bleed on the wood of the clothespin causing your lines to look messy. To prevent that, squeeze a dot of white glue onto the clothespin where you plan to draw, then spread it out evenly with your finger in a super thin layer. It only takes a few minutes to dry, but it keeps your ink lines crisp and clean!
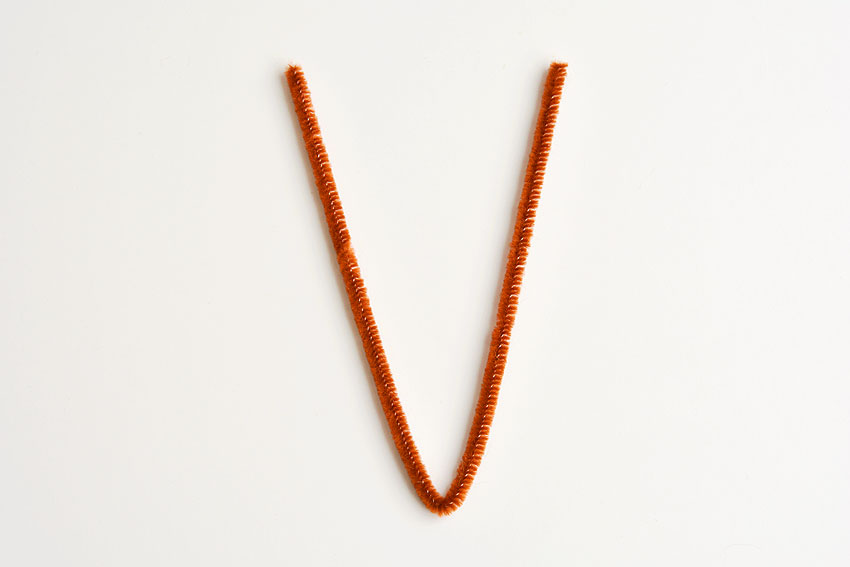
Bend a brown pipe cleaner in half to make a V shape. I used a 12 inch long fuzzy pipe cleaner.
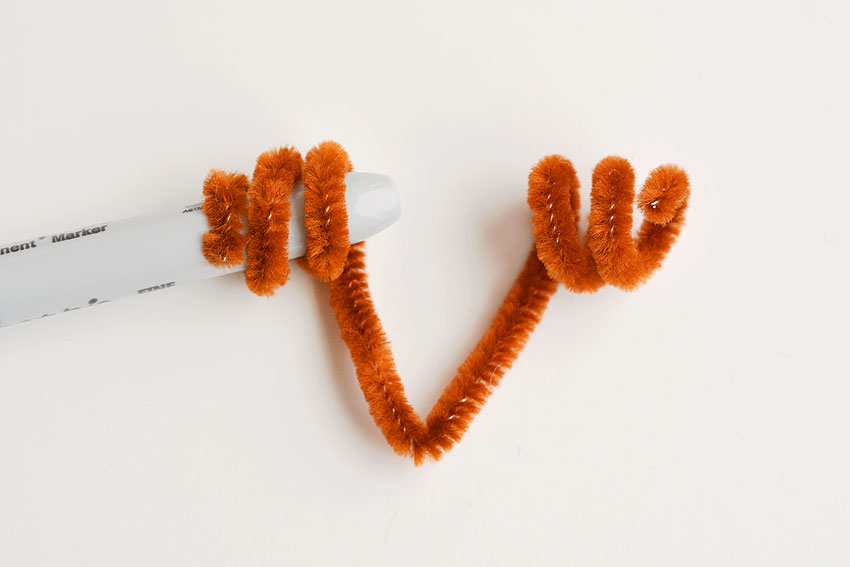
Roll each end of the pipe cleaner into a spiral using your finger or a round marker. To make nice looking antlers, you’ll need about two and a half spirals on each side. I found it easier to make a clean, perfect spiral by wrapping the pipe cleaner around a Sharpie marker, but you can definitely use your finger if you don’t want to search for markers.
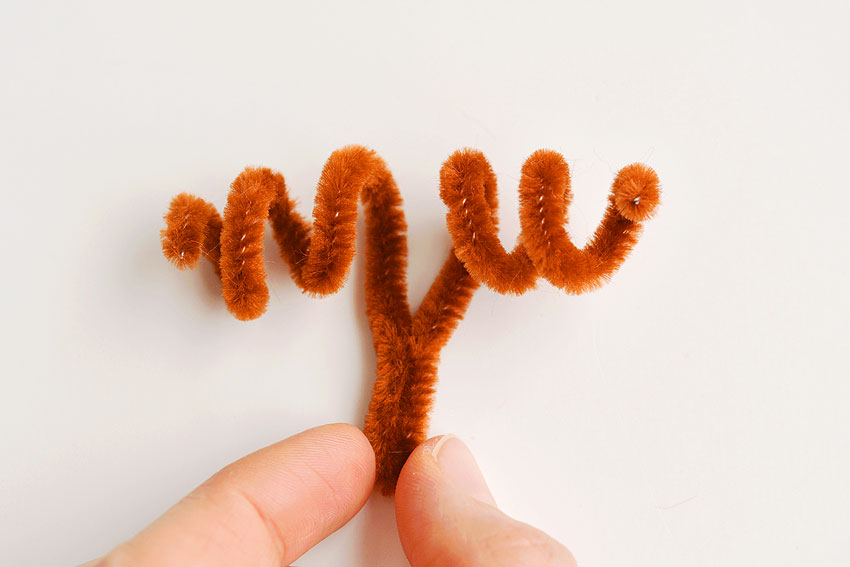
Pull the spirals outwards to stretch them out a bit. Then pinch the bottom of the pipe cleaner V shape together like in the photo below. You need it somewhat skinny so it will fit into your clothespin later.
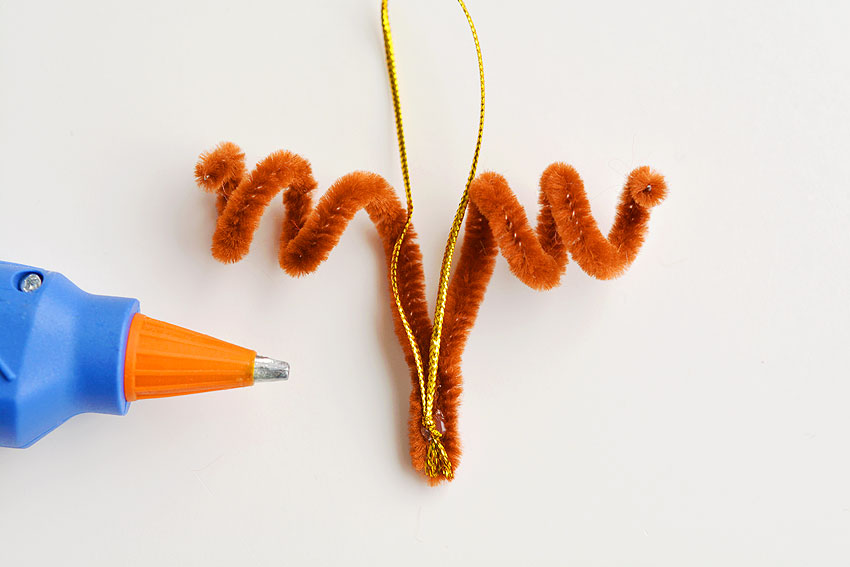
Cut a piece of string to be about 8 inches long. Then tie the ends together to make a loop. Squeeze a small dab of hot glue onto the back of your pipe cleaner antlers near the bottom and attach your string.
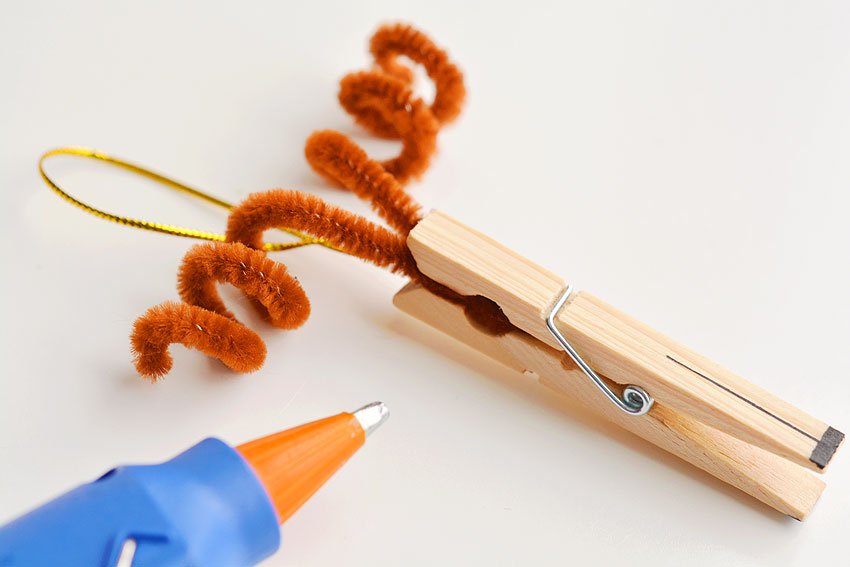
Pinch open the clothespin and add a small dab of hot glue inside. Then place the pipe cleaner antlers and string inside the clothespin. Allow the clothespin to close, being careful to make sure everything is in the correct position. This part is completely optional. If you don’t want to glue the antlers on, the clothespin is strong enough to hold everything together. I just figured with my kids playing with them, I didn’t want things to come apart and get lost. (I have a lonely little Santa hat from the peanut christmas ornaments we made hanging from my tree right now because my kids took off Santa’s head and lost it somewhere… ha!)
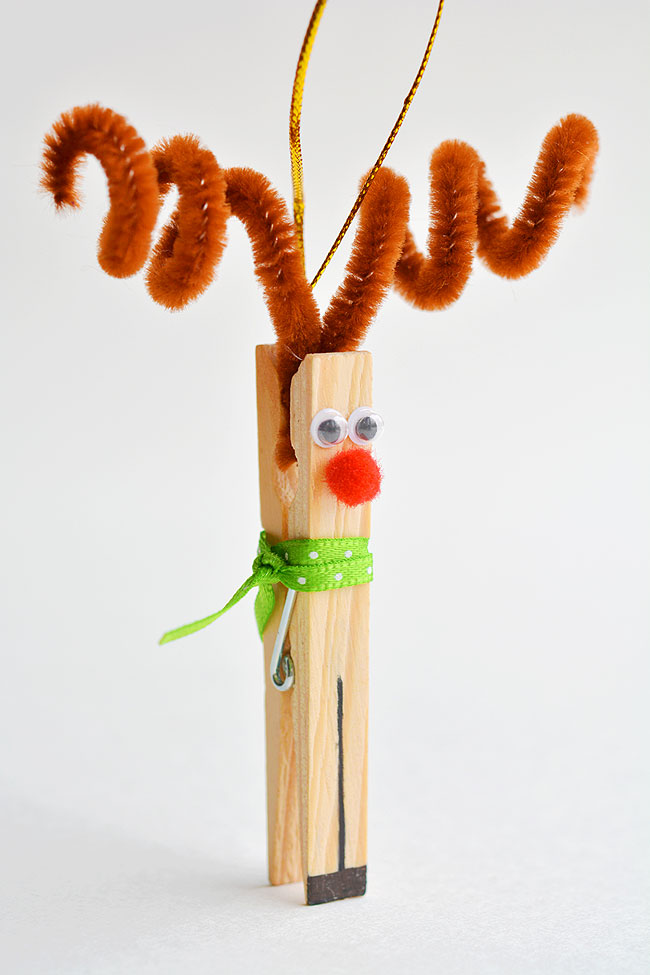
Using a glue gun or white glue, attach the googly eyes and the pom pom nose.
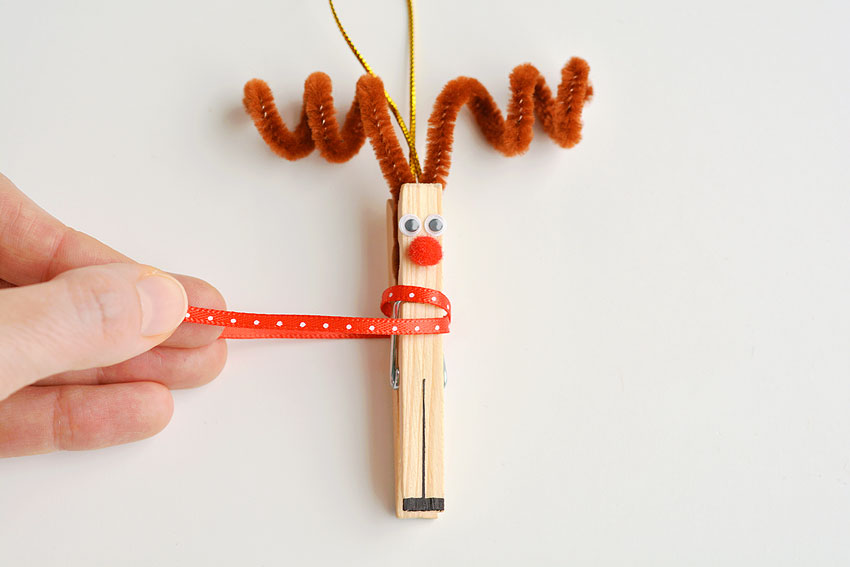
My reindeer was looking a little plain, so we dressed him up with a cute little ribbon scarf. Cut a piece of ribbon about 12 inches long and wrap it around the clothespin twice, right over the little groove where the metal piece sits.
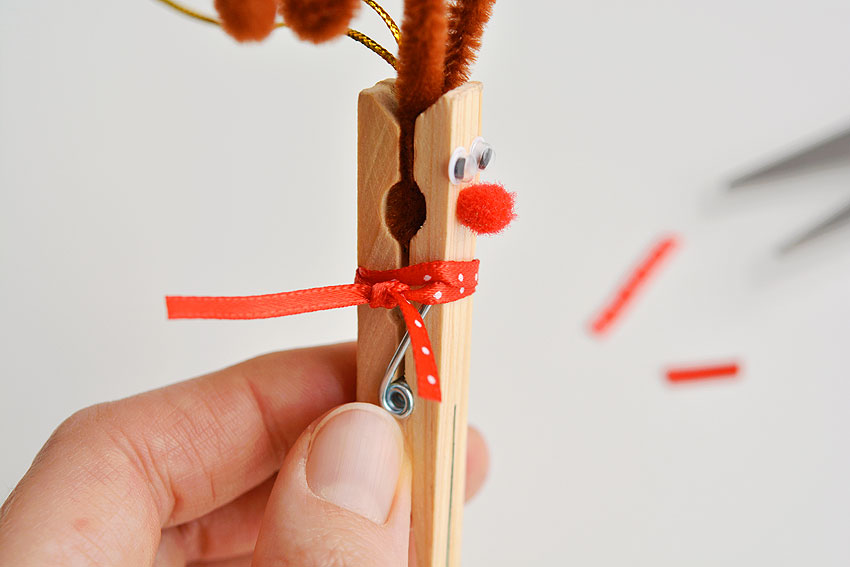
Tie it in a double knot on the side of the clothespin, then trim the ends of the ribbon to be about 1/2 an inch to 1 inch long. (It looks better if the two ends are different lengths.)
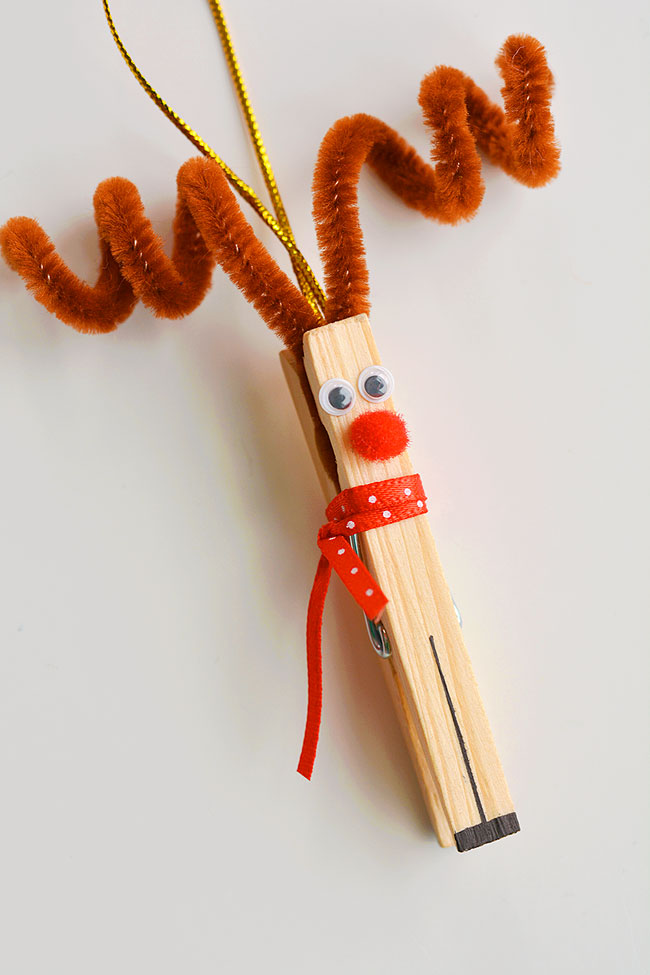
Shape the scarf so that the ends of the ribbon point downwards. And your clothespin Rudolph craft is complete!
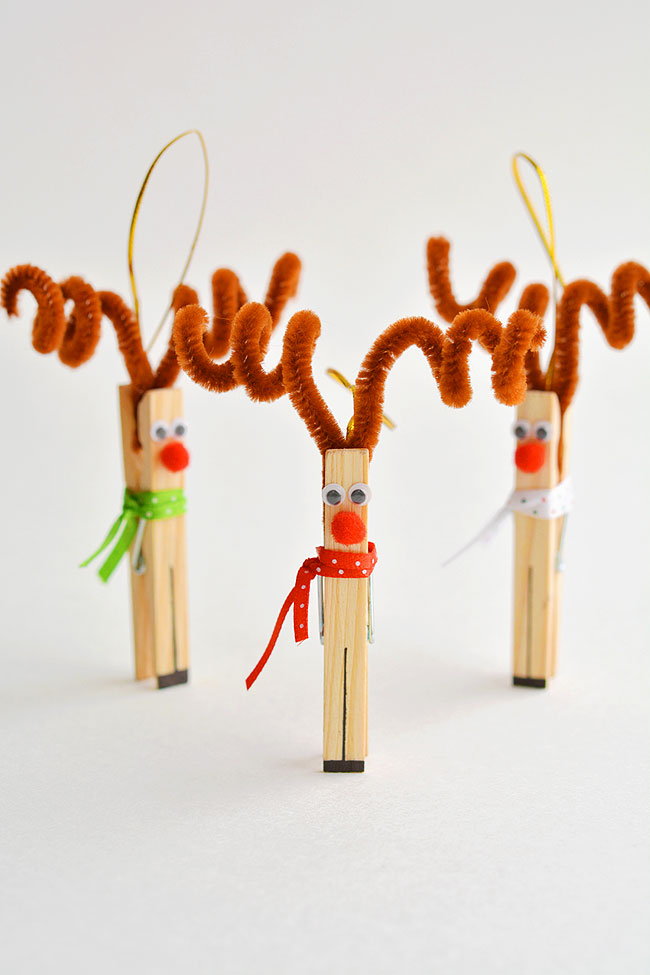
My polka dotted dollar store ribbon came in 3 different colours, so we gave each of our clothespin reindeer a different coloured scarf.
I love how they turned out!! See in the photo below how they even stand up on the table? So cute!
These clothespin reindeer are SO CUTE! And they’re really easy to make! In less than 5 minutes you can make an adorable homemade Christmas ornament using only dollar store supplies! This is such a fun Christmas craft and a great craft for kids! Such a creative little Rudolph craft!
For even MORE crafty Christmas ideas check these out:
Pine Cone Reindeer
Clothespin Elf Craft
Candy Cane Reindeer
Tea Light Snowmen
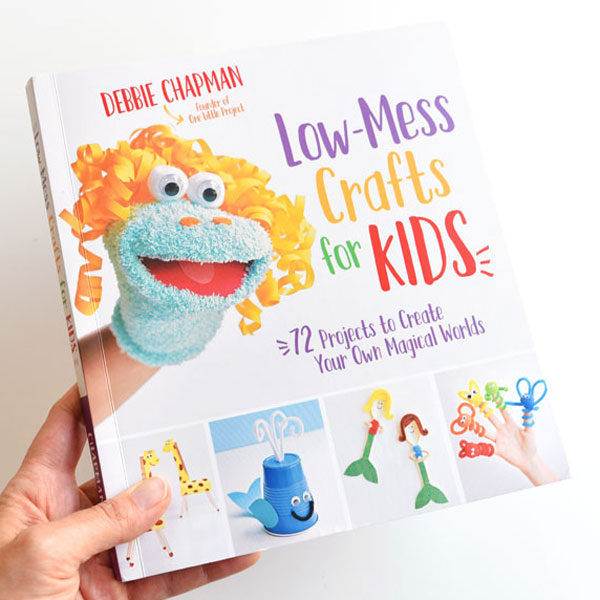
Our book Low-Mess Crafts for Kids is loaded with 72 fun and simple craft ideas for kids! The projects are fun, easy and most importantly low-mess, so the clean up is simple!
Where to buy: