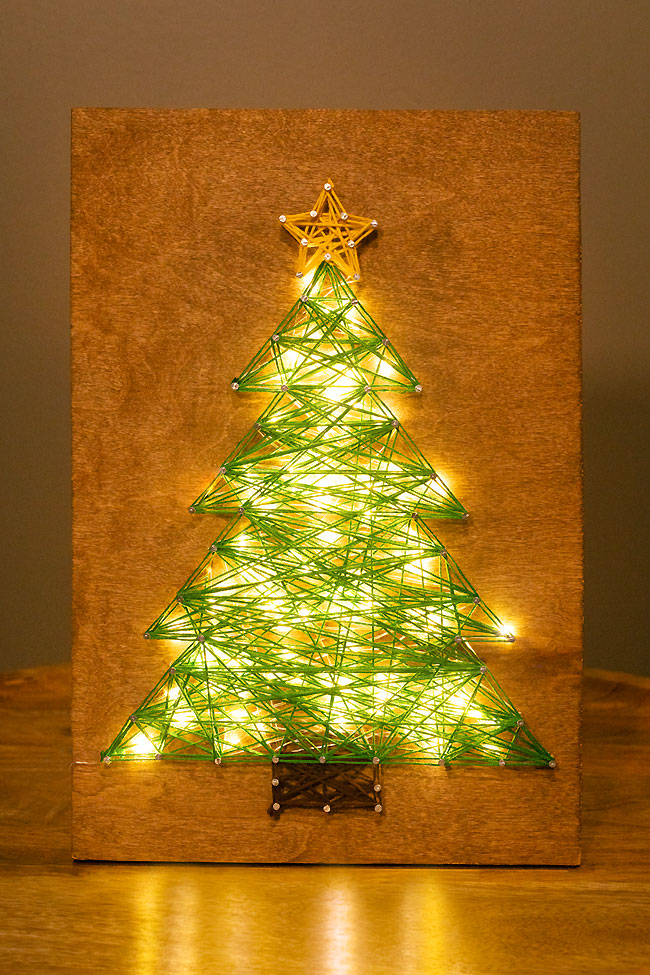
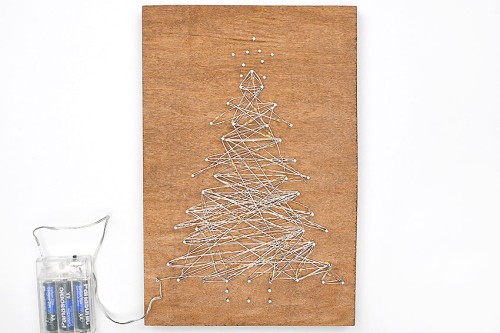
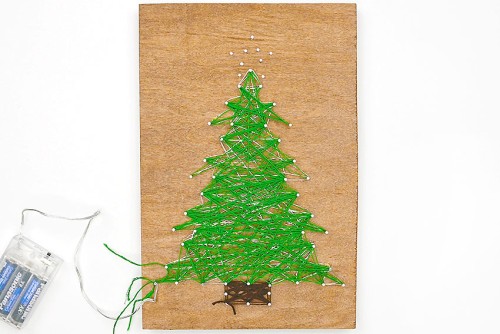
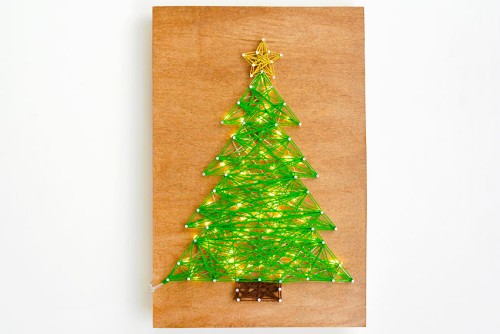
This string art Christmas tree is such a fun piece of holiday decor, and you can make it using our free printable Christmas tree string art template! It looks great decorating the mantle, and it’s super easy to make!
This post contains affiliate links. If you use these links to buy something we may earn a small commission which helps us run this website.
Helpful Tips:
Download our free Christmas tree string art template:
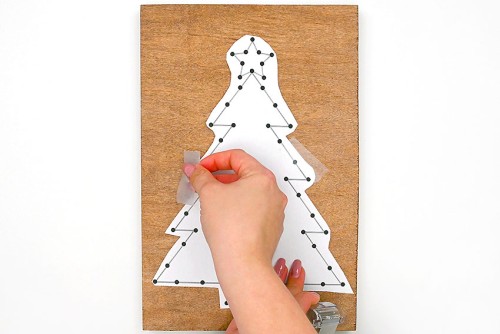
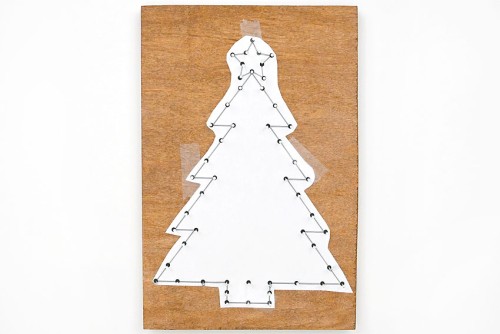
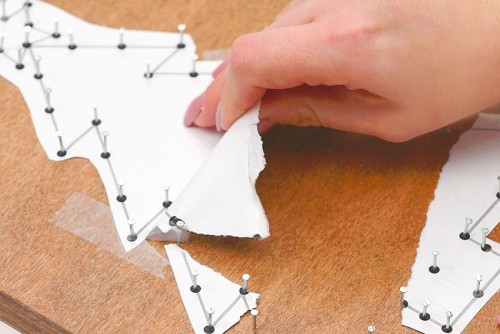
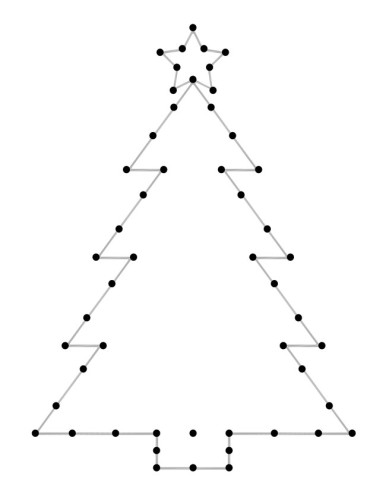
Click on the link or image below to download our free, printable Christmas tree string art template! The PDF file will open in a new window. Then simply print the template onto regular 8.5 x 11 (letter size) paper. This template is sized for a 8 x 12 inch board. If your board is a different size, scale the template larger or smaller while printing to fit your board. We recommend leaving at least 1/2 inch of space between the outer nails and the outside edges of your board.
»> Christmas Tree String Art Template «<
What type of string is used for making string art?
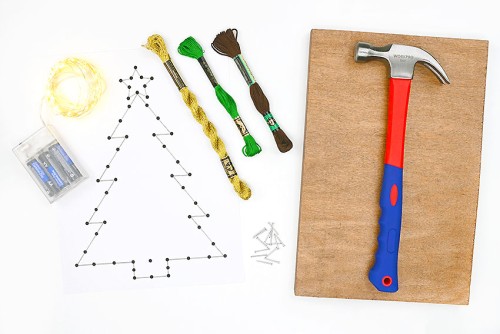
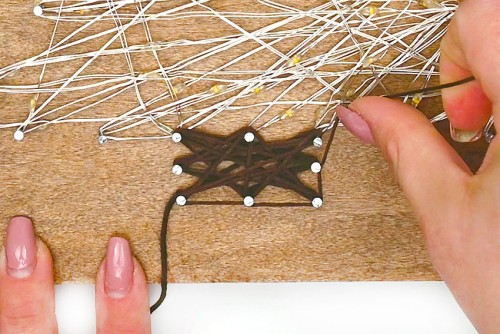
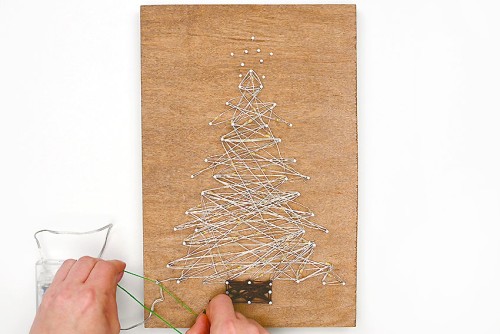
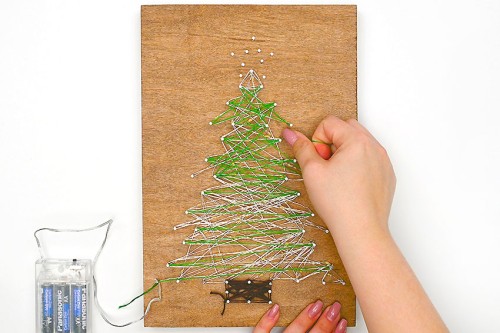
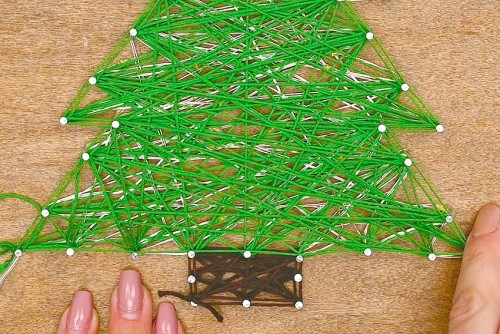
We use embroidery floss to make our string art. It has a clean look, and there’s a huge selection of colours available. But you can use any type of string that’s thin enough to be wound around the nails. Try using thin jute twine, crochet cotton, 2mm macrame cord, or even coloured baker’s twine. You can also use regular yarn. With thicker string like this you may want to space the nails a bit further apart. Longer nails are also a good idea when using yarn, because the wider the yarn, the more height it will take up as it’s wound around the nails.
What type of lights are used for this Christmas tree string art?
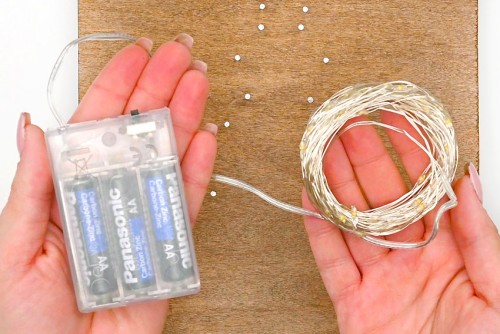
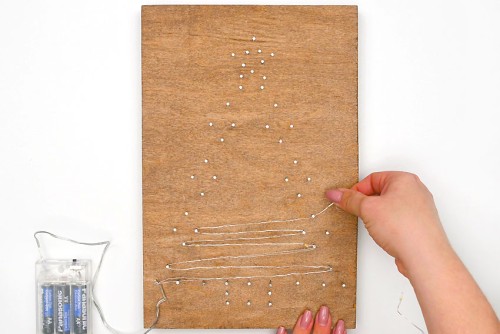
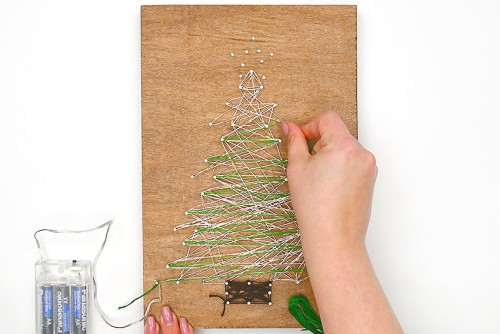
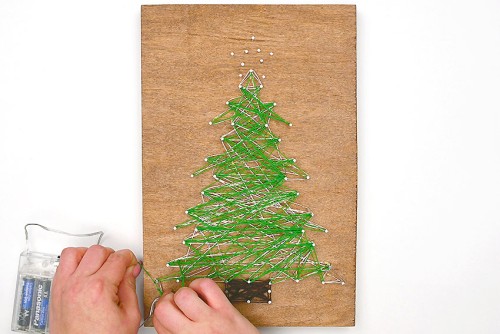
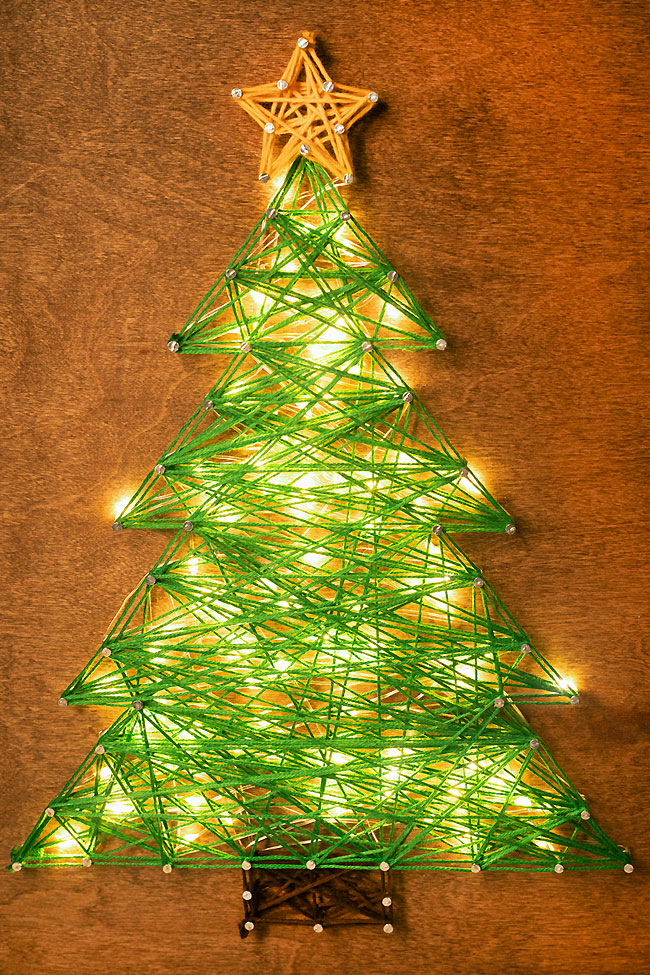
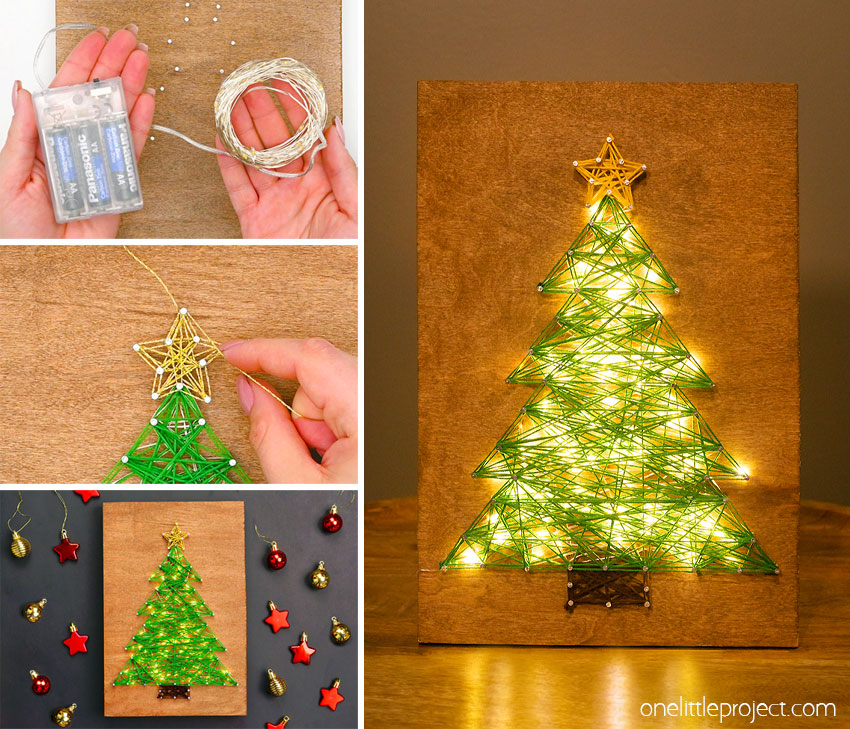
We used battery operated white LED string lights from the dollar store to decorate our Christmas tree string art. The lights look so pretty shining and sparkling through the string! You can also use coloured string lights to add pops of colour to the string art.
How do you hide the battery pack?
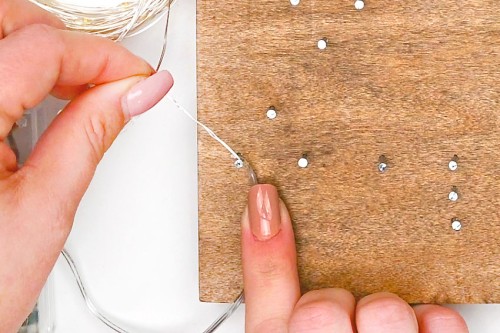
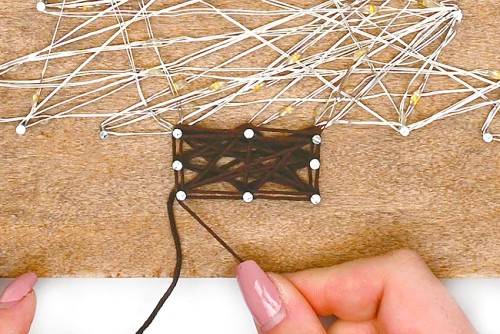
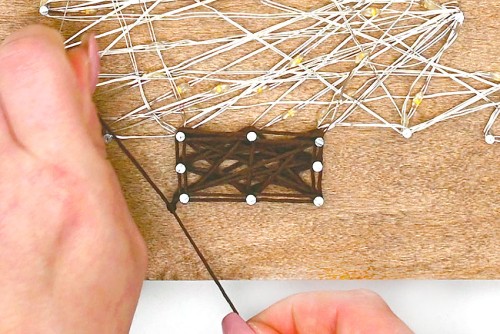
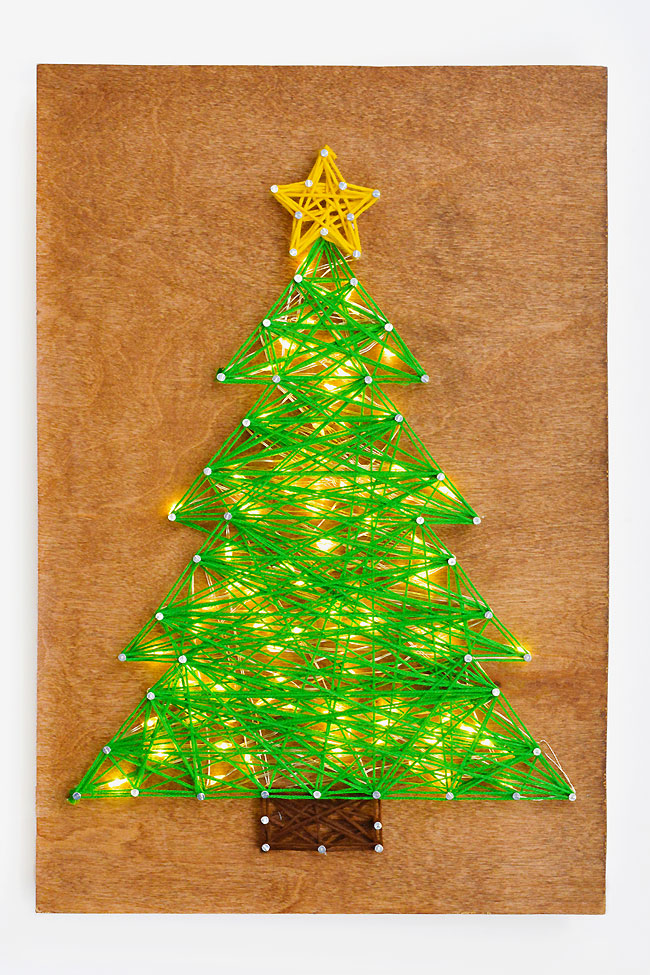
We taped the battery pack to the back of our string art which still let us easily turn the lights on and off. The widest point on our tree is about 1/2 inch from the edge of our board. We wrapped the wire around to the back, and you can barely see it from the front. If you’d like to hide the wire from the string lights simply drill a small hole in an area behind the string (before you start stringing) and feed the wire through the hole. You can still tape the battery pack to the back, and your wire will be completely hidden.
How do you make the string art stand upright?
The board was thick enough that our string art stood up on its own. However, there were times that it would slide down, so we leaned it against something to keep it upright. If you want to make an easy stand, cut two small pieces of dowel to be about 3 inches long. Then drill two holes near the bottom of the board, about 1/4 inch into the board on the back side. (Just large enough to fit the dowel). Place the dowels in the holes. Then you can lean the board on the dowels to keep it from falling over.
What kind of nails should I use for this Christmas tree string art? How many do I need?
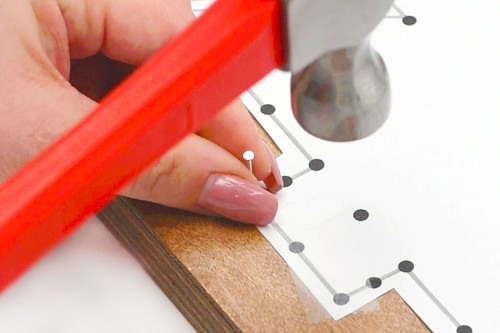
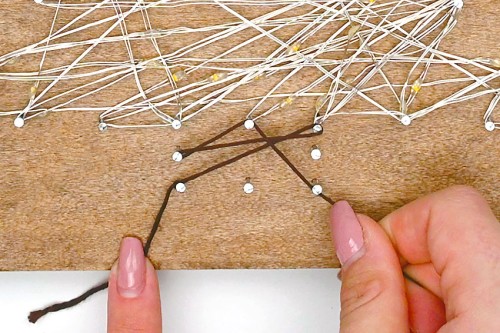
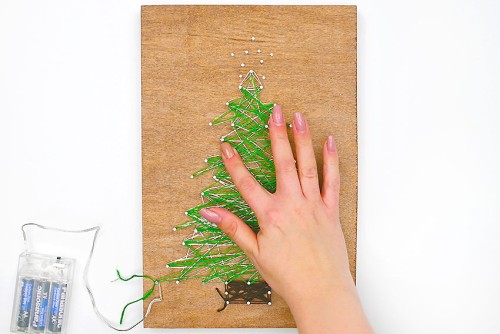
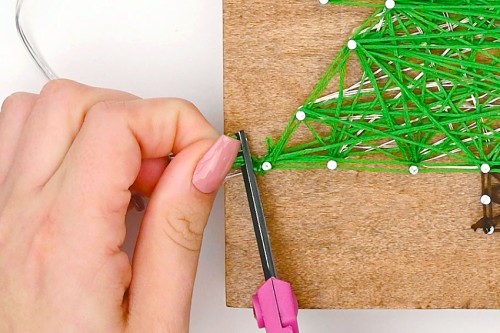
We used 18 gauge wire nails that are 3/4 inch long for this string art project. We found them in the picture hanging section of our local Home Depot. If you follow our template you’ll need exactly 52 nails, but we recommend having at least 60 on hand, just in case any get bent or broken. We’ve used common nails in our string art before, and they work well. But we definitely prefer the look of these wire nails. They’re just a bit more delicate looking, with a smaller head.
This Christmas tree string art is such a fun holiday DIY project, and it looks so pretty on display! We love how the string lights shine through the Christmas tree “branches”, adding a touch of Christmas spirit to any room it’s placed in.
Here’s even more string art ideas:
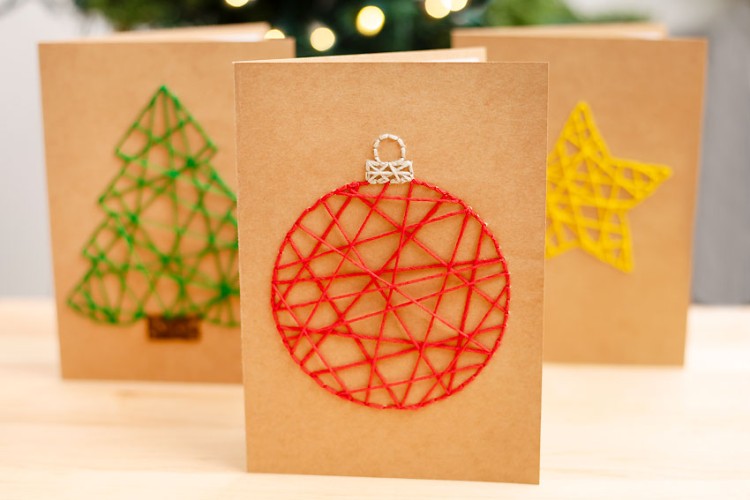
String Art Christmas Cards
Pumpkin String Art
Dad String Art
Our book Low-Mess Crafts for Kids is loaded with 72 fun and simple craft ideas for kids! The projects are fun, easy and most importantly low-mess, so the clean up is simple!
Where to buy: