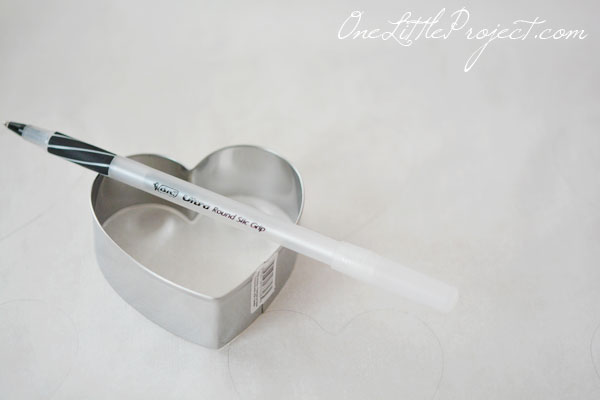
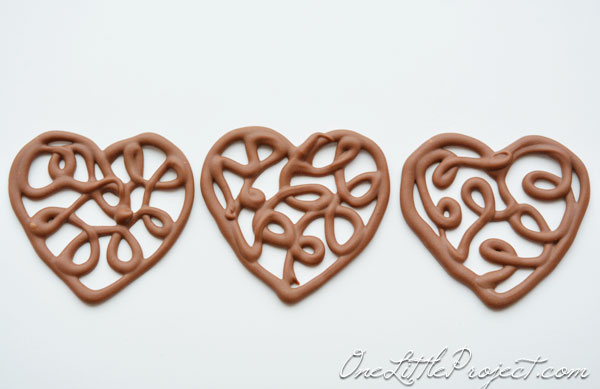
All you need to start is a piece of parchment paper, a cookie cutter and a pen. You can use any shape you want for any occasion (trees for Christmas, pumpkins for Halloween, even numbers for birthdays). I went with hearts because it’s so close to Valentine’s Day of course.
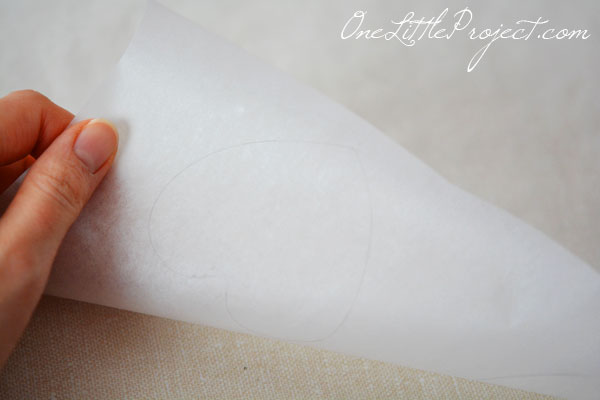
Trace the shape onto the parchment paper using the inside of the cookie cutter. Sorry it’s so hard to see in these photos. If you look really hard and squint you can see the heart outlines in both the picture above and below. Flip over the paper so the pen marks are on the bottom. It just needs to be dark enough to be able to see it through the parchment paper.
Take about a cup of your favourite chocolate and melt it in the microwave on ultra low heat (I used setting 3/10) for 2 minutes at a time until it is completely melted. You can use dark chocolate, light chocolate, or even white or coloured chocolate too.
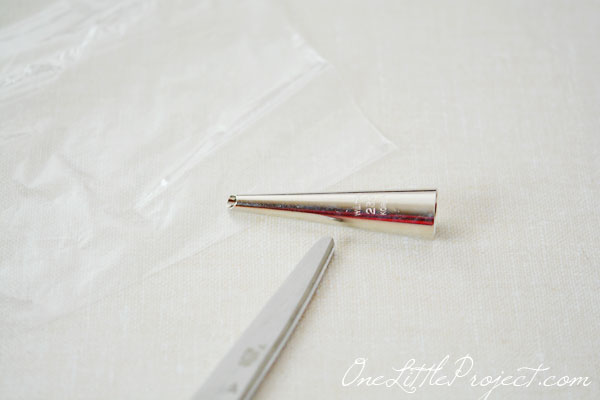
Next, you’ll need a zip lock bag and an icing tip (I used Wilton round tip #230). You can use an actual icing bag if you want, but I don’t particularly like wasting them on projects where a sandwich bag will work.
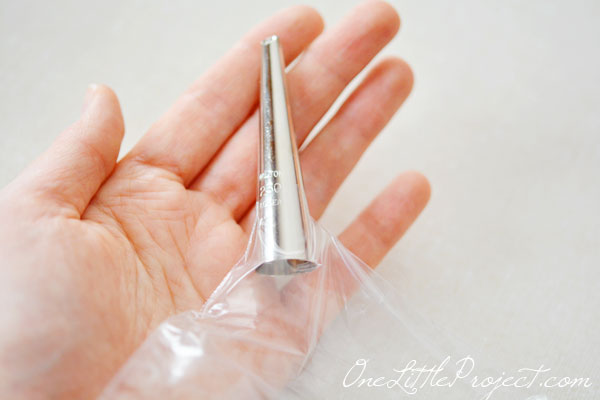
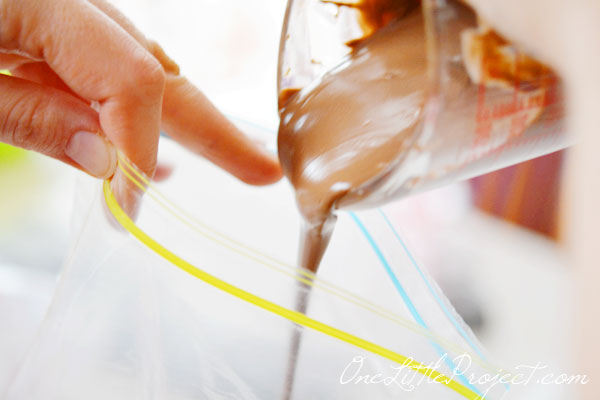
Snip off a corner of the sandwich bag and poke the icing tip through until it’s snug:
Pour the melted chocolate into the icing bag you just created:
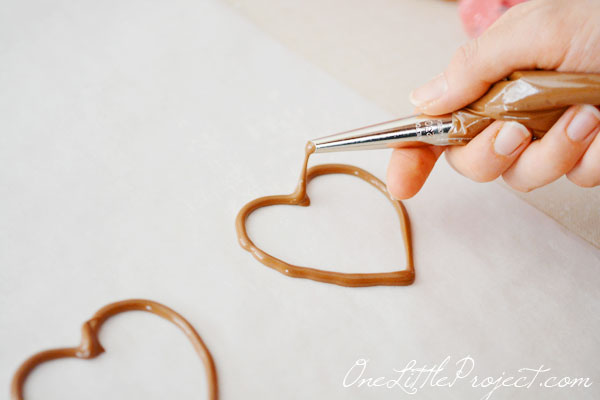
Go back to the parchment paper with the hearts traced on the bottom. Carefully trace out the shape of the hearts as you squeeze the chocolate out of the bag. (Make sure the bag is fully zipped up or you will end up with melted chocolate everywhere… yes, I’m speaking from experience). The thicker the line of chocolate, the sturdier the heart outline will be.
I’ve made make-shift icing bags in the past (like for my spider web treats back in October), but I’ve never used the Wilton icing tip in the bag. Adding the icing tip was fantastic and I will definitely do it again! It gave wonderful control so that I didn’t drizzle chocolate all over everything. It was very much like holding a regular pen.
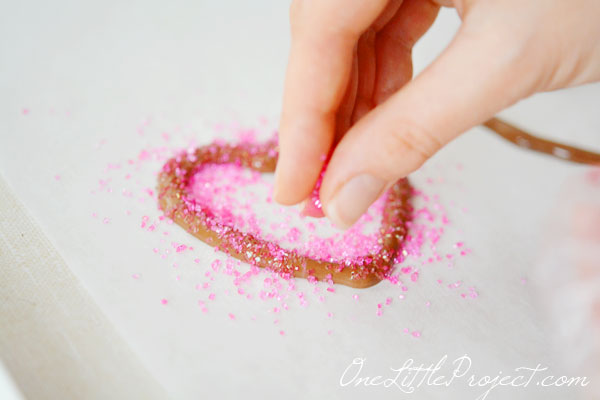
This next part is optional, but I thought it was kind of festive and fun. Add some sparkly sugar, or sprinkles to the chocolate while it’s still wet to decorate them:
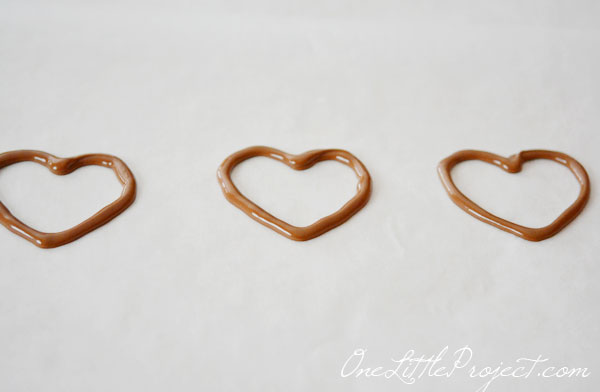
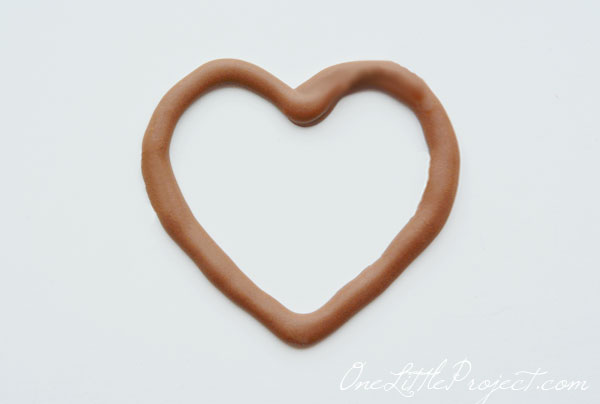
Here’s an undecorated heart. What can I say, this little guy hardened just a little too fast to get any sprinkles onto. Still pretty neat as just a chocolate outline:
And here is a heart with some pink sugar sprinkled onto it. They looked very cute and girly by the time they were finished:
I would love to try this with smaller cookie cutters. I know everything looks adorable when it’s mini, but imagine how sweet these would look if they were only an 1″ wide. You could make a couple dozen of them, put them into a small box or bag and give them as a homemade Valentine’s Day present!
These take about 20 minutes to make and about 15 minutes to harden. Give these for Valentine’s Day instead of a store bought box of chocolates. Make them as a fun treat for your kids. Or set them out at a bridal shower. What a perfect sweet treat to show some love!
